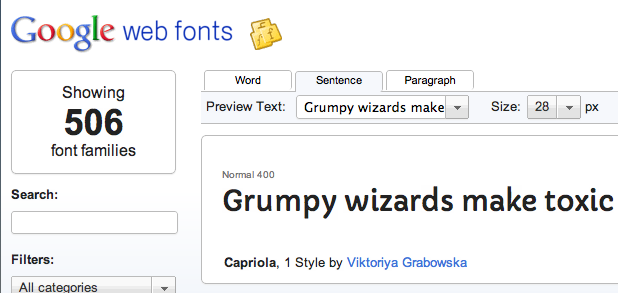
I am no typography expert, but using the same standard fonts for your website gets boring. Google Web Fonts has an entire library of hosted fonts for your use on your next web project. This tech-recipes tutorial explains how to setup Google Web Fonts on your site.
1 Browser over to http://www.google.com/webfonts/

2 Browse all the fonts and find one you want to use. You have the option to use just 1 font family or to use multiple. First, let us look at how to use one font family by itself. Start by selecting the “Quick Use” link.

3 You will see some information such as the page load time using this web font. Remember, the browser will have to check Google’s server to grab the font and display it to visitors. At step 3 we have 3 options on how to use these fonts. We can use a standard link, @import, or Javascript. It comes down to personal preference, but I just use the standard link attribute.

4 Now you copy and paste the code into your website’s header just as you would link to a CSS style-sheet.
![]()
5 We now have the font linked to our website. We need to set one of our style attributes so we can actually use the font. It is as simple as declaring the font-family but by using the name of your new font. Remember to use a fall-back font that is web safe.

6 Here is it in action.

7 To link multiple font-families, select “Add to Collection” on the fonts you want, instead of the Quick Use option.

8 You can do this for as many fonts as you want; however, remember this may increase your page load time. When you have all the fonts you want, select Use in the bottom right of the website.

9 You will be given the code again, except this time all the fonts will be combined into one link statement. Put the code in your header and style your content in the same manner as step 4.


