Subdomains are handy when we want to isolate completely different sections of web content. This can be easily accomplished through cPanel. cPanel provides a graphical interface and tools to simplify basic web hosting tasks. Almost every web host provider now uses cPanel to provide a user-friendly tasks for controlling the server.
One of the biggest issues with cPanel is that many different versions exist so the graphical experience is not consistent between web hosts or even new versions of the software. However, in general the categories described and the eventual steps are basically the same. If you are having trouble finding an option in Cpanel, leave a comment and I will help you out.
Do not be surprised if the pictures here are different that your version. The steps, however, will likely be similar.
1 Navigate to Domains and click on Subdomains under this category

2 Give a name for your subdomain. For example, I am making a blog, so I used the word “blog” for my subdomain. Select from the drop-down from what domain you want this sub domain created. You will also set a document root which will serve as the top-most directory on the server for the subdomain.

3 Hit the create button.
4 If completed correctly, you should see this screen.

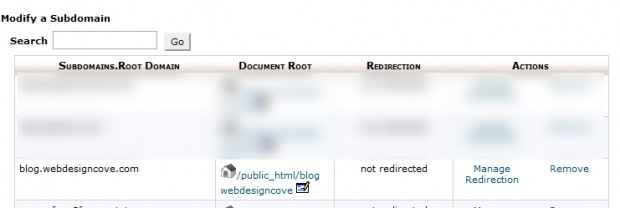
5 Back on the Subdomain screen in Cpanel, you can also see a list of all subdomains and modify them later.


