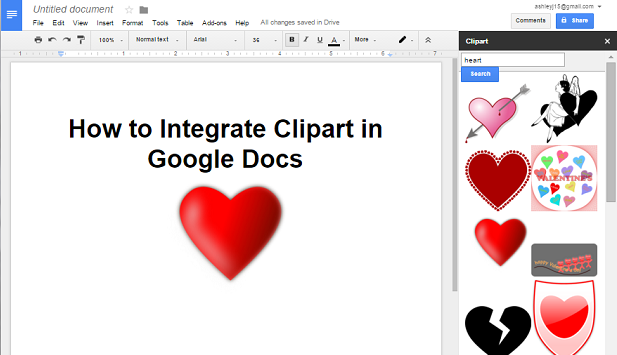
Clipart is a well-loved feature of Microsoft Word that allows you to insert images into your documents. Images are appropriate for many types of documents and can add an aesthetic flair to your work. Google Docs does not have a built-in clipart function, but you can install a free add-on called Openclipart to integrate clipart with Google Docs.
Openclipart is free add-on that contains over 50,000 images. There is an optional paid upgrade that gives you access to high resolution images. This tutorial describes how to install and use the Openclipart add-on.
Install and Use the Openclipart Add-On
1.Open up any document in Google Docs. Click on the Add-ons menu, and then select Get add-ons.
2.Search for Openclipart Click the blue +FREE button to save the add-on to your Google Docs account, where it can be accessed in all your documents. Click Allow in the pop-up box that will appear asking for the permissions that the add-on needs to run.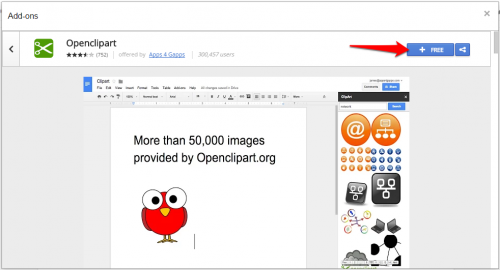
3.Now, go back to your Add-ons menu, and choose your newly installed Openclipart from the list. Click Search Clipart.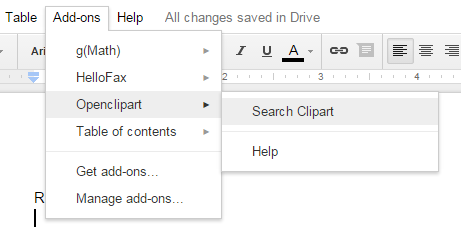
4.Search for the clipart you want in the top box. Scroll through the results, and click through the pages at the bottom to see more.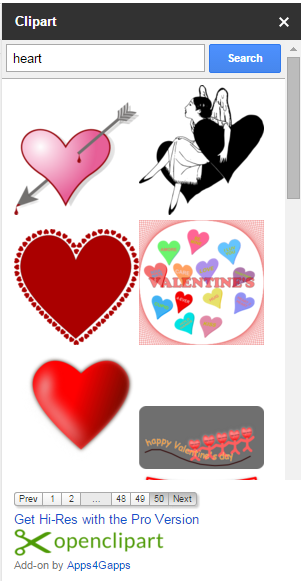
5.When you have found the clipart you want to insert into your doc, click on the location in your document where you want to put it. Then click on the image in the clipart panel to insert it at the location of your cursor.
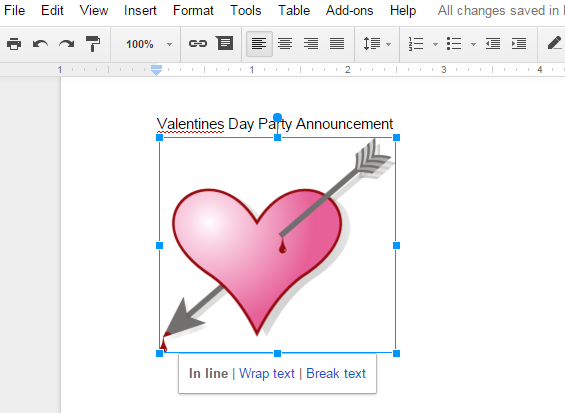
6.To resize the inserted image, click on it, and drag one of the blue square grab points to the desired size. Corner grab points will maintain the image dimensions, but the edge grab points will shrink or stretch the image. When the image is selected (meaning you clicked on it and now the blue outline with the grab points is shown), the toolbar changes to show only options that you can use with images. You can edit the alignment, add a border, crop, add a link to the image, and more.