Samsung just released it’s latest flagship phone in the Galaxy S4. Each carrier receives its own version of the S4. For us Android modders and hackers, this requires us to use a specific recovery for each carrier’s device. This guide will explain how to load a custom recovery to a T-Mobile Galaxy S4 phone.
Flashing a custom recovery to an Android device/phone is the first step that is needed to achieve root and to do other gui mods and hacks. With the Galaxy S4 line, Samsung has created a slightly different version of the phone for each major USA carrier. This creates fragmentation for us developer and modder types since each phone has a slightly different radio, baseband and kernel. These steps will direct you through installing a custom recovery to a T-Mobile Galaxy S4 variant. The phone used in this example did have the May 7th OTA.
DISCLAIMER: Like any mod or hack, we are not responsible for any bricked devices. Rooting and installing custom recoveries does void your devices warranty.
This method will not wipe your personal data so your data should be safe. However, I recommend backing up your photos and other data prior to doing modding, hacking, or rooting.
Install the Custom Recovery
1. Download and Extract Odin v3.07. (xda-developers link to odin 3.07) I usually create an Odin folder at the root of my hard drive and then copy the odin files to there.

2. Download an Odin ready .tar custom recovery. I am using TWRP and it recognizes the exFat file system (this is used on 64GB SDCard); OUDHS also works well too.
- TWRP .tar download page
- OUDHS xda-developer’s thread (links at top)
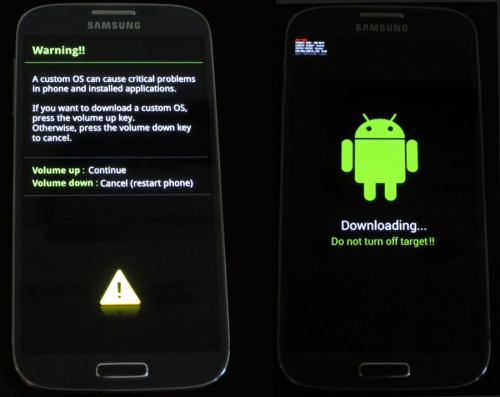
3. Power off your S4 and unplug it from your PC. Hold the Volume Down + Power button after the phone is off. This will boot you into Download mode. Hit the Volume Up button to continue past the warning.

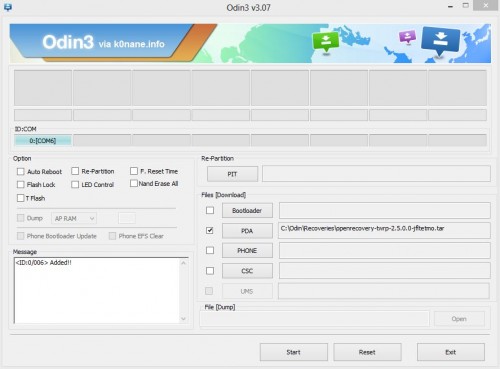
4. Open the Odin application by running the .exe and plug in your phone. Odin will recognize the device and show it.
First uncheck the Auto Reboot box and then click on the PDA box and then select our .tar custom recovery file. This will be TWRP in the example.

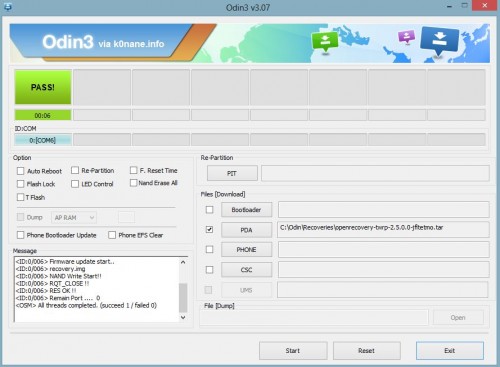
5. Hit the Start button. The message log window will show the progress and once it finishes you will see the complete and successful message.

6. Unplug your phone and remove your battery to power off the device fully.
Booting Into Recovery Mode
1. With you phone off, hold the Volume Up and Power button. Once you see the blue Recovery Booting text in the upper left of the screen, release the buttons.

2. It will continue booting to your custom rom. If you get the stock recovery menu, repeat the above process since the factory rom does try to prevent the boot script from running the first time.

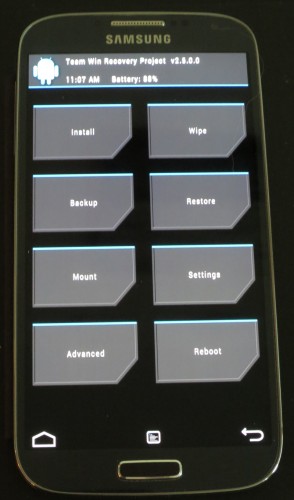
3. In recovery mode, you can create NAND backups, flash kernels, roms and other mods/hacks.

