Steam is a powerful game management application. However, Steam puts all of its games in the same folder by default. For me this was not ideal. Who wants their main disk clogged down with games? These directions describe how to I safely moved my steam games to a different drive on a windows system.
For this tutorial I’ll be using a small application called “Steam Mover.” Steam mover was developed to assist one in moving files and creating the necessary junction points.
To begin with, you will need to download Steam Mover. Download it, extract it and run it.


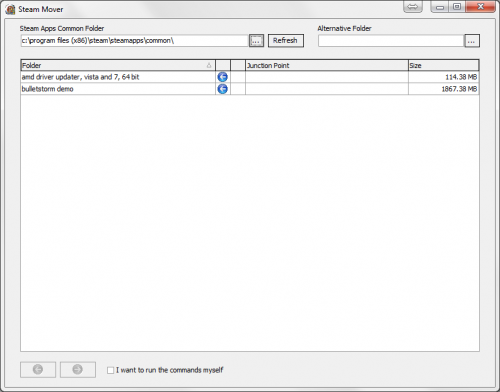
Don’t get all excited when the program pops up and you realize just how easy this is going to be. We’re not ready to move anything just yet.
You need to make sure you’re not running Steam while you move games.

Check your System Tray to ensure Steam isn’t just hiding in the background. If it’s there, right click and choose Exit.

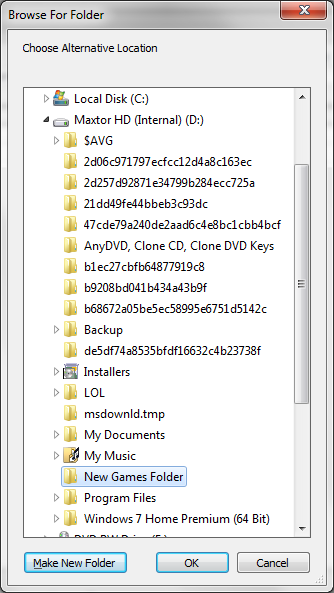
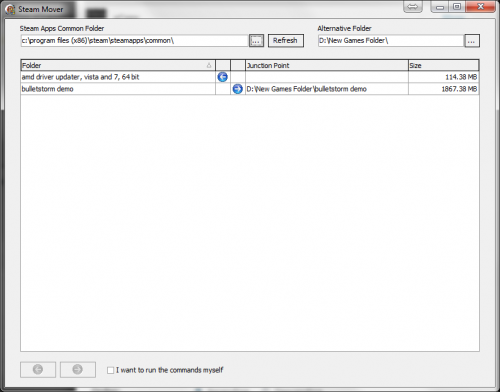
Bring Steam Mover back up. You need to specify an “Alternative Folder” for your programs to be moved to. I recommend using an external hard drive. Click the Browse beside the Alternative Folder text area.
Choose your destination folder. I chose a folder in my External Maxtor HDD.
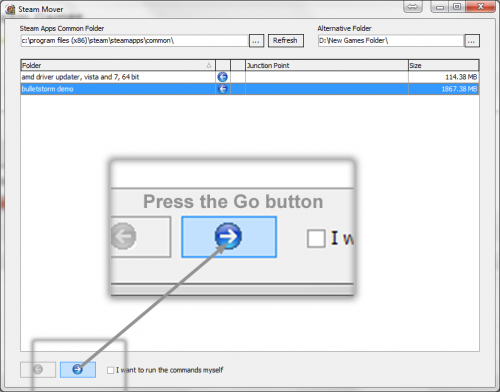
Select the games you want to move from the list. To select multiple games at once, hold the Ctrl button while you click. Once you’ve selected the games to move, click the Go button in the bottom left corner.
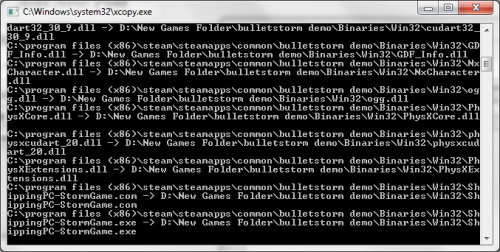
A CMD window running xCopy.exe will appear. Just sit back and let it do its thing. The CMD will close itself at the end of the copy.
Your games have now been copied to your destination folder.
Open Steam and enjoy playing your games from their new destination without any problem!


