Make Sure to back up your Facebook Data
As you contemplate the decision to step away from the Facebook realm temporarily, it is essential to safeguard your digital footprint. Facebook, understanding the sentimental value embedded in your posts, photos, and interactions, provides a robust feature allowing you to download a comprehensive backup of your data.
This thoughtful measure ensures that you retain a personal archive of your Facebook journey before initiating the deactivation process. Let’s delve into a more elaborate guide on how to meticulously back up your Facebook data:
- Log into Your Facebook Account: Commence your data preservation journey by logging into your Facebook account using your credentials.
- Navigate to Settings & Privacy: In the top right corner, you’ll find a small arrow. Click on it to open a drop-down menu and select “Settings & Privacy.”
- Access Your Facebook Information: Within the settings menu, explore the left column and click on “Your Facebook Information.”
- Download Your Information: A sub-menu will appear. Click on “Download Your Information” to access the customization options for your data download.
- Choose Data Range and Format: Select the date range that encapsulates the memories you wish to preserve. Choose between HTML and JSON formats based on your preferences.
- Select Media Quality: If your Facebook journey is adorned with images and videos, decide on the media quality for your download.
- Create File: Execute the process by clicking on “Create File.” Facebook will diligently compile your data, and you’ll be notified when your archive is ready for download.
By meticulously following these steps, you not only preserve your cherished memories but also empower yourself with a tangible representation of your digital history.
Why and When Should You Deactivate Your Personal Facebook Account
When to Consider Deactivation:
- Taking a Break: Deactivation serves as a viable option when you find yourself in need of a respite from the constant influx of social media content, allowing you to recharge and refocus.
- Privacy Concerns: If concerns about privacy or the desire to limit your online presence arise, deactivation provides a temporary solution, offering a breather while retaining the option to return.
- Reassessing Digital Presence: During periods of self-reflection or when evaluating your digital footprint, deactivation becomes a valuable tool. It allows you to step back without making a long-term commitment.
How to Put Your Facebook on Hold: Deactivation Explained
Step-by-Step Guide to Deactivation:
- Access Settings & Privacy: Begin your journey by clicking on the arrow in the top right corner, which will reveal a dropdown menu. Select “Settings & Privacy.”
- Navigate to Your Facebook Information: Within the settings menu, explore the left column and click on “Your Facebook Information.”
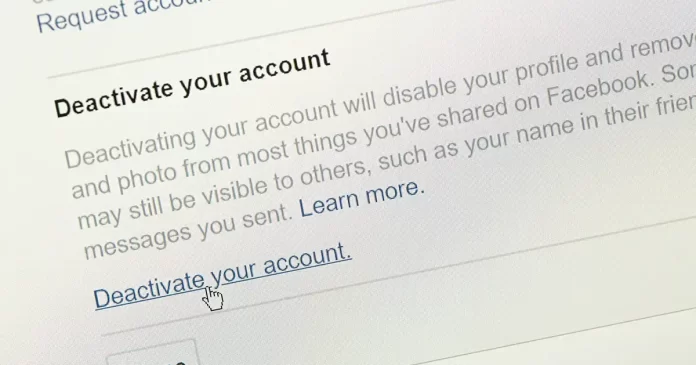
- Initiate Deactivation: Within the “Your Facebook Information” section, locate and click on “Deactivation and Deletion.” Opt for “Deactivate Account” and follow the on-screen prompts to initiate the process.
- Temporary Invisibility: Upon successful deactivation, your profile becomes temporarily invisible to others. This strategic move provides a reversible pause to your Facebook presence, allowing you to reassess your relationship with the platform.
Reactivating Your Facebook Account: The Step-by-Step Process
If and when the time comes to rejoin the vibrant Facebook community, the reactivation process is designed to be user-friendly:
- Log into Your Facebook Account: Navigate to the Facebook login page and log in using the same credentials associated with your deactivated account.
- Confirmation: Facebook, ensuring security, may prompt you to confirm your identity. This could involve entering a security code sent to your email or phone.
- Reactivate: Once your identity is confirmed, your account is successfully reactivated, seamlessly granting you access to your profile and reinstating your digital presence on the platform.
By undertaking this detailed and thoughtful process, you not only ensure a smooth transition in and out of the Facebook sphere but also reclaim control over your social media engagement. The balance between a temporary break and a return to the vibrant Facebook community is firmly in your hands, allowing for a more intentional and mindful online experience.
FAQs about Facebook Deactivation
Temporarily deactivating your Facebook account is a straightforward process. Follow these steps to initiate a temporary break from the platform:
> Log into Your Facebook Account: Access your Facebook account using your login credentials.
> Navigate to Settings & Privacy: Click on the arrow in the top right corner, revealing a dropdown menu. Select “Settings & Privacy.”
> Access Your Facebook Information: Within the settings, locate and click on “Your Facebook Information” in the left column.
> Initiate Deactivation: Find and click on “Deactivation and Deletion.” Choose “Deactivate Account” and follow the on-screen prompts.
> Temporary Invisibility: Your profile is now temporarily invisible to others. To reactivate, simply log back in with your credentials.
If your Facebook account has been deactivated involuntarily, there are a few steps you can take:
> Check for Violations: Review Facebook’s Community Standards to ensure your account adheres to their guidelines.
> Contact Support: Visit the Facebook Help Center and submit a request to Facebook’s support team for assistance.
> Appeal the Decision: If you believe your account was deactivated in error, you can submit an appeal through the Help Center.
> Verify Identity: Facebook may ask for additional verification. Follow the prompts to confirm your identity.
If you’ve decided to permanently deactivate your Facebook account, follow these steps:
> Visit the Deactivation Page: Go to the Deactivate Your Account page on Facebook.
> Confirm Deactivation: Follow the on-screen instructions, confirming your decision to deactivate permanently.
> Enter Password: You’ll be prompted to enter your password for security purposes.
> Provide Feedback (Optional): Optionally, you can provide feedback on why you’re deactivating before clicking “Deactivate Now.”
> Grace Period: Facebook provides a 30-day grace period. If you log in during this time, the deactivation process is canceled.
> Permanent Deactivation: After the 30-day grace period, your account is permanently deactivated, and your data is irretrievable.


