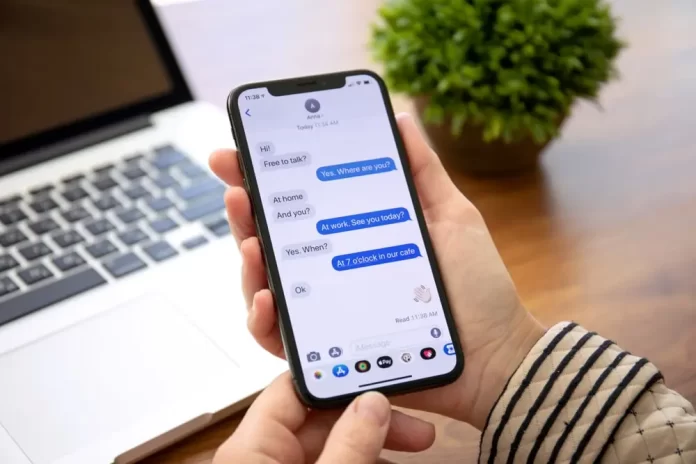
For Apple users, the seamless integration between devices is a significant advantage. One feature that epitomizes this integration is the ability to sync iMessages between your iPhone and Mac. By doing so, you can send, receive, and read your messages on your computer, ensuring you never miss a message, regardless of the device you’re using. Here’s a step-by-step guide to set up and sync iMessages on your Mac.
1. Ensure You’re Signed into iCloud
Before syncing iMessages, ensure you are signed into the same iCloud account on both your iPhone and Mac.
On iPhone:
- Open Settings.
- Tap on your name at the top, leading you to Apple ID settings.
- Ensure you’re signed in. If not, enter your Apple ID and password.
On Mac:
- Click the Apple menu (🍎) and choose System Preferences.
- Click Apple ID.
- If you’re not signed in, enter your Apple ID and password.
2. Enable iMessage on Both Devices
On iPhone:
- Go to Settings.
- Scroll down and tap on Messages.
- Ensure the iMessage toggle is turned on.
On Mac:
- Open the Messages app.
- Click on Messages in the menu bar and then Preferences.
- Click the iMessage tab.
- Ensure the Enable this account checkbox is selected.
3. Syncing Your iMessages
To ensure that iMessages sync between your devices, you must have both devices set up to receive messages at the same email address or phone number.
On iPhone:
- Go to Settings.
- Tap Messages and then Send & Receive.
- Here, you’ll see a list of phone numbers and email addresses that can be reached by iMessage. Ensure that the same ones are selected on both your iPhone and Mac.
On Mac:
- Open Messages.
- Go to Messages > Preferences and click on the iMessage tab.
- Under “You can be reached for messages at:”, ensure the same phone numbers and email addresses are selected as on your iPhone.
4. Enable Text Message Forwarding
If you want to receive text messages (not just iMessages) on your Mac that were sent to your iPhone, you need to enable text message forwarding.
On iPhone:
- Go to Settings.
- Tap Messages.
- Tap Text Message Forwarding.
- Toggle on the switch next to your Mac’s name.
5. Stay Connected to the Internet
For messages to sync seamlessly, both your iPhone and Mac need to be connected to the internet. Ensure your devices maintain a stable internet connection for real-time syncing.
Conclusion
Syncing iMessages between your iPhone and Mac not only enhances your messaging experience but also offers the convenience of multi-device usability. With these simple steps, you’ll be able to stay connected with your contacts from whichever Apple device you choose to use.
FAQs about Syncing iMessages on Mac
No, as long as both devices are connected to the internet (whether through Wi-Fi or cellular data), iMessages should sync.
Ensure you’re signed in to the same Apple ID on both devices and that both devices are set up to receive messages at the same email address or phone number.
Typically, only the iMessages received after enabling the feature will appear on both devices. Previous messages may not sync retroactively.
Yes, if both devices are set up correctly, deleting an iMessage on one device will also remove it from the other.
Yes, any photos, videos, or other attachments within iMessages will sync between devices.
Ensure you’ve enabled “Text Message Forwarding” on your iPhone to have regular SMS texts also appear on your Mac.
No, syncing iMessages between devices doesn’t incur additional charges. However, if you’re using cellular data to send or receive messages, standard data charges may apply.
No, you cannot selectively sync certain iMessages. If syncing is enabled, all iMessages will appear on both devices.
This depends on the volume of iMessages and the attachments. If you receive many messages with large attachments, it might consume more storage on your Mac.
Yes, the process is similar for other Apple devices. Ensure you’re signed in with the same Apple ID and have iMessages enabled on each device.
Explore further and dive deeper into the topic by checking out our related articles below
How to Screen Record on iPhone: A Step-by-Step Guide
How to use the “Find My iPhone” feature
