If you are one who is always on the go and likes efficiency, then you will be pleased to know that you can automatically save photos from an iPhone or Android to a computer. Once you have taken any photo with your phone, the picture will be saved to your computer. This may sound difficult, but it is actually fast and easy. You no longer have to deal with manually transferring your photos from your phone to your computer by using a physical cable or connecting through a wireless connection. As long as your phone and your computer have an internet connection, you can automatically save photos from an iPhone or Android to a computer even if both devices are miles apart.
What do I need?
To be able to save photos easily and automatically from an iPhone or Android to a computer, you need to have these prerequisites:
1.An internet connection: Your computer and iPhone or Android device should both have internet connectivity.
2.A Dropbox account: You can create a free account on Dropbox’s official site.
3.An IF by IFTTT application for iPhone and Android: Depending on your phone, you can download IF by IFTTT for iPhone on the App Store. Alternatively, you can download the Android version of IF by IFTTT from the Play Store.
Automatically Save Photos from an iPhone or Android to a Computer
To start automatically saving photos from your mobile device to your computer, follow the steps below. This tutorial explains the process using iPhone, but the steps are almost the same with Android.
1.Go to your phone’s Home screen.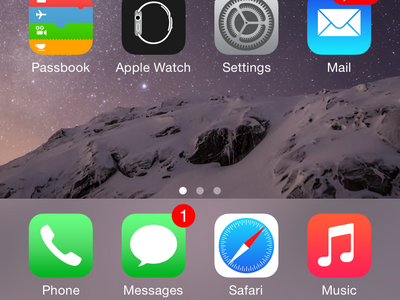
2.From the Home screen, locate the IF app, and tap on it to open up IF by IFTTT.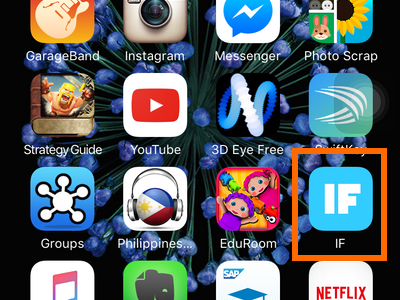
3.From IF’s main screen, tap on the recipe icon on the upper-right part of the screen.![]()
4.From the browsing page, tap on Create a Recipe![]()
5.On the Create a Recipe page, tap on the plus icon to start creating your recipe.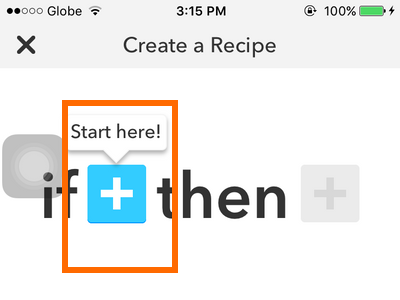
6.From the list of suggested integrated apps, locate and open iOS Photos or the equivalent option for Android. 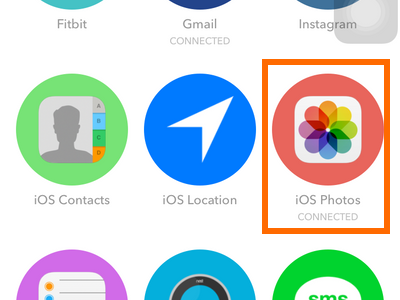
7.Choose a trigger based on suggested applications. For iPhone, let’s tap on Any New Photo to ensure all photos taken will be transferred.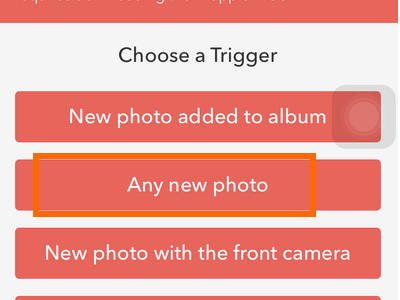
8.You will be taken again to the Create a Recipe page. Tap on the red white cross to choose an action based on the trigger.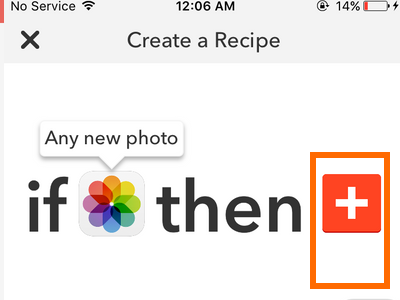
9.Choose Dropbox from the list of suggested applications. 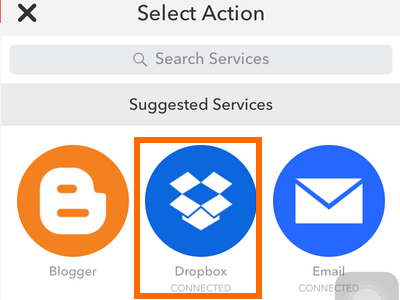
10.Confirm the action by tapping on the Add File from URL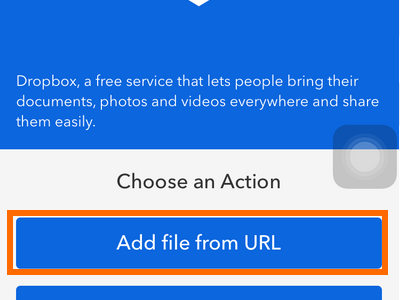
11.Review the file name and target storage where photos are automatically saved. Tap on Next to proceed.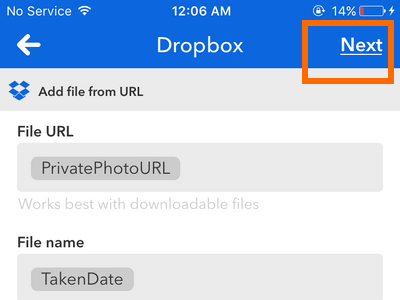
12.Tap on the Finish button.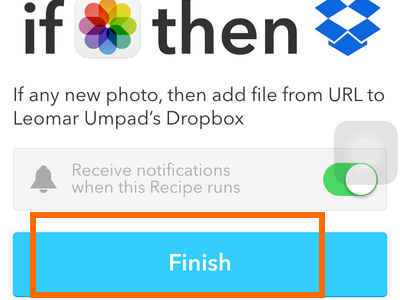
13.You are done. As long as the recipe is enabled, photos taken using the camera will now be automatically saved to the computer. Go to your computer’s Dropbox folder to view the saved photos.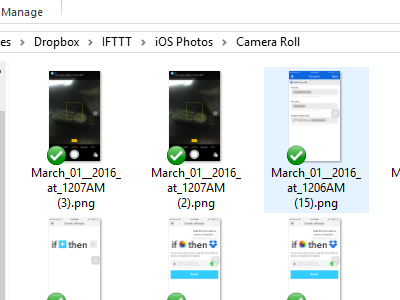
Creating your own recipe is easy. If you have any questions with the steps discussed above, let us know in the comments section.

