The clean install of Windows 7 includes many fonts and collections of fonts. If you think that many of those are useless for you, you can follow this tutorial to remove them from your system. This will not only help speed up computer, but it will also free some extra space on your hard drive.
I hate scrolling through a ton of useless fonts when I am trying select a font within an application. Using these steps you can easily remove fonts.
Please be aware if you remove a font that is required by a piece of software, that software will likely not work correctly. You should keep a list of fonts that you delete or search if the font is required prior to deleting. Creating a backup copy of all your fonts prior to uninstalling also makes sense.
Many people look for this information after installing a massive font package. Instead of trying to uninstall these new fonts one by one, consider just restoring from a prior restore point before you installed. Too many choices definitely can be a bad thing.
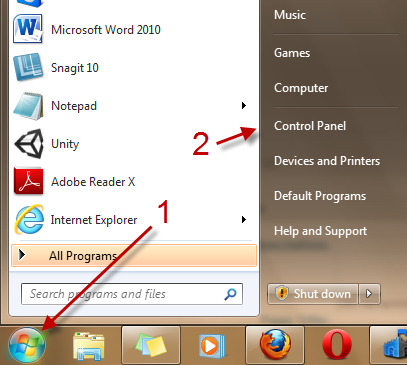
1. Click on the Windows Orb and go to Control Panel.
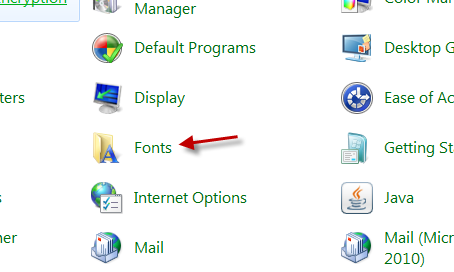
2. Go to the Fonts section in the Control Panel window.
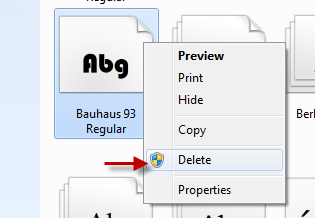
3. Find the font that you want to remove, right-click on it and choose Delete.
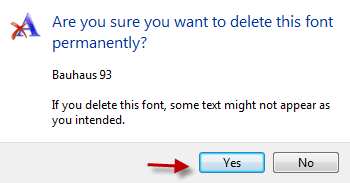
4. When the confirmation box appears, click Yes.

