If you frequently have to access some items in the Control Panel, it would be convenient to have them pinned at the taskbar. Unfortunately, pinning Control Panel items to the taskbar is not as easy as pinning normal applications. This tutorial will show you how to truly pin Control Panel items to the taskbar.
Normally, when you drag a Control Panel item to the taskbar, it will be pinned to the Jump list of the Control Panel instead. Let’s get rid of it!
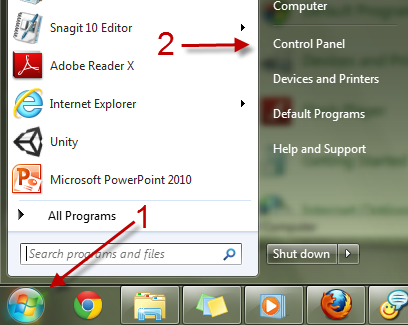
1. Click on the Start menu Orb -> Control Panel.
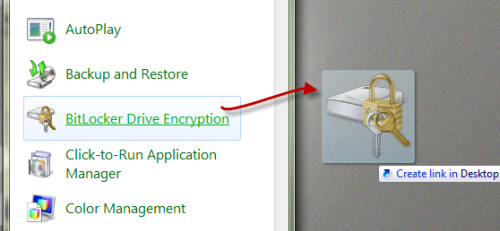
2. Drag the item you want to pin to the taskbar to the desktop to create a shortcut. This shortcut can not be pinned directly to the taskbar.
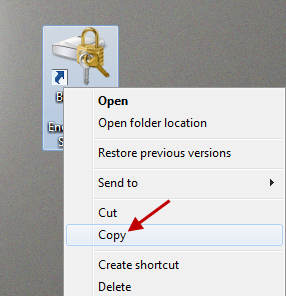
3. Right-click on the shortcut and choose Copy.
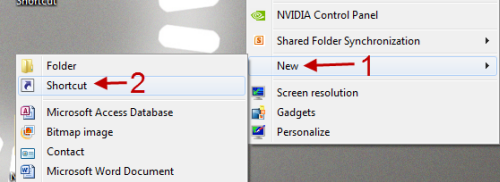
4. Right-click on your desktop, and go to New -> Shortcut.
5. In the Create shortcut window, paste the location of the shortcut to the location field. After that, add explorer (with a space) to the beginning of the line.
6. Hit Next to process to the next step.
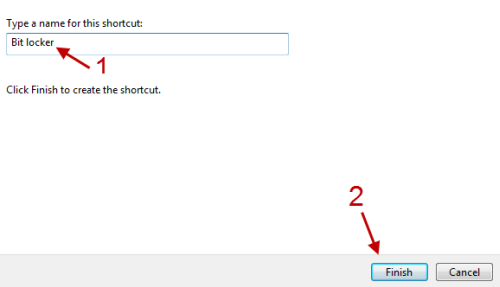
7. Give the shortcut a name, and hit Finish.
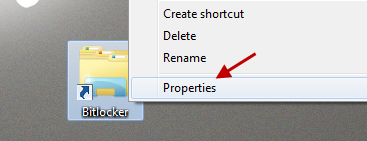
8. Now, we have a Bitlocker shortcut that can be pinned to the taskbar. However, its icon is the Explorer one. Fortunately, you can change the icon by right-clicking on it, and choose properties.
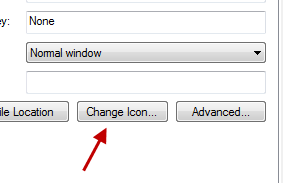
9. Click Change Icon…. button in the Properties window.
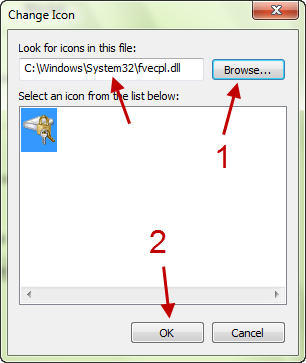
10. You can choose your custom icon by clicking on the Browse… button, and point to your icon. In this tutorial, I will use the normal Bitlocker icon which is located in the fvecpl.dll file.
11. Close all remaining Properties window, and pin the shortcut to the taskbar.

