Although Windows Phone offers a wide range of tones, you will still want to express yourself through custom tones. This tutorial will show you how to set custom tones for every type of notification.
In the past, you could only set a custom tone for calls. However, since the GDR3 update, you can use your own music for IM, email, and reminder notifications. As the time of this writing, the GDR3 update is not released to the public yet. You can, however, join the Preview for Developer program to receive pre-release updates right away. Be warned that installing pre-release software can make your phone unstable and void your warranty.
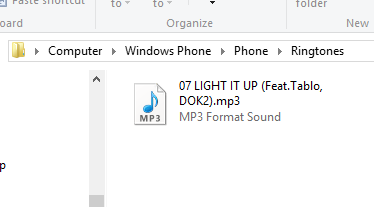
1. First, you will need to copy your custom tone to the phone memory. Connect your phone to the computer, and copy your file to the Ringtones folder. Please note that the file must be placed in the correct folder, or it cannot be used as your phone’s custom tone.
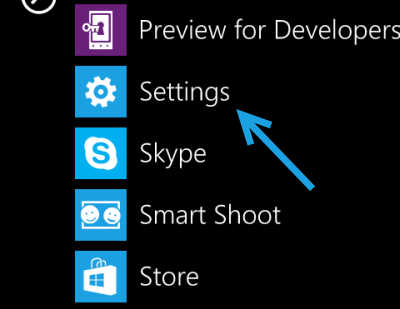
2. Once all the files are copied, you can disconnect the phone from the computer. Next, go to the Settings section. You can access it from your live tile or the app list.
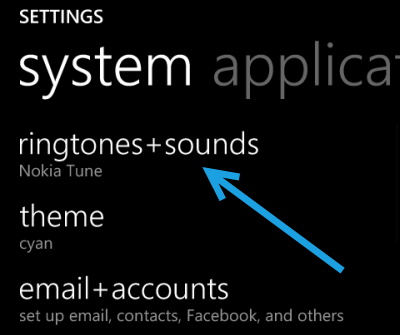
3. In the Settings screen, make sure that you are viewing the system tab. Scroll down and find the ringtones + sounds option. This option is not updated very often, so it should stay at the top most of the time.
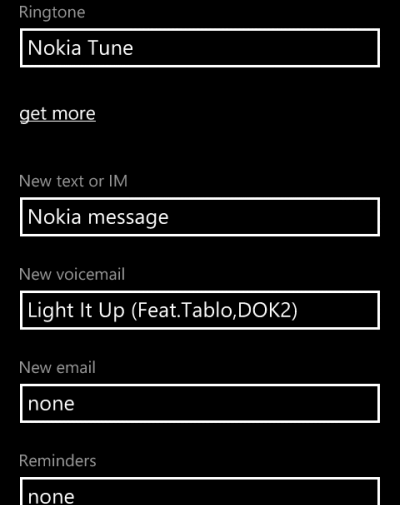
4. In the ringtone screen, you can set different sounds for calls (ringtone), text or IM, voicemail, email, and reminders. Choose the one that you want to set to continue.
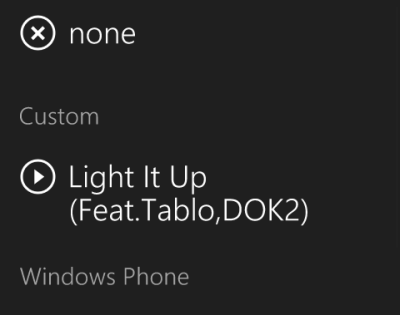
5. Your custom tone should be detected by the system and placed at the top of the list. You may need to scroll up to see it. Tapping on the play button will allow you to preview the tone, and tapping on the name of the tone will set it as active.
