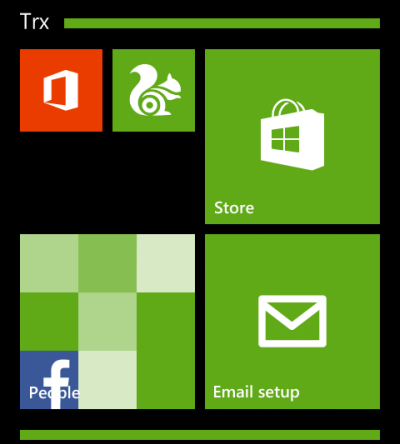
Since the Lumia phone’s Start screen is a collection of live tiles, keeping too many of them on the screen could clutter the interface and make it difficult to locate the apps you want quickly. In this case, grouping similar apps into a folder is an efficient way to organize your apps. Here is how you can create and use folders on your Lumia phone.
As of this writing, the live folder feature is only available via the Windows Phone developer program. It will be rolled out to the consumers soon. Please check for updates on your phone to see if new software is available. If you cannot wait, follow this tutorial to access the feature early.
1. Before you can create folders for your apps, go to the app list, and pin every desired app to the Start screen.
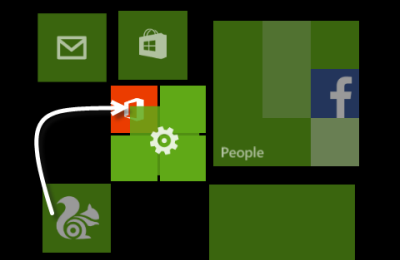
2. When you have all the tiles on the Start screen, long-tap on any of them to switch to edit mode, and then drag one tile on top of another to create a folder. Once the folder is created, you just have to drag the other tiles into the folder.
3. While you are adding the tiles to the folder, make sure to give the folder a more definitive name so that you can distinguish it from the others.
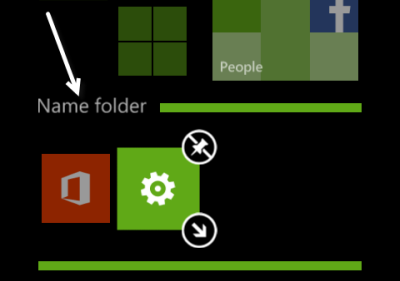
4. To exit edit mode, tap anywhere outside of the folder. Now, you have a folder which contains your favorite apps. You can collapse the folder by tapping Back or any area outside it. When a folder is collapsed, it only takes up a small space on-screen.
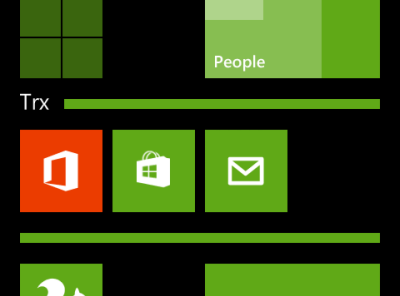
5. Similar to a traditional app tile, you can resize the folder tile to make it bigger or smaller. When the tile is large, you can see more apps inside the folder. Big tiles also means more room for the content of live tiles.
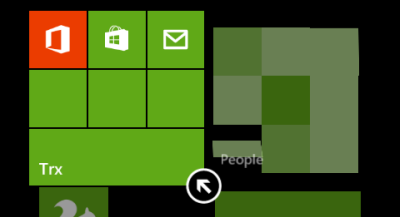
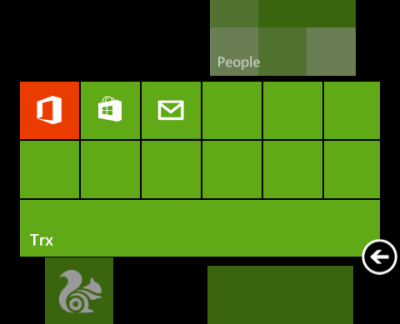
6. In addition, you can resize and rearrange the tiles inside a folder the way you want them. You can use this feature to place your frequently used apps at the top of the folder.
