The Photos app tile in Windows 8 cycles through your pictures by default. However, many users will have images that they do not want displayed on the Metro screen. Likewise, the rapidly changing tile can be distracting. By following these steps, you can set an image for the Photo applications’s tile.
In Windows 8 the Live tile feature helps users track the changes inside the Metro apps. While most of the Live tiles can not be changed, the Live tile of the Photos app can be modified by users to display their favorite image.
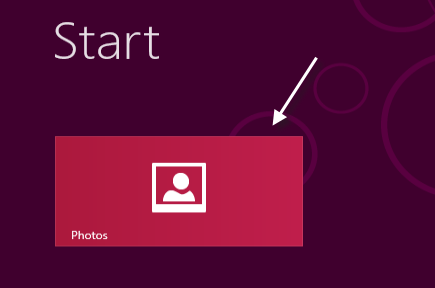
1. Open the Photos Metro app. You can launch it from the Start screen, or you can search and launch it from the Search result page.
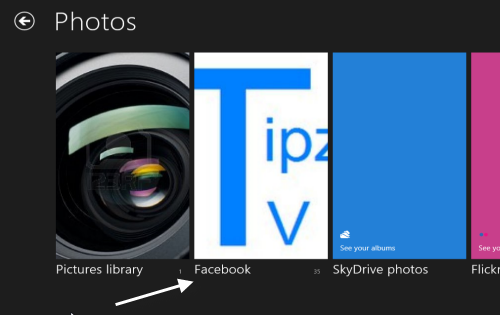
2. From the Photos app screen, choose the album that contains the picture that you want to set as the Live tile.
3. When the photo album is open, click on the photo you want. You will then be taken to the photo view mode.
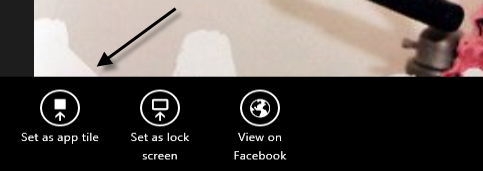
4. While in the Photo view mode, right-click on the picture. A menu will pop up at the bottom of the screen. Choose Set as app tile.
5. Switch back to the Start screen. The Photos app’s live tile will be changed immediately.
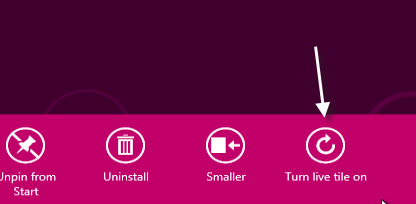
6. If you can not see the change, make sure the Live tile mode of the Photo tile is turned on. You can check this by right-clicking on the tile and see if the Live tile option is on or not.

