In Windows 8.1, customization has been greatly improved in many respects. One of them is that users are now able to set the lock screen to play a slide show from multiple folders, instead of just one picture. This tutorial will help you set up the slide show for the lock screen.
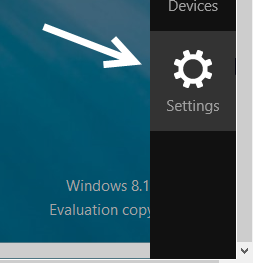
1. Move your mouse to the bottom right of the screen to show the charm bar, and choose Settings.
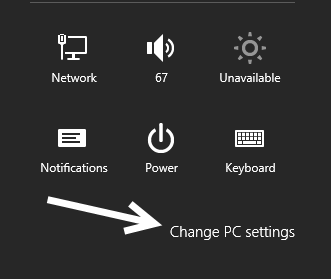
In the slide out pane, choose Change PC settings to access the Metro panel.
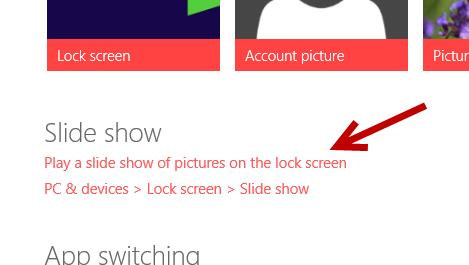
2. In the Settings screen, make sure that you are viewing the Top Settings section. Look for the Slide show section, which can usually be found at the top, and choose either Play a slide show of pictures on the lock screen or PC & devices > Lock screen > Slide show link. Both of them will lead to the same place.
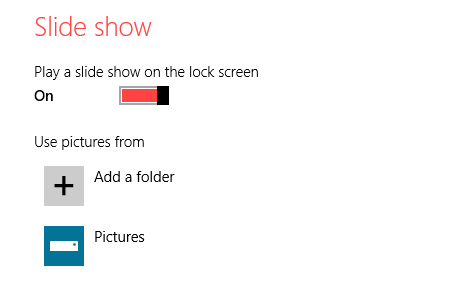
3. In the Slide show screen, make sure to turn on the Play a slide show on the lock screen option. After turning it on, other related settings will be shown. First, you will need to add a background folder so that the system can show the pictures inside it on the lock screen. Click Add a folder to process.
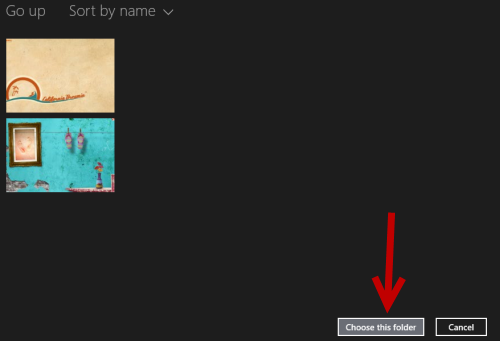
4. You will be using the Metro interface to set your folder. You can choose a folder from your computer hard drive, SkyDrive, homegroup, or network. To reach the destination folder, use the Go up button, which I found pretty limited at times. When you are in that folder, click Choose this folder. Go ahead and choose another folder if you want. When you are done, click OK.
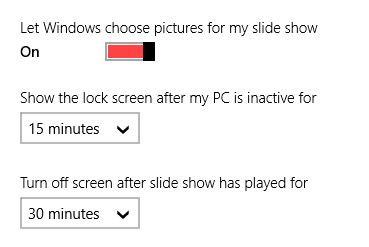
5. After the picture folders are set, you can tweak the additional settings such as when to show the lock screen (Show the lock screen after my PC is inactive for) and when to turn off the screen (Turn off screen after slide show has played for).
7. Please note that the pictures on your hard drive will always be available for showing on the lock screen. However, you may need an active internet connection if you choose to show pictures from folders on your Skydrive or a network.

