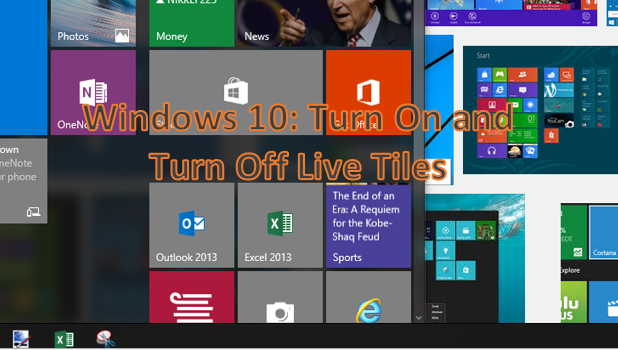
The Start menu on Windows 10 has integrated live tiles into its main interface. Live tiles allow you to get a sneak peak of an application without actually opening it. Some live tiles update regularly to provide you with the latest news or information from the app. For example, the Sports tile will switch between photos and headlines of current sporting events, and the Store tile will display the latest and most popular applications for Windows. By default, some tiles have the live tile feature turned on. If you want to learn how to switch off live tiles, then you have come to the right page.
How to Turn Off Live Tiles on Windows 10
To disable live tiles on your Windows 10 computer, follow these steps:
1.Open your Start menu by clicking on the Start button at the lower-left part of the screen.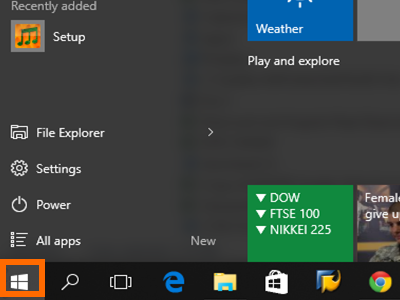
2.In the Start menu, locate the live tile of your choice.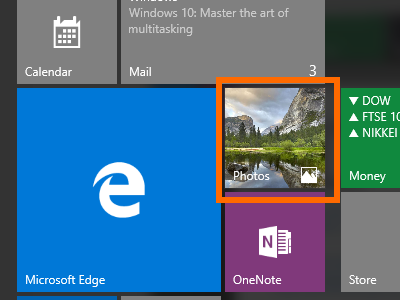
3.Right-click on the target live tile to view available options for it.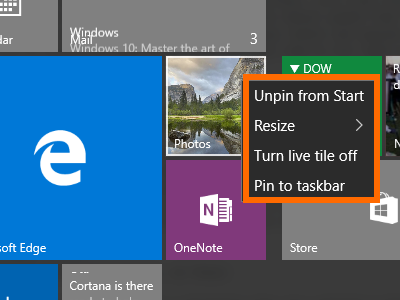
4.The option Turn live tile off will be displayed. Tap on the option to disable the live tile.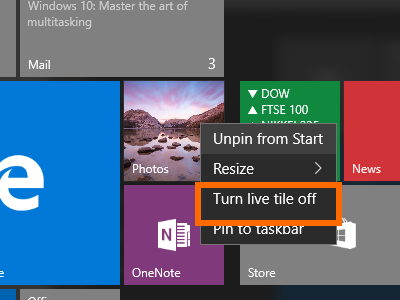
5.The tile will switch to its static icon mode. You are done.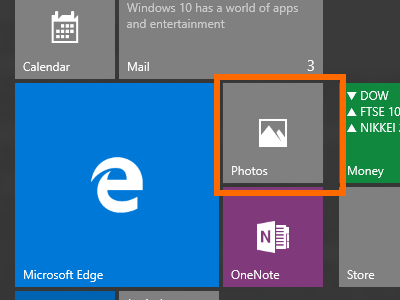
How to Turn On Live Tiles on Windows 10
To enable the live tile feature on your Windows 10 computer, use the following steps:
1.Click the Start button to view your computer’s Start menu.
2.Choose the static tile that you want to enable.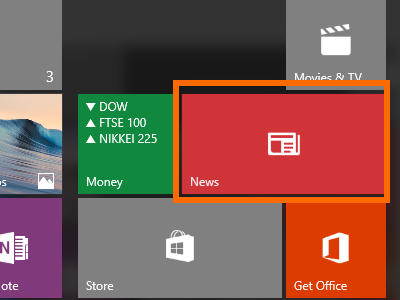
3.Right-click on the tile to see tile options.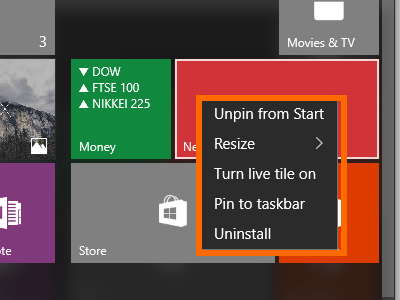
4.Click on Turn live tile on to enable the live tile feature for the target app.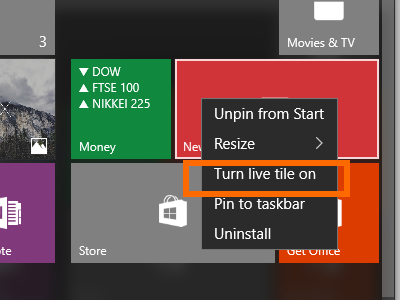
5.The tile will now be a live tile. Information about the app will now start displaying on its app icon.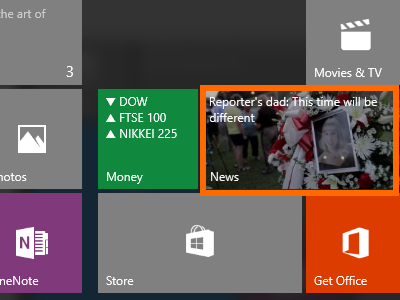
Are you stuck on any of the steps above? Let us know so that we can help you out. Do you have something to share about your experience with using live tiles on Windows 10? We want to hear from you in the comments section.

