If the default pictures that appear on the lock screen of your computer are not visually appealing to you, follow the steps in this tutorial to set your own pictures.
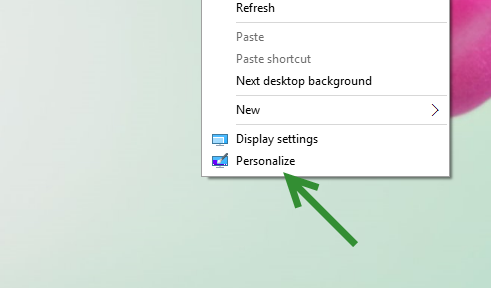
1. Go to the desktop, right-click on an empty space, and choose Personalize in the context menu.
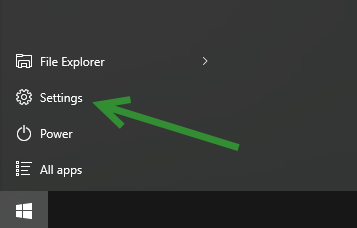
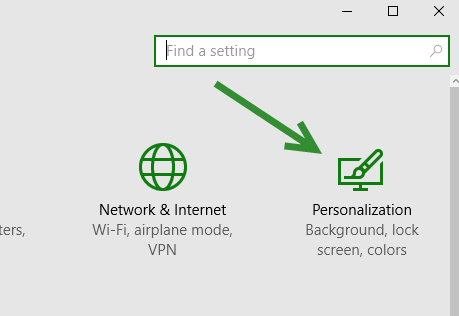
Alternatively, you can go to Start -> Settings -> Personalization.
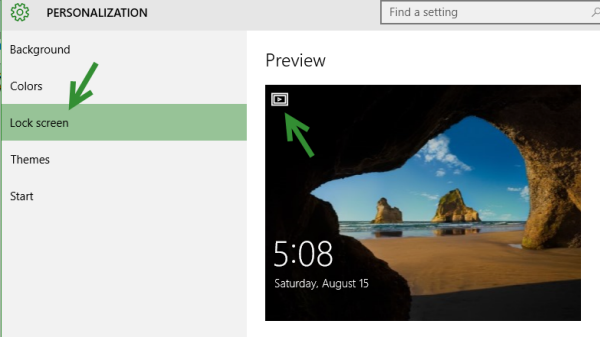
2. In the Personalization window, go to the Lock screen section. Inside this section, you will see a preview of the current lock screen at the very top. The icon at the top-left of the lock screen indicates that the lock screen is currently showing a slideshow of pictures.
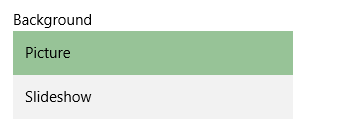
3. Before you change the background, you need to set the type of background. You can choose either the Picture option (which shows only the chosen background image) or the Slideshow option (which shuffles through a collection of pictures). Depending on the type of background you choose, you will be given different options.
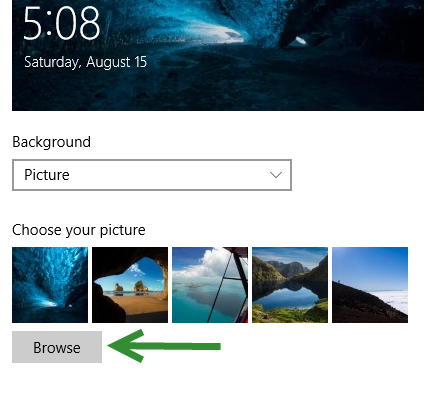
4. If you choose the Picture option, you will see a list of default images that are suitable to use as the lock screen background. If you do not see one that you like, click Browse, and choose a picture that you have stored on your disk.
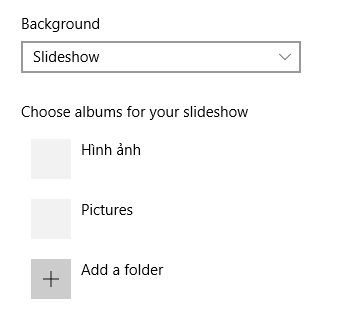
5. If you want to play a slideshow on your lock screen, you will have to select the folder containing all your favorite pictures. You can manually point the system to your custom folder by clicking on the Add a folder button.
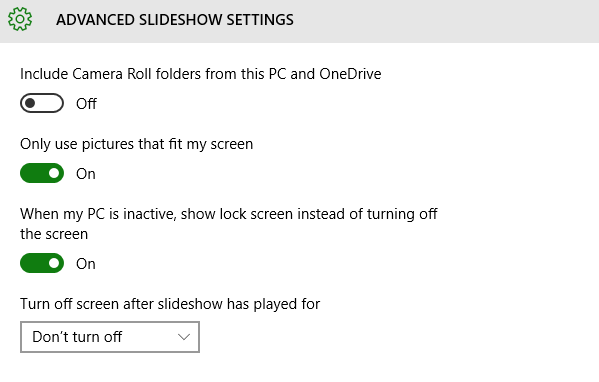
6. For the slideshow option, you have some extra settings to customize the lock screen experience. For example, you can use the pictures inside the Camera Roll folders from your PC and your OneDrive account. You can also filter the images to use only the ones that fit your screen, or you can set the action you want to occur when the slideshow is finished.
7. Try locking your account to activate the lock screen. The new picture (or pictures) should appear.

