Just like any other email account, you can set up an iCloud email account on Microsoft Outlook. Using the right configuration and settings, you can now start sending and receiving email messages from your iCloud email account on Microsoft Outlook. If you were able to create a free iCloud email account and you want to configure your iCloud email into Microsoft Outlook, then this tutorial is for you.
Set Up an iCloud Email Account on Microsoft Outlook
To start using your iCloud email on Microsoft Outlook, you need to follow these procedures and configurations:
1.Open the Microsoft Outlook program on your computer. ![]()
2.Once Outlook is opened, tap on the File menu.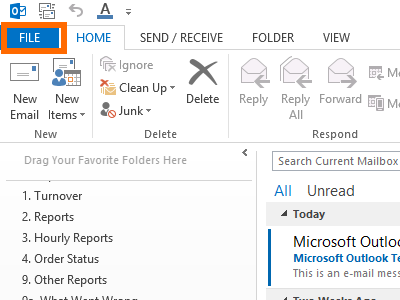
3.From the File menu, click on Add Account.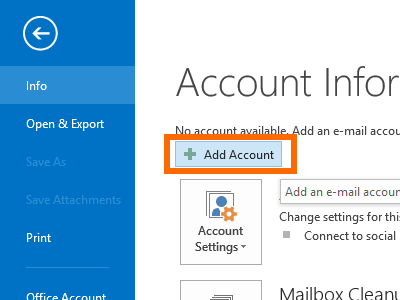
4.On the Add Account wizard, click on the tick button for Manual setup or additional server types. 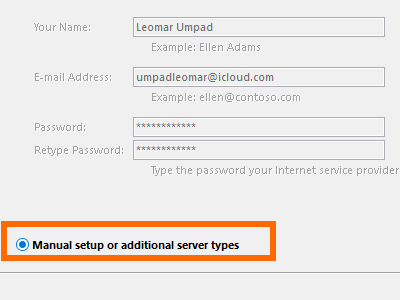
5.Choose the Pop or IMAP service.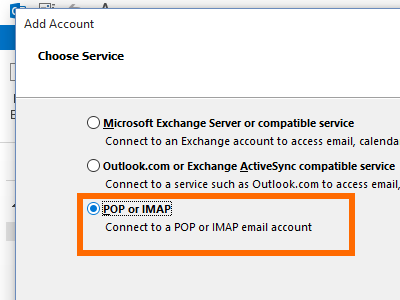
6.Enter your Name and your iCloud email address.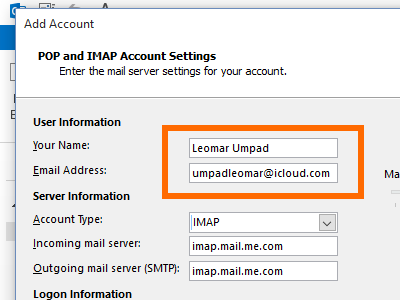
7.In the Account Type, choose IMAP.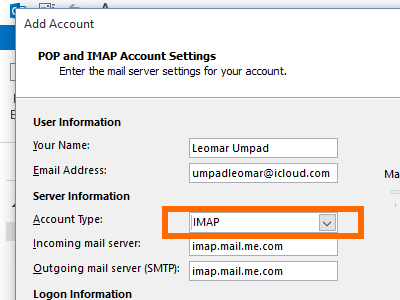
8.In the Incoming mail server, input: imap.mail.me.com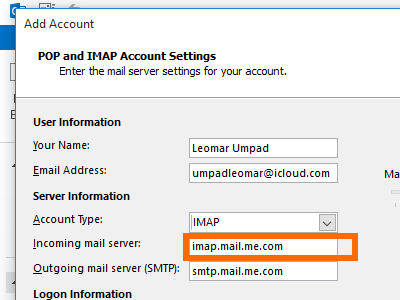
9.In the Outgoing mail server, input: smtp.mail.me.com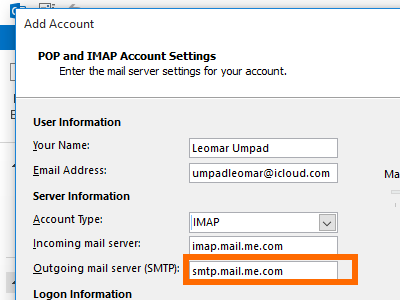
10.In the Logon Information, input your iCloud username and password. You do not need to put the suffix, @icloud.com on your username. However, if there is an error encountered, try to put your full email address and see if it fixes the problem.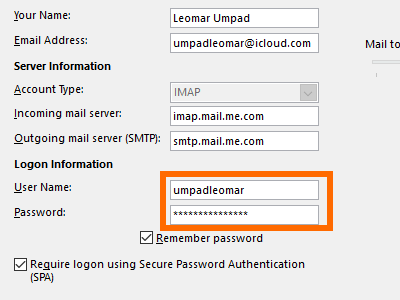
11.Put a check mark on Remember password and Require logon using Secure Password Authentication (SPA).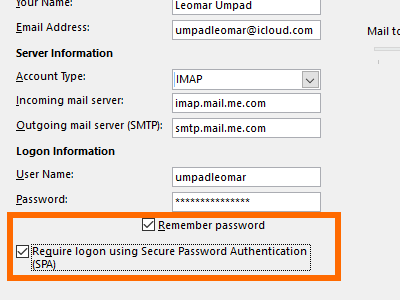
12.Click on More Settings.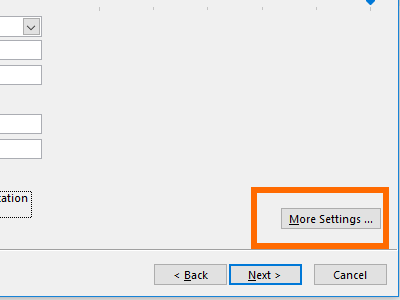
13.On the General tab, input the name of your account. You can choose any name that you want as this tab does not affect the connection in any way.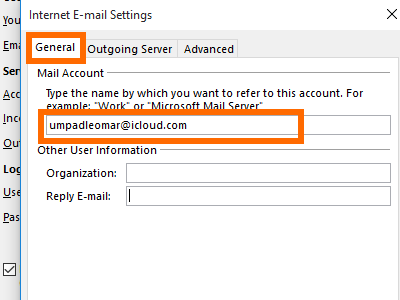
14.On the Outgoing Server tab, put a check mark on My outgoing server (SMTP) requires authentication. 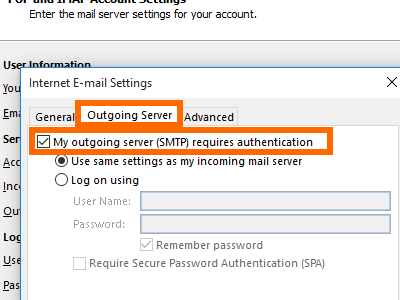
15.Still on the Outgoing Server tab, click on the tick mark for Use same settings as my incoming mail server. 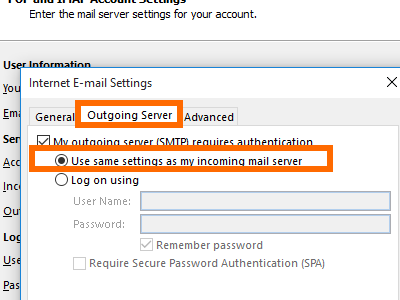
16.On the Advanced tab, enter 993 on Incoming server (IMAP) then choose an SSL connection from the drop-down box.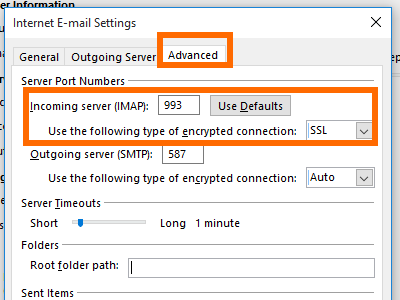
17.Still on the Advanced tab, enter 587 on Outgoing server (SMTP) then choose Auto connection from the drop-down box. Leave every other options as they are.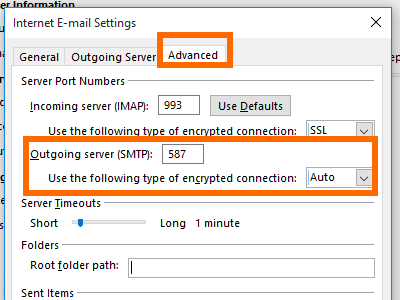
18.Click on OK when you are done. 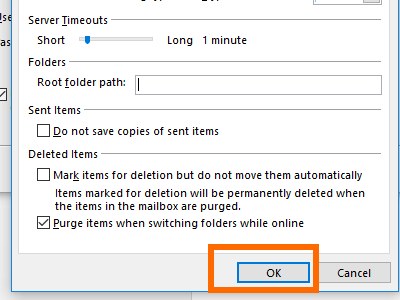
19.Tap on Next to test the settings and configurations.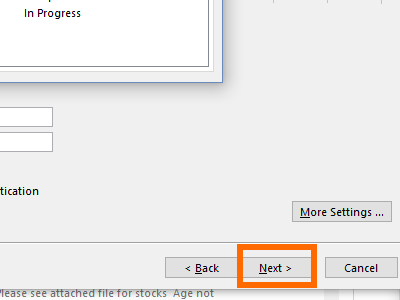
20.The test will show a completed incoming and outgoing test. Tap on Close.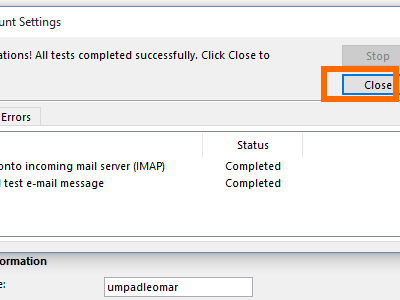
21.You are all set. Tap on the Finish button.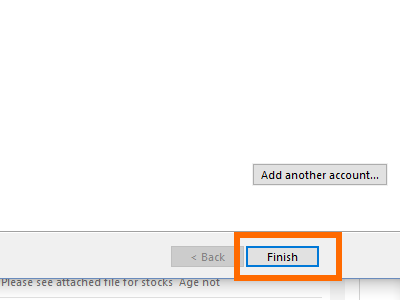
22.Your iCloud account will now be visible on Outlook. 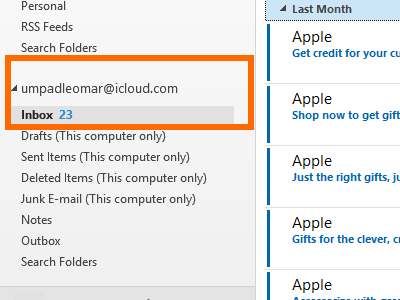
23.You can send a test email message to ensure that your email is working.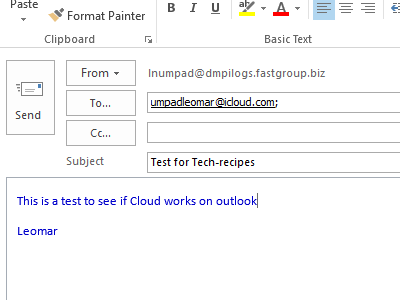
The procedure may seem lengthy because all areas are covered. If you have problems with any of the procedures above, let us know in the comments section so that we can help you.

