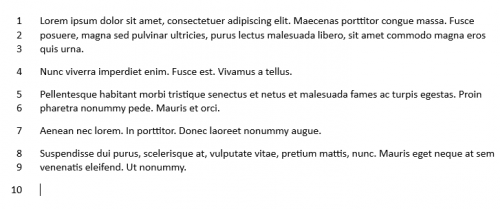
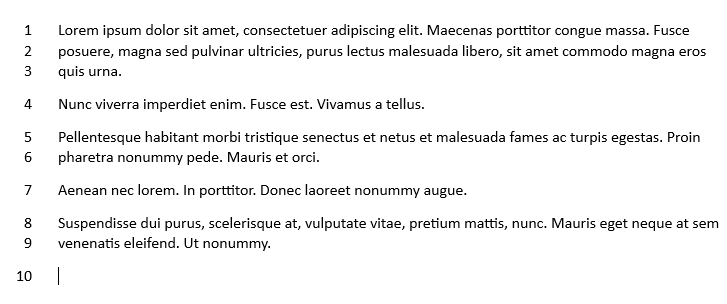
Having numbered lines in your document is useful if you quickly need to reference a part of your document.
Both legal papers and scripts often need sections referenced for either structure or clarification. Word 2013 makes it easy to reference a specific line by adding an appropriate line number to go with it. Through these directions you will be able to display unobtrusive line numbers in the left margin.
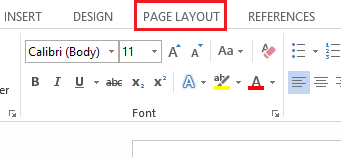
1.With your document open, select Page Layout from the Word ribbon.
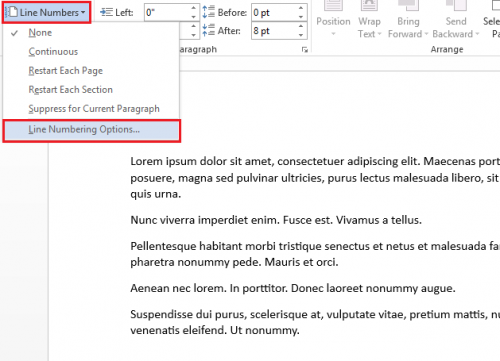
2.At the far left of the ribbon, select Line Numbers. Then select Line Numbering Options.
3.A Page Setup window will appear. Under the Layout tab, you will need to select the Line Numbers… option.
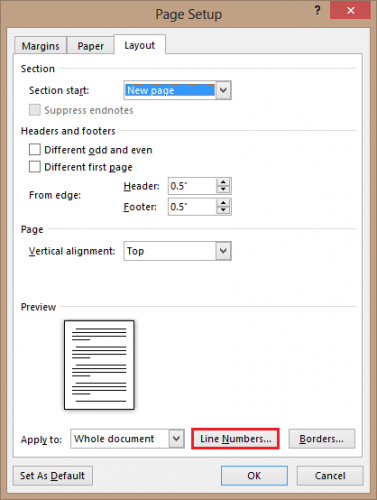
4.Under Line Numbers, check the box next to Add line numbering. From here, you can also select the starting number as well as numbering intervals. After you have selected your desired options, click on OK.
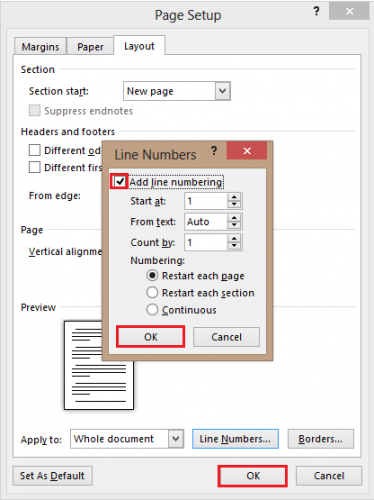
After these steps, your document will have lines numbered in the margin. You can tweak the options to find the setup that works best for you.
