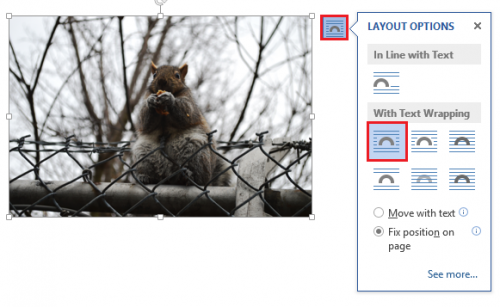
Knowing how to center a photograph or image in Microsoft Word can be the key in creating a visually appealing document. This tech-recipe will cover both centering an image as well as selecting a text wrapping option and layout.
Including images within Word documents is something that is frequently done poorly. In prior versions of Word it was so awkward that many people have given up on the practice completely. Other users get the image into the document, but do not know the additional steps to get picture aligned correctly and to ensure that the text flows around the image in a natural manner.
The three basic steps are simple–import, align, text layout.
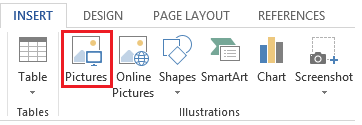
1.First, let us import our image into Office. Select the INSERT option from the Word ribbon, then click on Pictures.
2.Once you have selected and imported an image, click on it to select it.

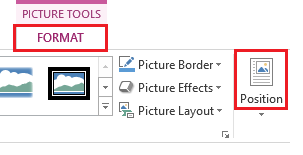
3.In the Word ribbon under Picture Tools select Format, then Position.
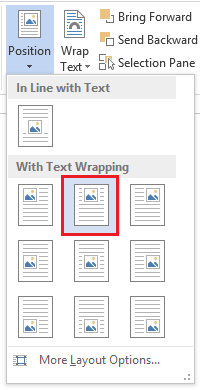
4.Under Position options select the Text Wrapping option that best suits your document. For this tutorial I will be centering the image around the top of the page.
5.Select the Layout Options button that is located at the top right of the image. Pick the text wrapping option that will best suit your document.
