The account that you use to log in to your Windows 8 system will be used as the default account in Microsoft Office 2013 products. However, when you work on multiple projects, you may be required to log in to different accounts to access and save documents. This tutorial will show you how to add and switch between accounts in the Office 2013 suite.
The screenshots in this tutorial are from Word 2013. The steps for Excel and PowerPoint should be the same.
1. Launch the Microsoft Office 2013 product that you want.
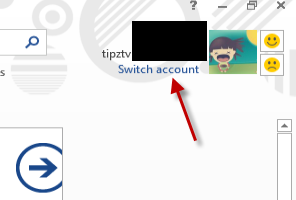
2a. If you see the Backstage view after launching, click the Switch account link at the top right of the window.
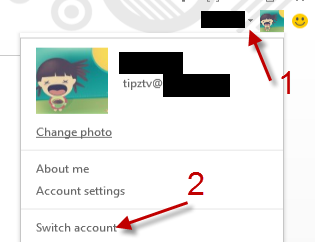
2b. If you go directly into the main window, click the arrow icon next to your account picture, and choose Switch account.
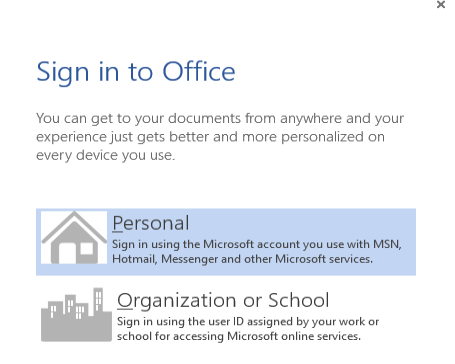
3. The first time you add an account, you will be greeted by with the Sign in to Office window. Choose whether Personal or Organization or School to continue. In most cases, you will want to choose Personal. The other option is for people who are working in a team, which requires logging in to a work space like Office 365.
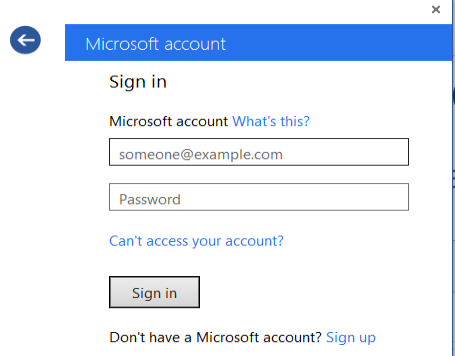
4. Provide your account information in the appropriate field, and hit Sign in.
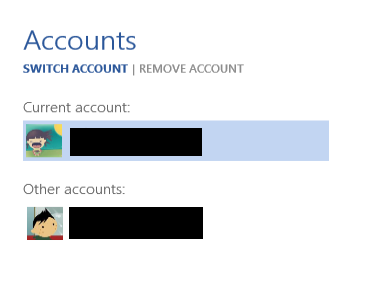
5. When you have signed in, that account will be the active one. To switch between accounts, repeat the above steps. However, this time you will only have to choose the account you want.
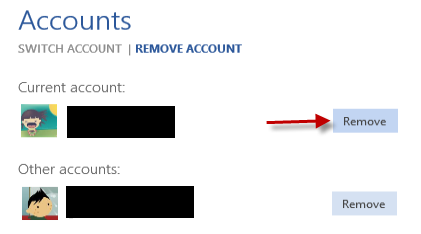
6. If you want to remove accounts from the program, switch to the Remove Account section, and click the Remove button in the same line with the account you want to remove.

