If you are working on a document that requires basic screen-captures, you can use a built-in feature included in both Word and PowerPoint to do the work instead of using third-party software.
Please note that this tutorial is for Office 2013 only.
1. Launch Word or PowerPoint 2013, and then open the document to which you want to add a screenshot.
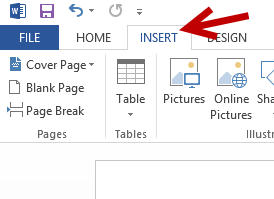
2. Show the ribbon if it is hidden, and then switch from the Home tab to the Insert tab.

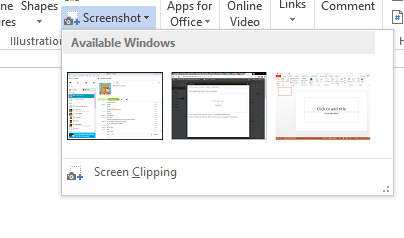
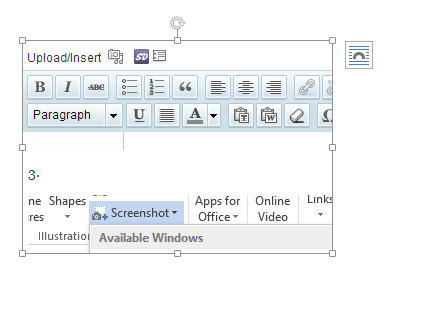
3. Click on the Screenshot button to see more options. The thumbnails displayed are the current open windows. Click on one of those to capture the entire application screen. If you just want to capture a small portion of the screen, choose Screen Clipping.

4. Right after you have chosen Screen Clipping, you will be redirected to the previous window. The cross-hair icon will then appear on screen. To capture the screen, all you have to do is click and drag the mouse to highlight the area you want to capture. To save the capture, just release the left mouse button.
5. The captured file will be added to the document automatically. You can further tweak the file by using the image tool.

6. To capture more screenshots, just repeat the steps above.


