You can use PowerPoint to create a photo album to display your photographs and pictures. PowerPoint makes it easy for you to insert pictures and customize them by applying themes and using special layout options. You can also change the appearance of a picture in the photo album by adjusting rotation, contrast, and brightness.
As powerful as PowerPoint is, many people do not realize what a great tool it is for creating photo albums. These step-by-step directions walks through the creation process. These directions have been tested in PowerPoint 2007 and 2010.
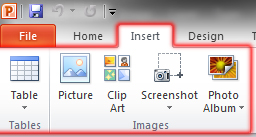
1. Go to the Ribbon and click the Insert tab.
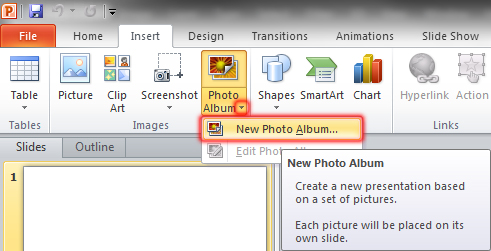
2. Click the drop-down arrow next to Photo Album and select New Photo Album.
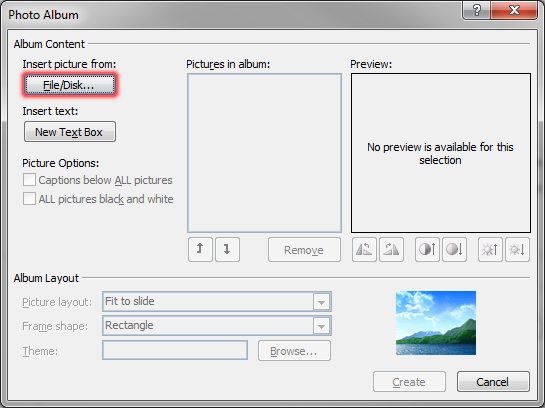
3. Click the File/Disk button under Insert picture from:.
4. Browse to the folder that contains the pictures you wish to insert.
5. Select the pictures you wish to include in the new photo album. (Protip: Hold down the Ctrl key to select multiple images at once.) Click the Insert button.
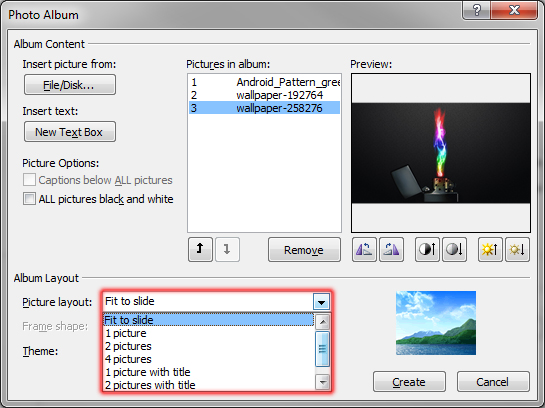
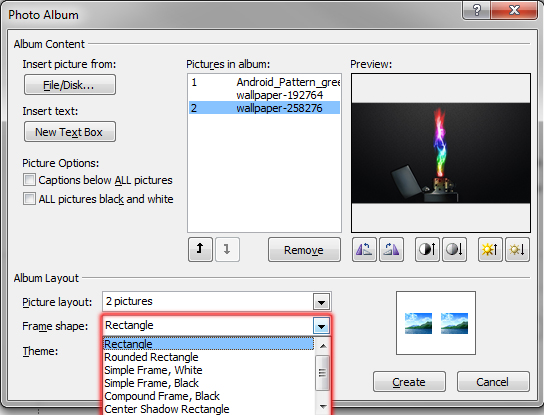
8. Select the desired layout from the Picture layout drop-down list.
(Note: A preview of the layout is displayed beside the drop-down list.)
9. Select the desired frame shape from the Frame shape drop-down list.
(Note: A preview of the frame shape is displayed beside the drop-down list.)
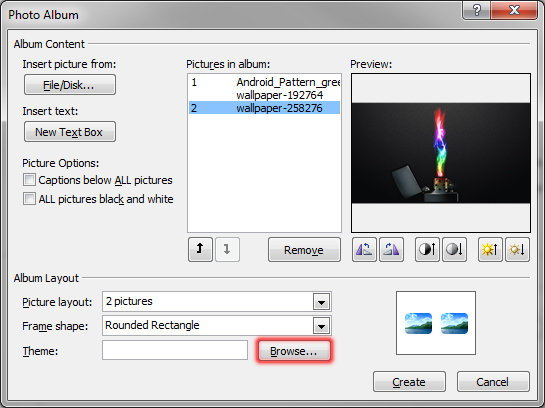
10. Click the Browse button beside the Theme box.
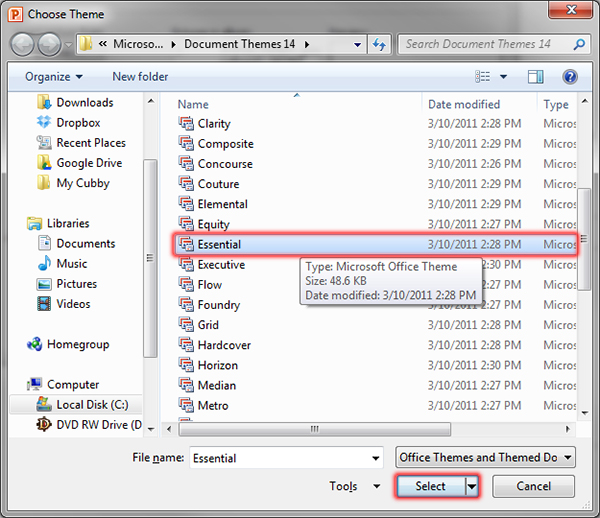
11. Select the desired theme from the Theme drop-down list.
(Note: By default, the pre-installed PowerPoint theme folder is opened. If you have a theme in a different location, browse to that location.)
12. Click the Create button.
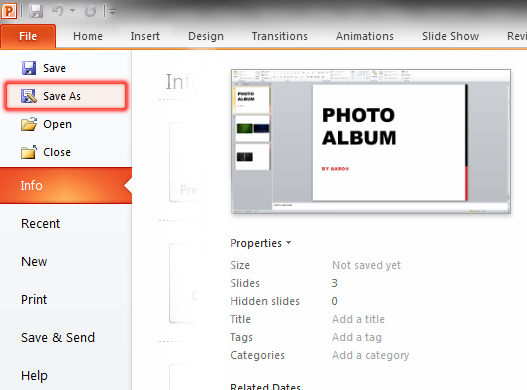
13. In the Ribbon, click File and select Save As.
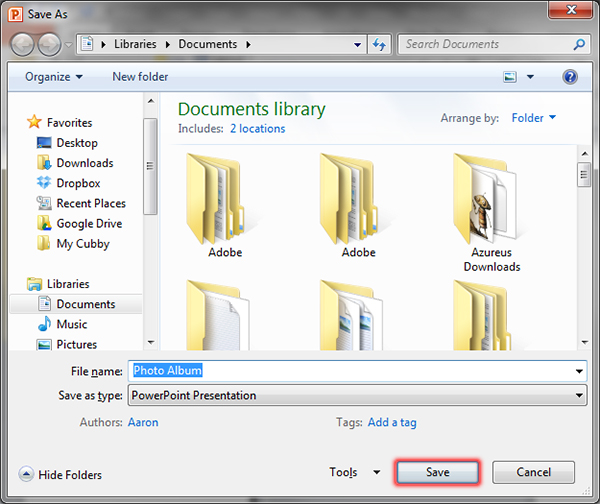
14. Type the filename into the box and click Save.


