If you want to keep connected with your friends but don’t want to stay stuck at the computer all day, you can use Outlook to schedule your Facebook status updates. This way your Facebook activity stays up while you are out having fun.
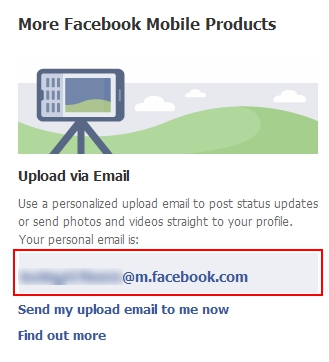
First, you need to get the upload email for your account from Facebook. To do this go to Facebook and login to your account. Then go to http://www.facebook.com/mobile/.
Go to the upload section and copy the address for your personalized upload email.

Open Microsoft Outlook and creat a new contact for this email address.
To schedule a Facebook update:
1. Open a new email message.
2. Address the email to the contact you created for the personalized Facebook email address.
3. Place the staus update in the Subject line.
4. You can also attach a photo or video, if you do so then the Subject line should be used for the caption.
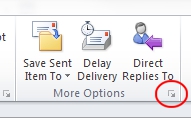
5. In Outlook 2010, click the Options tab in the message window.
6. Go to More Options and click the dropdown arrow.

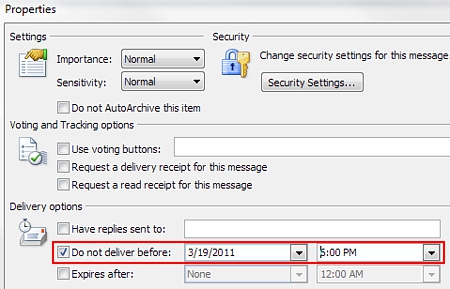
7. Under Delivery options, check the Do not deliver before: checkbox.

8. Use the dropdown boxes to input the date and time you wish the update to be sent.
9. Click the Close button.
Note: If you are using an older version of Outlook, check out the instructions on how to delay sending messages on Outlook.
10. Click the Send button to send the email. It will stay in the Outbox until the scheduled time. Make sure Outlook is left open.
