Windows users can stream online videos using the built-in Windows Media Player application. You can ensure that the streaming speed is as fast as possible by adjusting the buffer settings. The video buffering process collects and stores the video stream and stores it in the phone’s memory. A lower network buffering rate may cause the video to lag, especially if you have an erratic internet connection. Increase the buffering speed to increase the video streaming speed on your Windows PC.
How to Change the Buffering Rate to Increase Video Streaming Speed in Windows
1.Click on the Start button located on the lower-left part of your computer’s screen.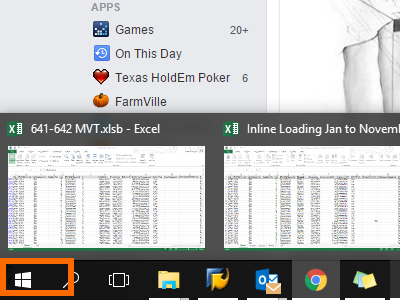
2.Open Windows Media Player. Depending on your version of Windows, you can either find it in the list of programs on your Start Menu or search for it using the Search function.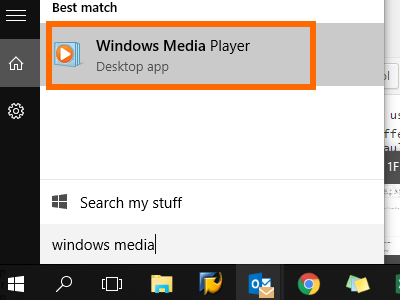
3.Maximize Windows Media Player.
4.Click on the Organize option on the upper part of the screen.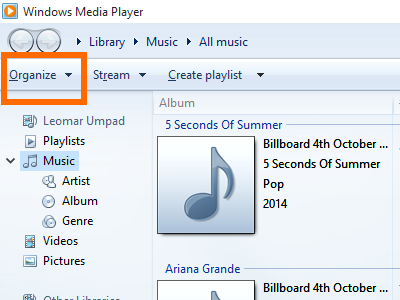
5.From Organize, tap on Options.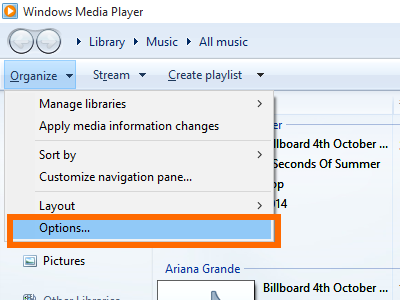
6.On the pop-up menu for Options, click on the Performance tab.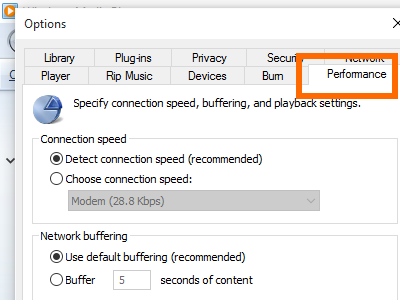
7.Under the Network Buffering option on the Performance tab, click on the bullet point for Buffer.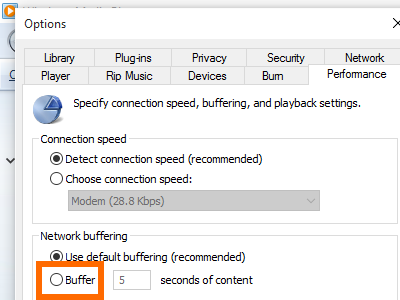
8.Enter a buffering rate between 1-10. Higher values allows your streaming to be smoother, though it may take longer for your videos to start playing.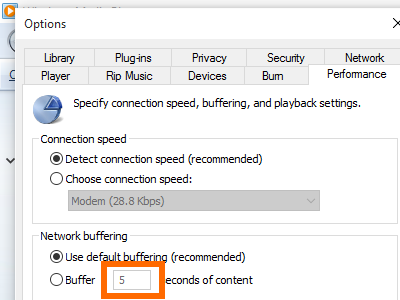
9.Click on Apply, and then click on OK. You are done.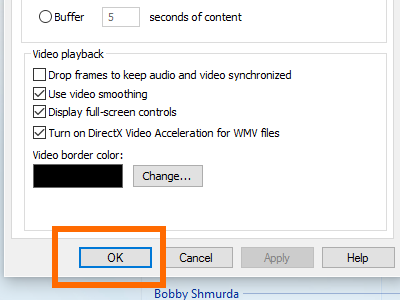
Though it is recommended that you use the default buffering values for Windows Media Player, there will be situations where you want to have it lower or higher. Each difference in value equals a difference in the streaming experience, depending on your internet speed and connection stability.
Do you have experience with tweaking the values for the buffer rates to increase video streaming speed in your Windows Media Player? How did it go? Do you have any questions with the steps outlined in this article? Let us know in the comments section.

