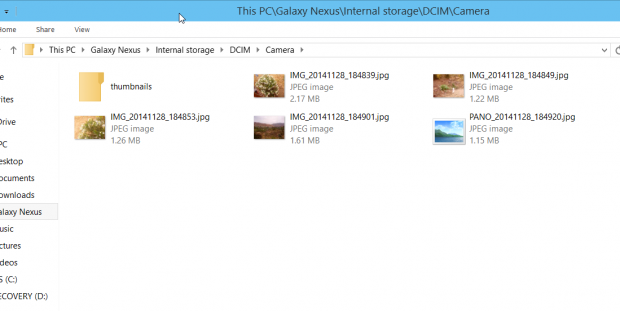
When you click on your Android phone in Windows, you can either import photos from your cell phone or just copy them with the Windows File Explorer. Copying the photos is easier and faster than using the Import option as importing scans folders other than your camera folder under certain circumstances. Here is how to use File Explorer to copy photos from your Android phone.
The process of copying your photos from your Android phone to Windows is as simple as connecting your phone to your computer and opening the File Explorer. Note that Windows could download and install new software from your phone manufacturer. If Windows does not recognize your phone when you plug it in, make sure the device is plugged in tightly, or look on your manufacturer’s website for missing software. This will work 95% of the time with no intervention required. Some charging cables do not make a good connection as your phone becomes well worn over time, so try another cable as well.
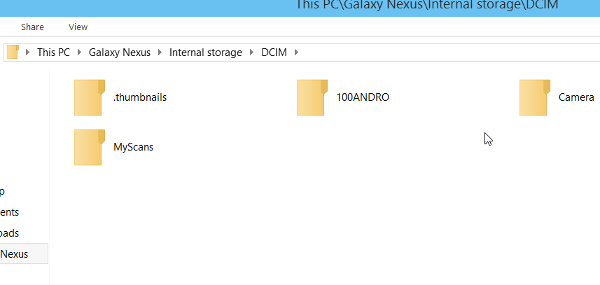
Below, the steps demonstrate how to copy photos using Windows 10 and a Nexus 4 Android 4.4. The Camera folder might be in a different location for a Samsung or other manufacturers.
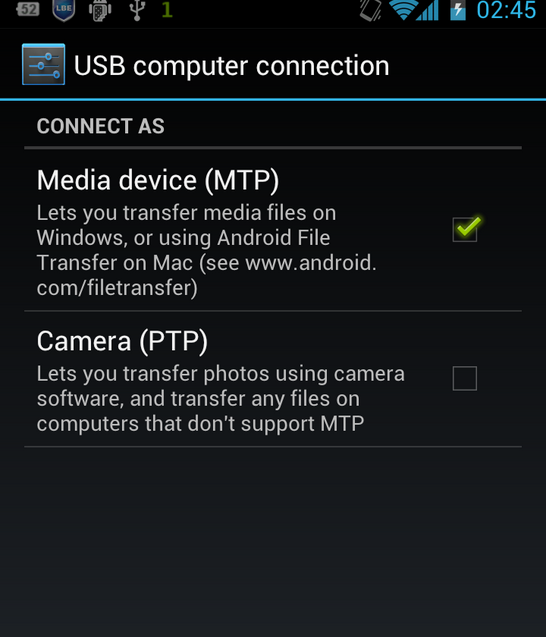
1. Plug the phone in to your computer, and in the notification screen at the top of the phone, it will say that the phone is either Connected as a Camera or as a Media Device. Either option works for copying files. To change the option, just click on it.
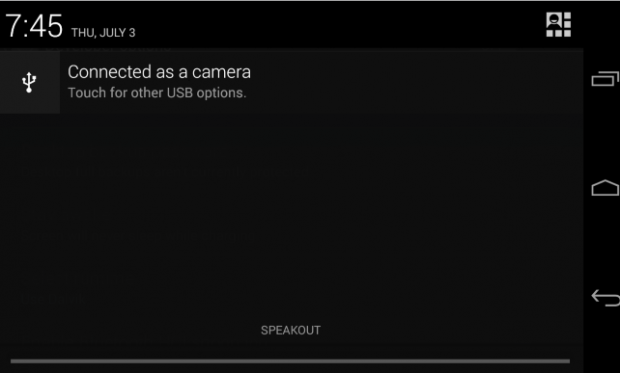
2. Pick connect as a Camera or Media device.
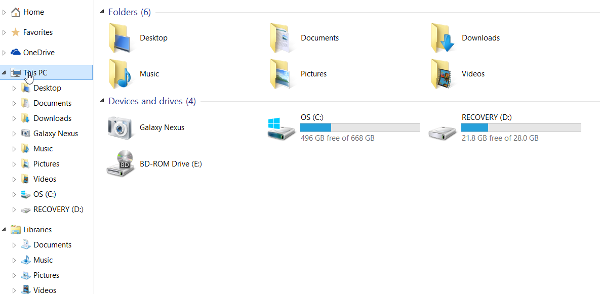
3. When you first open the File Explorer, you are in the home menu. Click This PC.
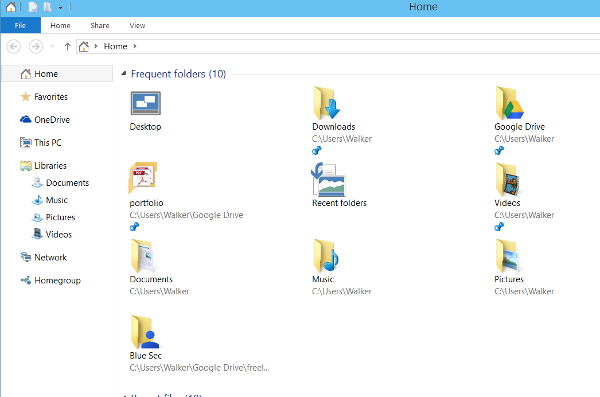
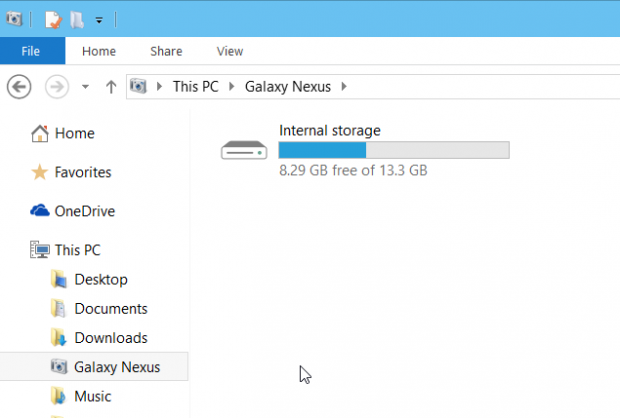
4. Click the device’s name. In this example, it says Galaxy Nexus.
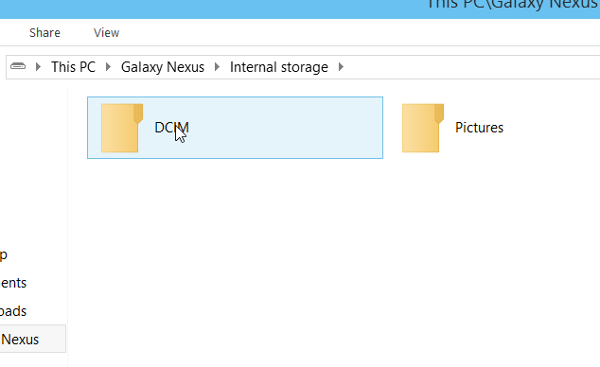
5. Click Internal storage.
6. Click DCIM.
8. Copy the files where you want them. If you use Cut and Paste, it will delete them from the camera, too. You should do this if you want to empty the picture gallery so that the next time you copy photos to Windows you do not copy the same files twice.


