By default, Ubuntu displays the time in a 12-hour format, without any additional information. If you prefer the 24-hour format or want to include the date or month on the clock to make it more useful, the steps in this tutorial will help you.
In Ubuntu, you can add a variety of features to the clock such as seconds, weekday, date, and month. All of these features are hidden by default. However, it is easy to show them, if you desire to have a multi-functioning timepiece.
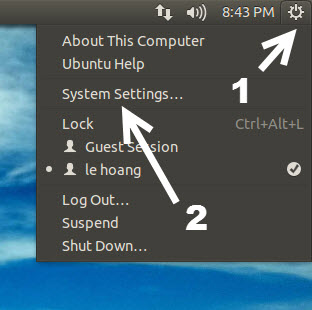
1. Click on the gear icon at the top right of the screen to open the menu, and choose System Settings from the list.
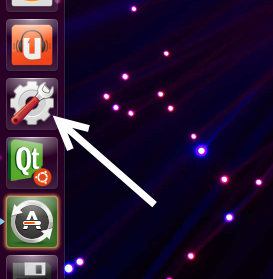
Alternatively, you can choose System Settings from the Quick list on the left side of the screen. Both will lead to the same place.
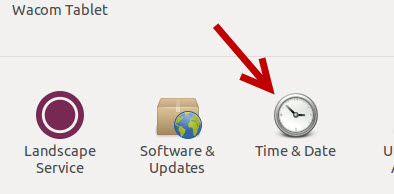
2. The System Settings window pops up on-screen. Under the System section, choose Time & Date to continue.
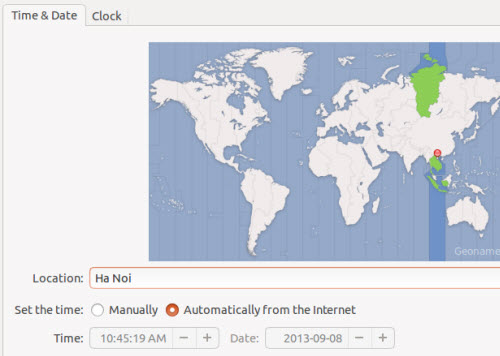
3. The Time & Date section is divided into two tabs. The landing tab will let you change the location to display the time. All you have to do is fill in your city name, and the system will figure out the time zone automatically. You can also click on the map to set the time zone. The current active time zone is in green. You can also set the clock manually if the system fails to get the right configuration.
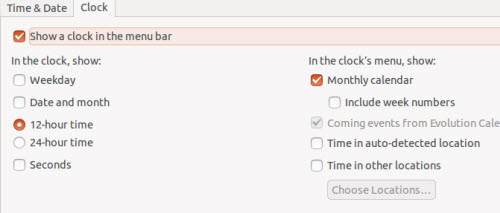
4. The Clock tab allows you to change the time format or add additional information like seconds, weekday, date, and month to the clock. Choose what you want by checking the corresponding boxes. As you enable the elements, the clock will adapt to the changes automatically.
In addition, you can choose to include extra information such as week numbers or the time in other locations in the clock’s menu, which appears when you click on the time.
5. When you are done, just quit the settings window, and the changes will be saved automatically.

