From changing those pesky .wma files to .mp3s or just adjusting the bitrate to save space, the re-encoding of audio files is commonly required. This tutorial on the installation and use of soundconverter should help you manipulate audio files within your Linux system.
One of my friends recently converted his kids’ computer over to a Linux distro. One of his first questions was “how do I convert these Windows WMA audio files over to something more Linux friendly?”
If you’re using Debian, Ubuntu, or Mint, install the Soundconverter application with the following:
sudo apt-get install soundconverter
If you’re on Red Hat, Fedora, or SuSE, install through this method instead:
yum install soundconverter
Remember, SoundConverter is a GNOME app; therefore, if you’re not using GNOME, expect a handful of dependencies that will be required for it to work properly. For best results, install SoundConverter’s restricted extras as well. These will add support for many audio and video formats such as AAC, MP3, MP4 and WMA in addition to the Ogg files that Linux supports natively.
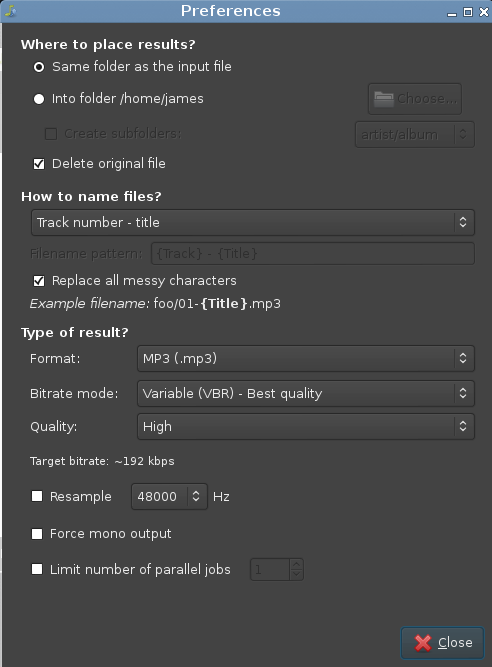
SoundConverter’s default settings should be suitable for most people. I recommend setting the naming of your files to something logical. If you’re using an older machine, limiting the number of parallel jobs will keep your computer from slowing down.

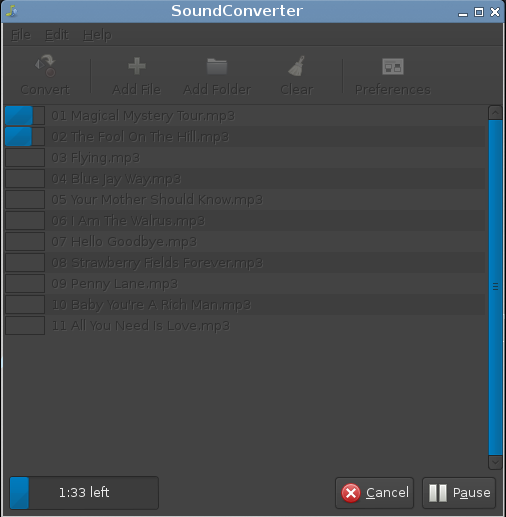
If you just want to convert a few songs, then use the Add File button at the top. If you’ve got a lot of music to convert, you can use the Add Folder button instead. It works recursively, so you can just add your whole music folder.

Once you click Convert, SoundConverter will work its magic, even unattended. You can set it before you go to work, school, or sleep. When it’s finished, enjoy your newly converted music files.


