Hyper-V virtualization is available in both the 64-bit Windows 8 Pro and Windows 8 Enterprise versions. For demonstration purposes, Ubuntu has been chosen to install in this tech-recipes tutorial, although you can ultimately install any OS in this environment.
If you have the correct software and hardware requirements, you are eligible to install the Hyper-V tools within Windows 8. On the hardware side of things, Hyper-V under Windows 8 requires a 64-bit system with a processor that has Second Level Address Translation (SLAT) capabilities. Running msinfo32 will let you know if your hardware is modern enough to allow Hyper-V.
Under Programs and Features select Turn Windows Features on or off and expand the Hyper-V option. Select Hyper-V Platform and Hyper-V Management Tools and the reboot your computer. If these options are not available, you do not meet the hardware and software requirements.
1.Open the Hyper-V Manager.

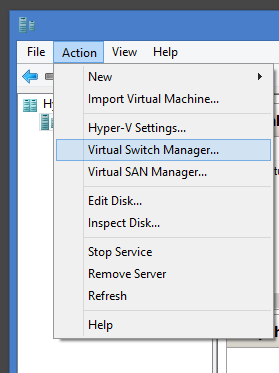
2.You will need to set up your virtual switch first if you want to have internet access in Ubuntu. If not, skip to Step 4. Otherwise, open the Action menu, and select Virtual Switch Manager.
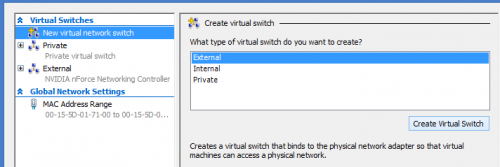
3.Select New virtual network switch at the left. Make it an External switch, and click the Create Virtual Switch button. Name it appropriately.
4.Open the Action menu again, and select New>Virtual Machine…

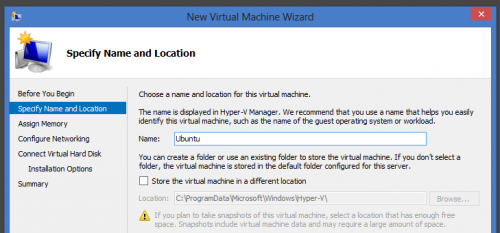
5.Name your VM, and choose a new place to install it if you are unhappy with the default.
6.Assign it some RAM. I recommend at least 2GB if your system can manage that.
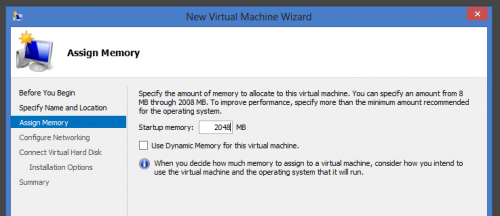
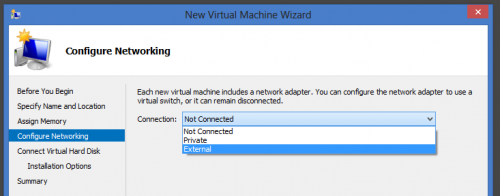
7.Connect this VM to the network switch you created earlier. If you chose not to do so, select Not Connected.
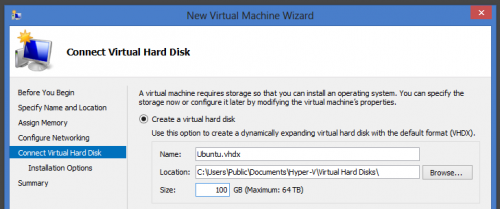
8.Assign it some hard drive space. Make sure there is enough for what you want to install.
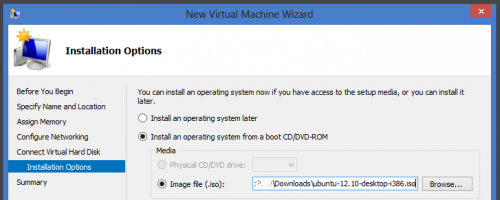
9.Tell the Wizard that you want to install the operating system from your CD or ISO. As mentioned, I used Ubuntu.
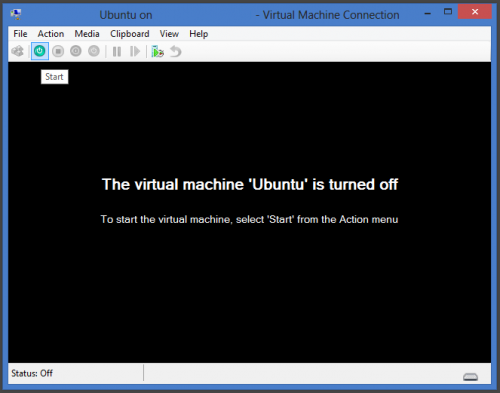
10.Double-click on your new VM in the Hyper-V Manager, and it will pop up in a window. Click the power button to get started!
