Let’s say it out loud: VLC is the best media player. Its versatility is unmatched. It can play almost every video format and has better sound amplifiers than any other media player in the world. However, despite these kickass features, it’s not always set to default. When you install it, you get the option to do this, but these preferences can easily revert. Window’s media player can do this by prompting you to set it to default instead of VLC every time it is opened. Whatever the case, in this tutorial, we will show you how to make the latest version of VLC your default media player in Windows, Android, Mac, every platform.
Setting VLC as the Default Player (Windows)
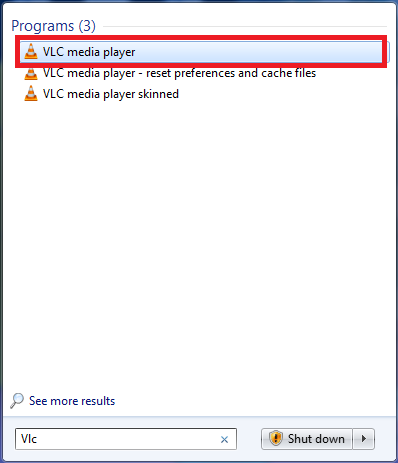
1. Open VLC.
2. Go to Tools, situated on the top panel.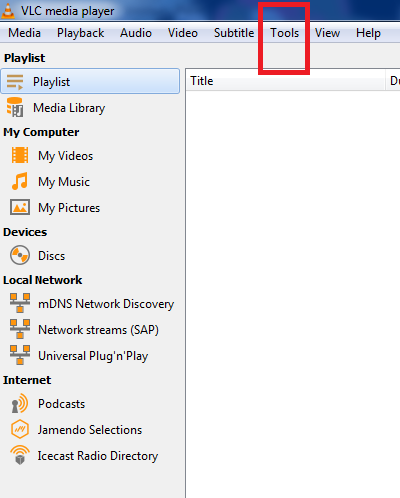
3. Select Preferences from the drop-down menu.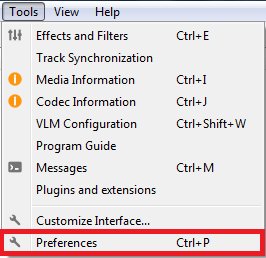
4. By default, the Interface tab will open up. Scroll down, and choose Set up Associations.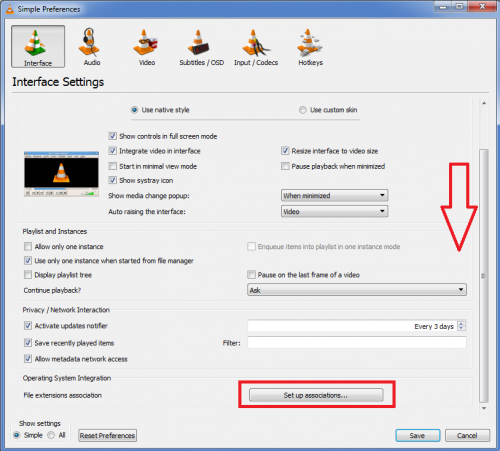
5. Select Select All, or you can tick the boxes of the specific files you wish to run with VLC.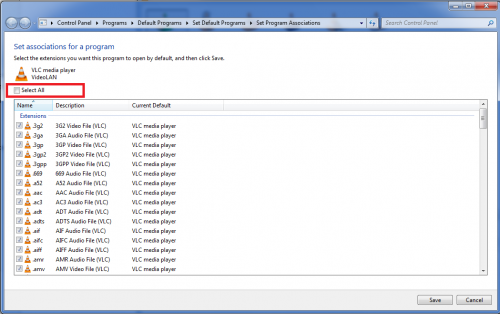
Tap Save when you’re done.
Setting VLC as the Default Player (MAC)
In MAC, you don’t necessarily have to open VLC to set it to default. You can just do this by accessing any random media file.
Here’s how:
1. Right-click any type of video file. For this tutorial, I’m going to use an Mkv file.
2. Tap Get Info.
3. Move your mouse down to Open With and select VLC. app from the drop-down menu.
4. Tap Change All to ensure this setting applies to all files of this type.
Setting VLC as the Default Player (Android and iOS)
If you own an Android or iPhone, first you will need to download VLC from their respective stores. Then, you need to follow these steps:
1. Open VLC.
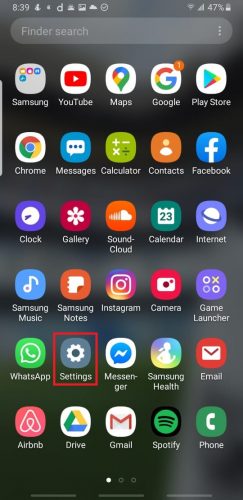 .
.
2. Go to Apps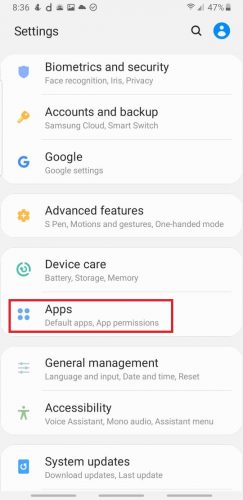
3. Click the three dots in the top-right.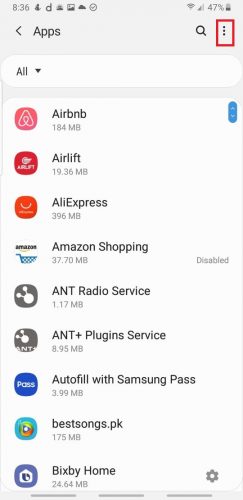
4. Go to Default apps.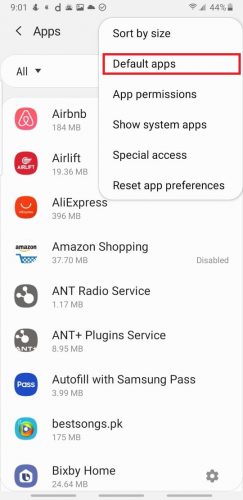
5. Tap Default App Selection.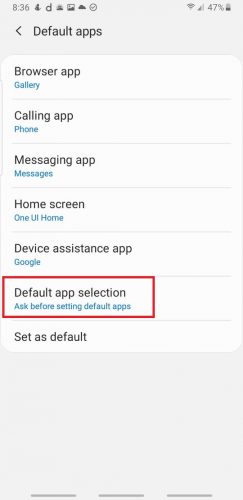
6. Select Ask before Setting Default Apps.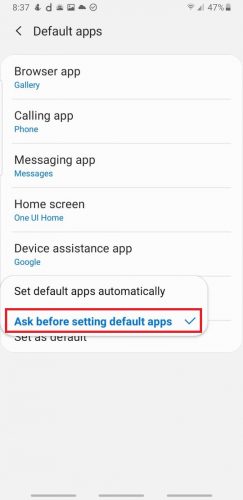
7. Now, Open VLC.
8. Follow the steps to set it as your default player.


