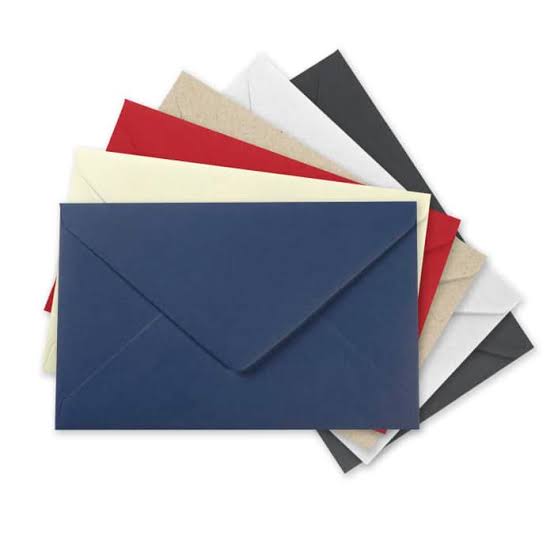
Do you too enjoy sending out customized letters to your friends and family? Just visualize sending letters to your loved ones in a beautiful and neat packaging of an envelope. Imagine creating envelopes with little or no effort. Envelopes are as significant as the message. In-Office 365 you can create envelopes easily. This Tech-Recipe is a brief description of creating envelopes in Office 365.
This method is very easy and reliable. You don’t have to run to the market for buying envelopes. All you need is MS Office software on your computer and a printer. Just make that the printer has papers and ink cartridge. It will save you both time and money. You can print as many envelopes as you want. Moreover for writing “Delivery Address” and “Return Address” you don’t have to hand-write it. Using office 360 you can also create labels and write the address correctly on your envelope in the “Labels” tab.
MS word gives complete customization options to the end-user regarding envelope creation. The user can even select the envelope size. Printing options are also available in which the user can decide whether the envelope is to be printed “face-up” or “face-down”. You can also set the clockwise rotation of the envelope for printing purposes. Go ahead! Learn how to create envelops and then write to your loved ones.
How to Create and Print an Envelope in Word 360
Step-by-Step Procedure
1.Open MS office and go to the Mailing Tab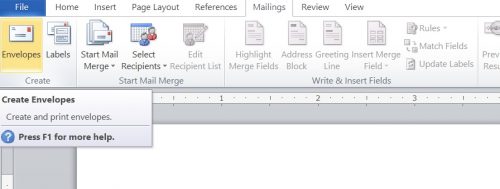
2.Go to the Envelops Tab and click it: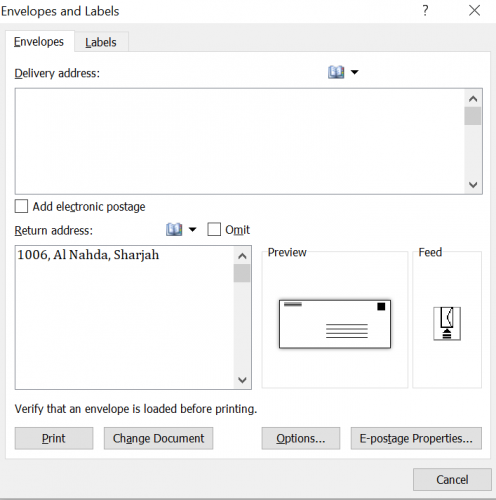
3.Enter “Delivery address” and “Return Address”.
4.The preview option will show the front face of the envelope and the Feed tab will open the “Printing Options”.
5.For the labels option-click the “Labels” option.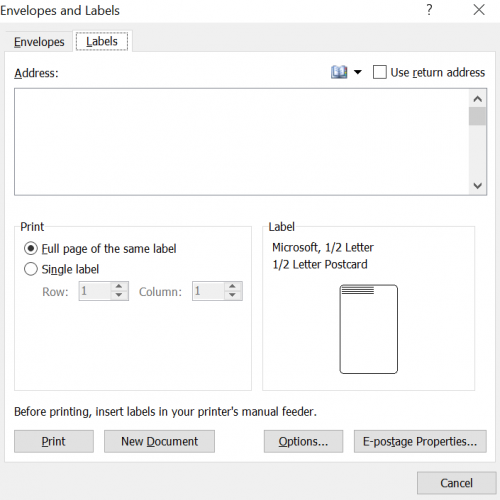
6.The “Envelope options” and “Printing options” are as follows: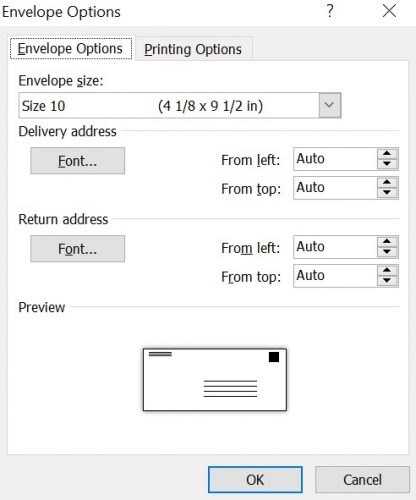
7.Finally, print your envelope by clicking the “Print” option: