Whether you wish to share family photos with faraway family members or make a shared group of event photos or vacation with friends, it is quite easy to create and share collaborative photo albums in Google Photos. While there are diverse ways to share photos among your colleagues and friends. Google Photos offers some other enticing options, giving you more reason to make it your favorite photo sharing platform.
First, there is a simple ubiquity of Gmail/Google accounts, typically we all have one already and if not, creating one is free and very simple. Google Photos also provides features such as unlimited picture storage, inbuilt social functions like object and facial recognition, commenting on individual photos and albums, and other amazing features you may not find in other photo apps.
In fact, there is only one con on sharing photos with Google Photos. Whenever you share an album on Google Photos, you cannot limit who sees it. Google Photos creates an obfuscated (custom) URL for each photo album and you can share the album by sending the custom URL to people. There is no way to limit the access to a specific Google account. While the chances of a someone guessing the obfuscated and long URL that points back to your photos shared album is minuscule, that does not prevent the people you shared the URL with from sharing it with others. We would still prefer extra login-restricted security access. Hopefully, Google needs to address this issue in subsequent updates to Google Photos.
Google Photos makes it very easy to share your photos. Let’s now talk about creating a new shared album on Google Photos and enabling the photos sharing features.
I will be walking you through the feature using the Google Photos app for Android.
Below are the steps to follow if you want to create a shared album on Google Photos today.
How To Create A Shared Album On Google Photos
1. Tap on Google Photos from your home screen.
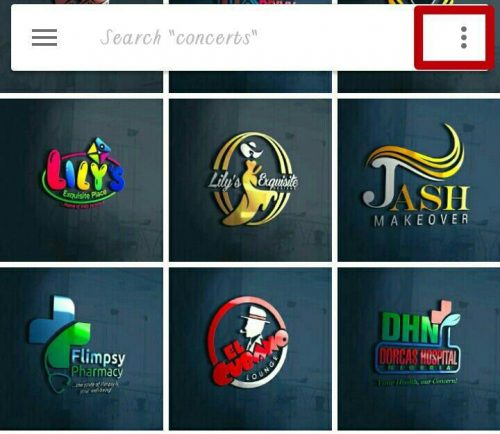
2. Tap on options.

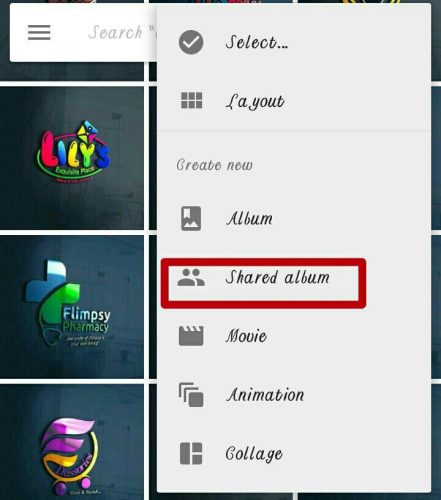
3. Tap on shared album.

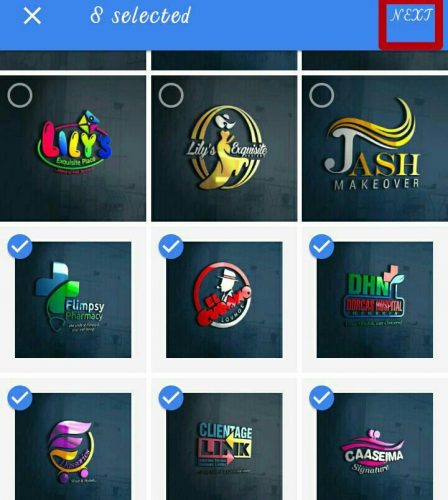
4. Mark the photos you want to include in your shared album and tap on next.

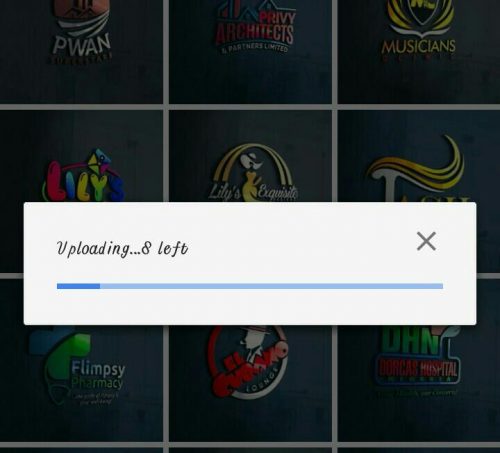
5. Wait for Google Photos to update files and fetch a custom URL link for you.

6. Type in the shared album title.
7. Save changes.
And there you have it, that’s how to create a shared album on Google Photos.
Conclusion
Hopefully with the steps listed above, creating a shared album on Google Photos will be a piece of cake. It is, however, important to note that, creating a shared album on the Google App works with an active internet connection, so before you begin with this process, it is preferable you turn on your internet connection. Yes, that’s a wrap! If you have any problems trying this out, don’t hesitate to let me know by simply commenting.
Here are some related articles;
How to Search for Anything in Google Photos
How To Create An Album On Google Photos
How to Create a Google Photos Story
How to Create a Collage with Google Photos


