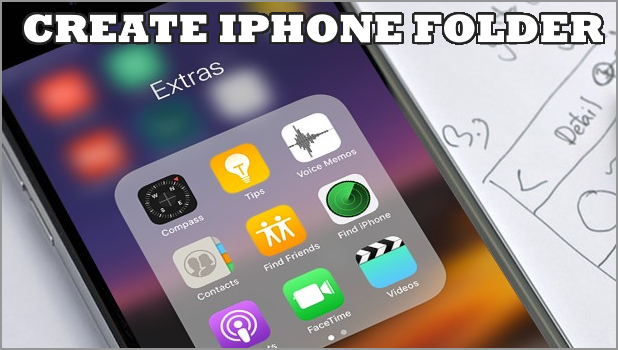
Ever had the experience of searching through all of the apps installed on your iPhone to find a specific app? We feel you. The more apps you have on your iPhone, the more clutter there is making your phone disorganized. One way of keeping your iPhone apps organized is to use folders. This article will guide you through the steps on how to create a folder on iPhone.
Folders help keep your iPhone organized by functioning as storage space for your apps. You can group apps into type, categories, functions, or any preferred grouping then put them into a folder so you can easily access file based on a created folder. This way, you won’t have to swipe through a barrage of endless apps – which only eats up your time and productivity.
How to Create a Folder on iPhone
Creating a folder on an iPhone is easy. Whether you are using the latest iPhone XS and iPhone XR, or using older iPhone versions, the steps are practically the same – except the step in accessing the Home screen which is quite different on iPhone X, iPhone XS, and iPhone XR.
Create a Folder on iPhone X, iPhone XR, and iPhone XS
The new iPhone XR and iPhone XS, like their predecessor, do not have a Home button. do the next steps:
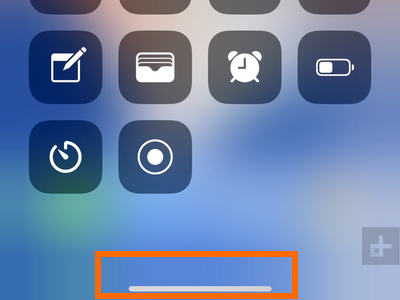
1. Swipe up. Wherever you are on your iPhone X, iPhone XR, and iPhone XS, swipe from the bottom edge the screen. The horizontal bar that is displayed in the bottom part of the screen serves as your handle. You can check out our special article on how to get to the iPhone X Home screen for a more detailed instruction.
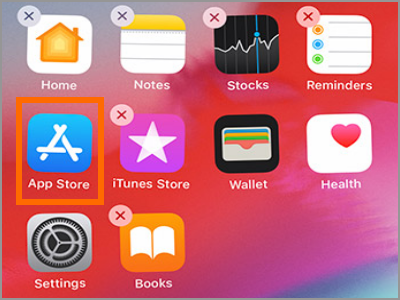
2. Touch and hold an app. Wait for the apps to jiggle and have an X icon on the top-right part before proceeding to the next steps.
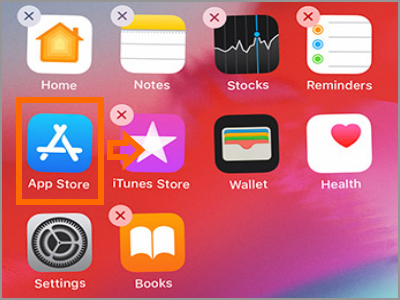
3. Drag the app to another app. Dragging an app icon to another app icon signals your iPhone to group both apps into a folder.
4. A new folder is created. You can see that both apps are now in the folder.
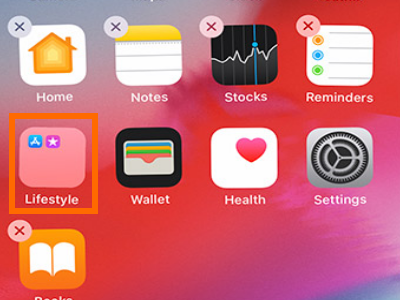
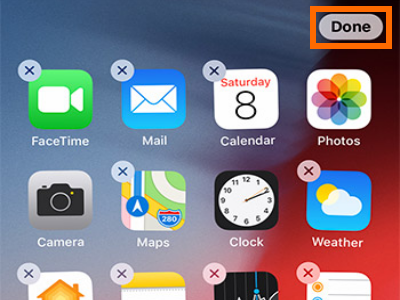
5. Your iPhone will automatically create an appropriate name for the folder. For this example, iPhone thinks that the best name for the folder containing the App Store and the iTunes Store as the Lifestyle folder. Press on an empty part of the screen to go back to the Home screen. Tap on the Done button at the upper-right part of the screen to save changes.
Create a Folder on iPhone 8, iPhone 7, and Older iPhone Models
To create a folder on iPhone 8 and older models, do the next steps:
1. Go to the Home screen. Press the Home button on the bottom part of your iPhone to go to the Home screen.
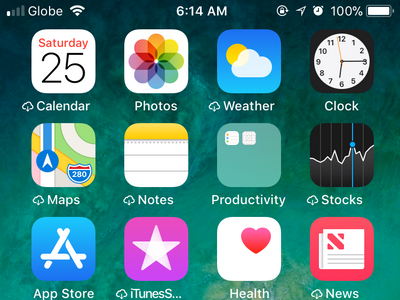
2. Hold an app icon for a few seconds until an X button shows on the top-right part of the app icon.

3. Continue holding the app and drag and drop it into another app.

4. Both apps are now grouped into a folder.

5. A folder name is automatically assigned based on iPhone’s folder-naming algorithm. For this case, a folder for the iTunes Store and App Store is automatically named, Lifestyle. Tap on the Done button at the upper-right part of the screen to save changes.

Frequently Asked Questions
Q: Can I create a folder within a folder on my iPhone?
A: There is a way to create a folder within a folder on iPhone. The steps are a bit tricky at first but will get easier with a few practices. Check out our article on how to create a folder within a folder on iPhone.
Q: Can I remove all the apps in a folder at once?
A: You cannot remove all the apps in a folder in one action. You need to delete each app manually.
You just learned how to create a folder on iPhone. We hoped that this article has helped you make your iPhone more organized. If you have questions about any of the steps above, let us know in the comments section.

