Android SDK is a great development kit for developer to create applications for Android platform. To use it, you have to download the Adroid SDK manager. The SDK manager let you download the rest of SDK components (which will require internet connection). So how can you install Android SDK on computers that have no internet connection? This step by step guide will help you.
Important: All files must be downloaded first before we install it on a computer without internet connection. This works well in deployment environments where all files would be downloaded to one storage device and then moved to be installed on computers without internet connections.
1. Download the SDK manager. We won’t use it to download any components. We need it to lauch the emulator later.
2. Lauch your browser and go to http://dl-ssl.google.com/android/repository/repository.xml
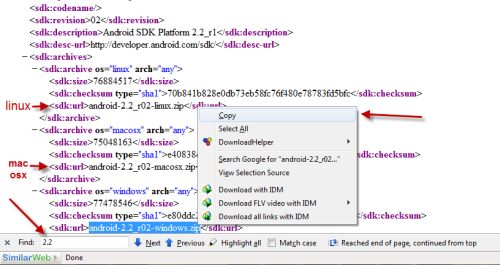
3. Quicky find the android platform that you want to download by pressing Ctrl+F ( In FireFox), we want to find the latest Android platform 2.2 so we typed in: 2.2
Other available platforms: 2.1, 1.6 and 1.5
As you can see from the picture below, we have zip files for Linux, Mac osx and Windows. Highlight the part: android-2.2_r02-windows/linux/macosx.zip and copy it.
Note: We can use this trick to download future Android platform ( 2.3, 3.0….)
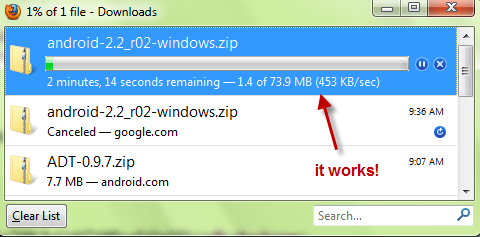
4. Paste what you have copied right after http://dl-ssl.google.com/android/repository/ and we will have the direct link to download the Android 2.2
5. After you download these two files mentioned above (the SDK manager and the zip file), you can install the Android SDK on your computer without internet connection.
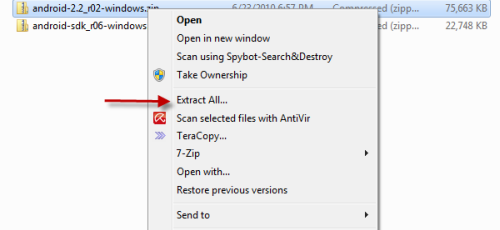
6. Extract android-sdk_r06-windows.zip and android-2.2_r02-windows.zip.
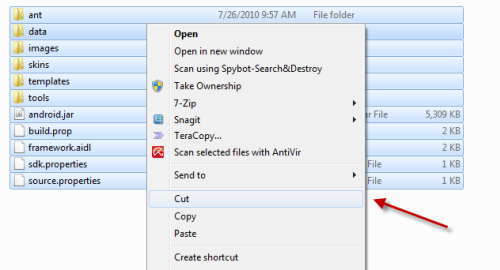
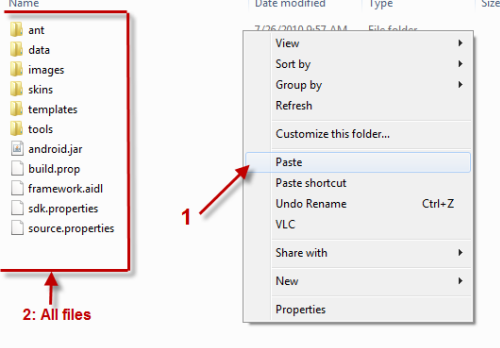
7. Copy or cut all files inside android-2.2_r02-windows folder.
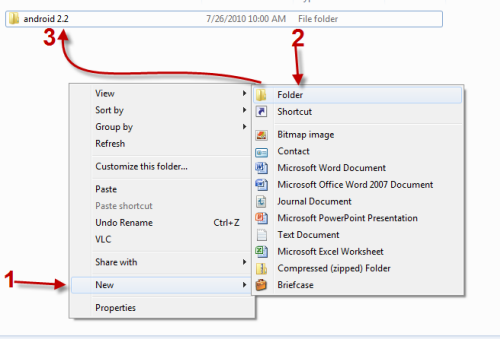
8. Go to …\android-sdk_r06-windows\android-sdk-windows\platforms and creat a new folder (You can name it anything you want, we named it android 2.2)
9. Paste all your copied/cut files to that folder (in this post is: android 2.2)
10. Lauch ….\android-sdk_r06-windows\android-sdk-windows\SDK Setup.exe
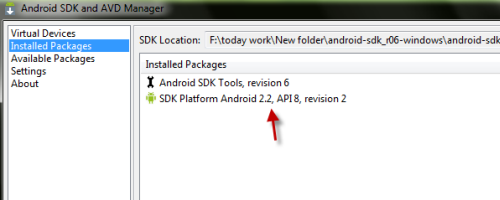
11. The SDK and AVD Manager will autodetect the SDK Platform.
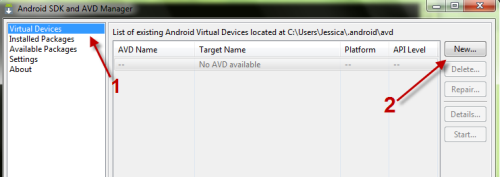
12. Go to Virtual Devices and click on New to create a new android virtual device.
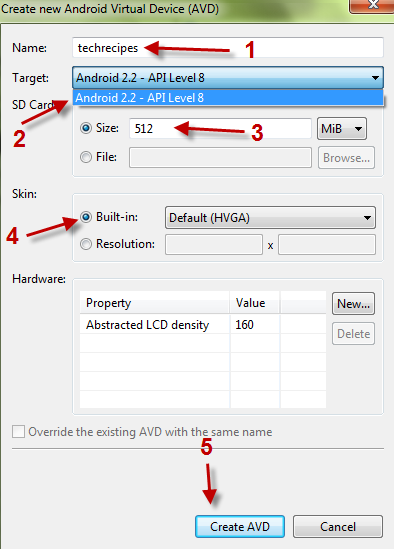
13. A new window will pop up, you can name your device, choose target, set size for SD card, choose skin. Click on Creat AVD to create your device.
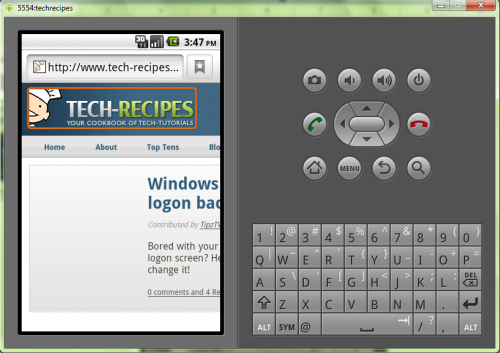
14. Click on Start to lauch your virtual device.

