You can use your iPhone as a magnifier. Your iPhone can be a handy tool to help you read fine prints. Using the Magnifier feature on the iOS 10, your iPhone can help you magnify those little things and words. The Magnifier offers more than what a regular magnifier can do. The feature can help use the flash to lit subjects in low light conditions. You can also adjust the brightness, hues, and colors of the subject on screen for a clearer view and better readability. This article will guide you how to use your iPhone as a magnifier glass.
How to Enable Magnifier on iPhone
The Magnifier is available for iPhones running iOS 10 and later. To enable magnifier on your iPhone, do these:
1.Open the Settings menu from your iPhone’s Home screen.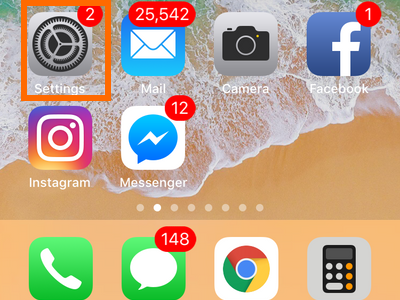
2.From Settings, scroll down to the General settings.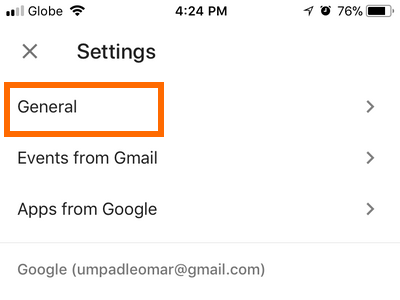
3.In the General Settings, choose the Accessibility option.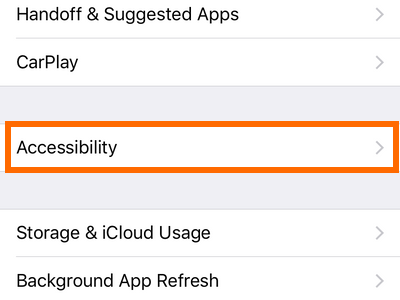
4.From the Accessibility page, tap on the Magnifier.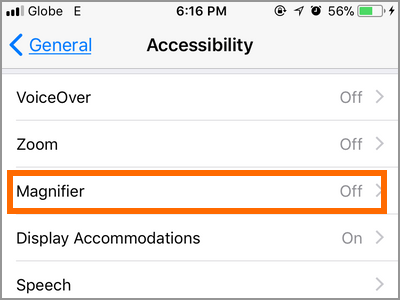
5.Tap on the switch for Magnifier to turn it on. A green switch means that the feature is turned on. A grey switch means that the feature is turned off.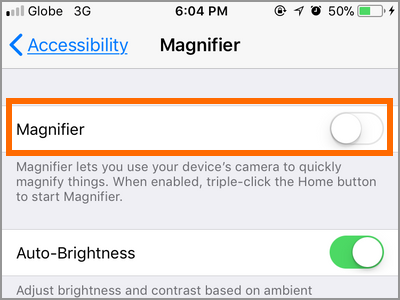
6.You can also tap on the Auto-Brightness switch to enable automatic adjustment of contrast and brightness based on ambient light conditions. 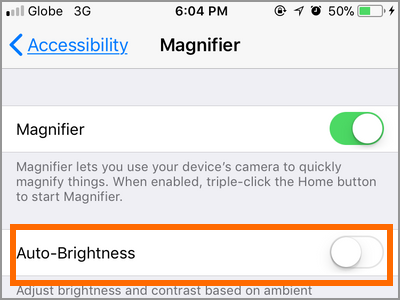
7.You are done. You’ve enabled the Magnifier and allowed automatic brightness adjustment.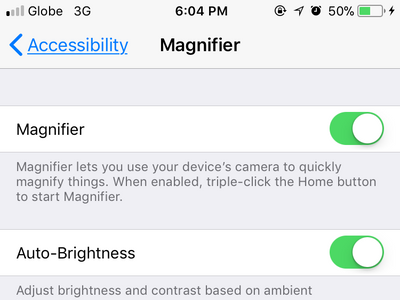
How to Use iPhone as a Magnifier
To use an iPhone as a magnifier, do these:
1.Wherever you are on your iPhone, press the Home button three times.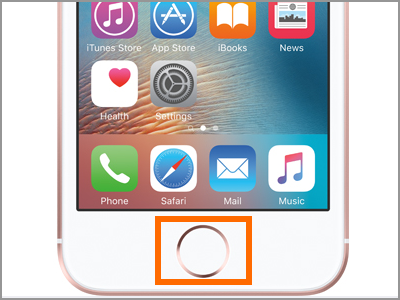
2.The Accessibility Shortcuts will pop up. Tap on Magnifier.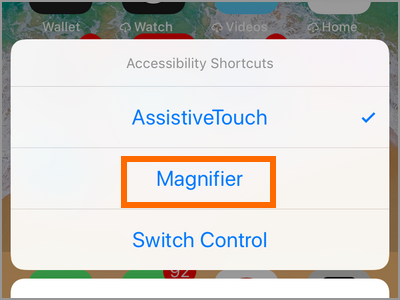
3.The Magnifier will open. You can now start using the phone to help you magnify prints and other things.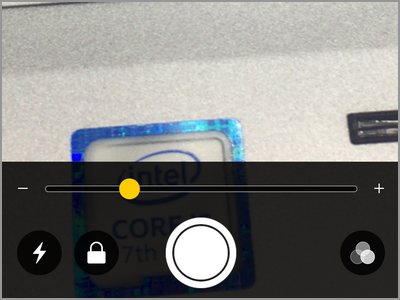
4.Use the magnifer slider to increase or decrease the magnifying power. Dragging the slider to the left side decrease the magnifying power while dragging the slide to the right amplifies the magnification.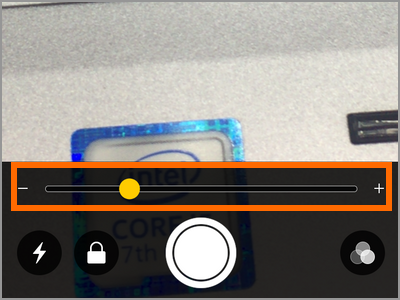
5.Tap on the flash icon to turn on the camera’s flash to help you view things with no sufficient light source.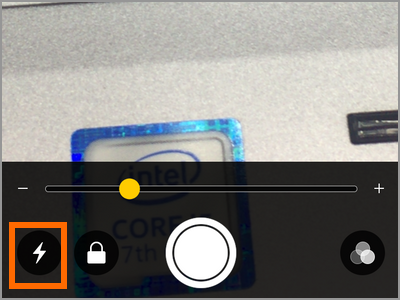
6.Tap on any part of the screen to focus on that certain area.
7.Tap on the lock icon to focus/defocus on the selected area.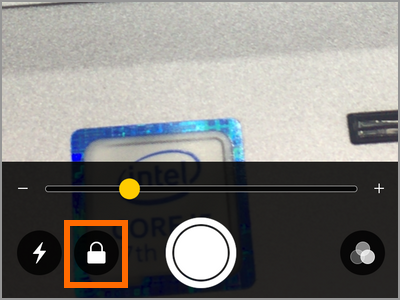
8.Tap on the capture button to freeze the screen. Once captured, the subject will be on the screen and is treated like a still picture. You can zoom in and zoom out and move between areas in the picture. 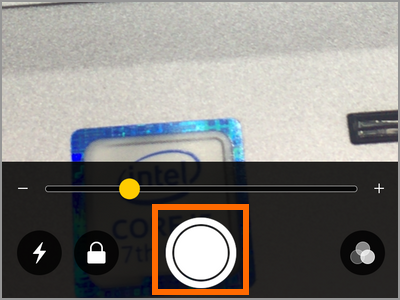
9.Tap on the adjustment/filter button to adjust brightness, contrast, and filters. 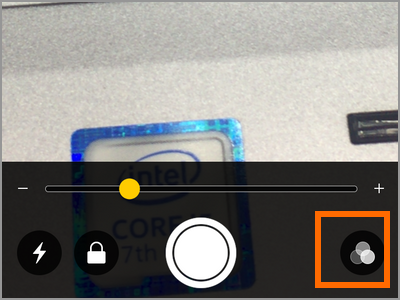
10.You just learned all the functions of the iPhone’s Magnifier feature.
Frequently Asked Questions
Q: Why do I have to use iPhone’s Magnifier when I there is a camera zoom function?
A: Though the iPhone’s camera zoom function is good and all, its magnifying abilities is way inferior to the Magnifier. The picture below shows a side-by-side comparison of a small figurine when viewed normally, zoomed in maximum using the Camera app, and zoomed in maximum using the magnifier. 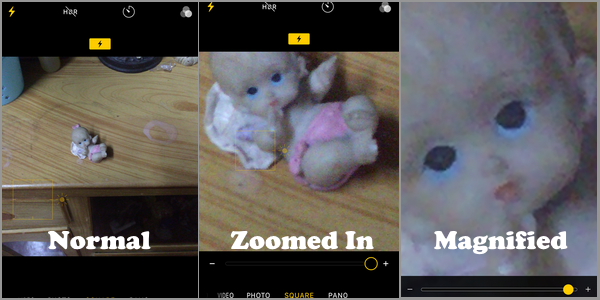
Q: My Accessibility Settings do not have the Magnifier. How can I get the feature on my device?
A: iPhone’s Magnifier is only available for iOS 10. If your device’s operating system is using iOS 9 and older, update your phone to at least iOS 10.
You just learned how to use your iPhone as a magnifier. If you have questions with any of the steps above, let us know in the comments.
Get more out of your iPhone by checking out these related articles:
How to Customize Control Center on iPhone iOS 11
How to Use Windows Magnifier
How to Enable Assistive Touch on iPhone
How Do I Customize Assistive Touch on iPhone

