The recently released Google Photos shared album is a fantastic feature for people who manage all of their photos using the Google Photos app. It allows you to share an album with other cross-platform Google Photos users who can join and contribute. Shared albums can be created on the mobile app or on photos.google.com. Creating your own Google Photos shared album is simple. Use the steps in this tutorial to get started.
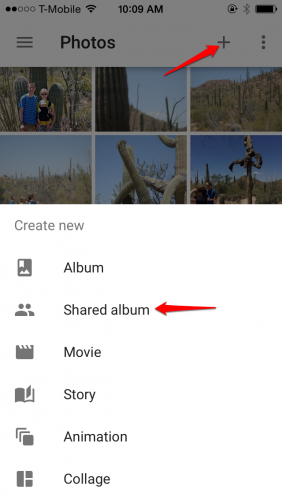
1.Launch the Google Photos app on your phone or tablet. Tap on the “+” on the top of the screen, and then select Shared album from the list.
2.Choose photos for your album. To add multiple items at once, tap and hold your finger on the first photo until the check appears on it. Then drag your finger to include as many pictures as you want. You can tap a selected photo to remove it from your selection. Click Done when you have completed your selection of photos. 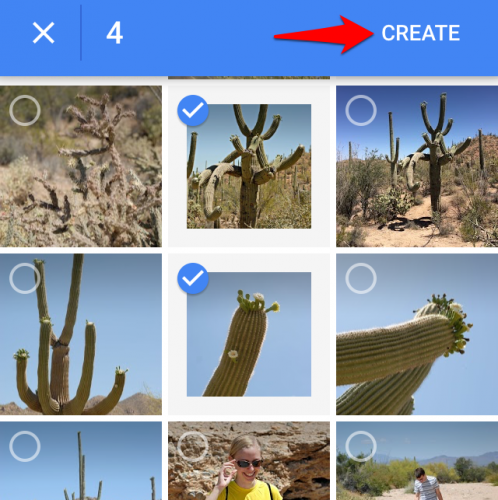
3.Tap on the three vertical dots in the upper right corner to access your options. Click Share.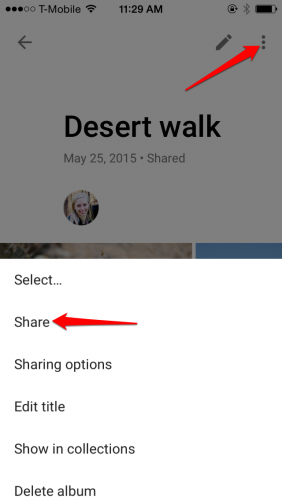
4.Tap Get Link to copy the link to your device’s clipboard. You can then paste it into a text message, email, or any other type of message to send the link to the people with whom you want to share your album. 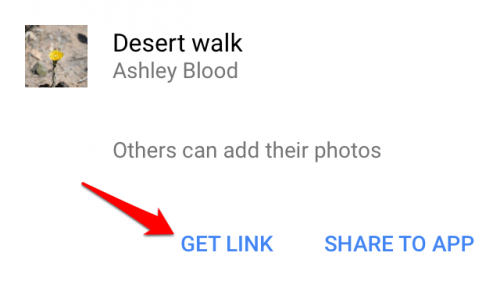
5.The recipient will be given the option to open the link in a web browser or the Google Photos app if they have it installed. When they open the link, they will be prompted to join the album. When they do this, their profile picture will appear next to yours at the top of the album under the name. Everyone who has joined the album can now contribute to the album and edit it. 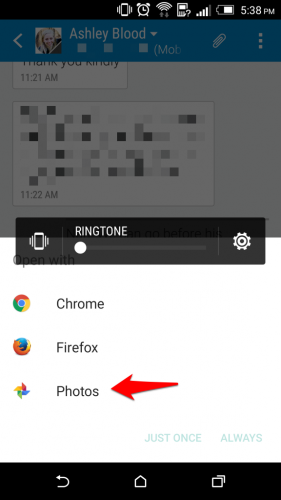
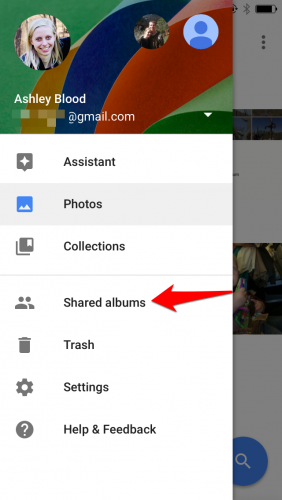
6.Shared albums are not stored with the rest of your albums. To access shared albums, open the menu by clicking the three horizontal bars in the top right corner and select Shared Albums. All photos you have shared from Google Photos show up here.