One of the most notable new features in PowerPoint 2016 is the ability to create and add screen recordings directly to your slides. If your presentations often have screen recordings, this feature will be a lifesaver for you. Here is how to use it.
The built-in screen recorder in PowerPoint 2016 can save you a lot of time. In the past, you may have had to use an additional app for recording your screen, and then you had to add the recording manually to your slide. With the built-in screen recording feature of PowerPoint, completing the task takes just a few clicks.
1. Launch PowerPoint, and open the presentation in which you want to insert the screen recording.
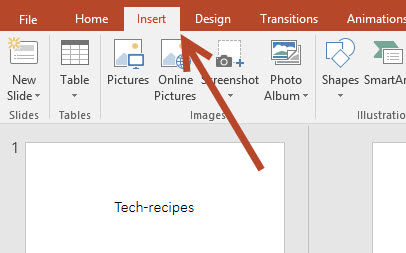
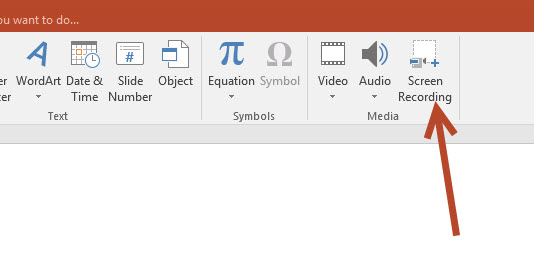
2. Once the presentation is loaded, go to Insert -> Screen Recording.
3. When you select the option, a floating window appears at the top of the screen. First, you need to select the screen area that you want to record by clicking on the Select Area button, and then you drag your mouse to highlight the desired screen region. You may record a specific region or the full screen. If you want to include your voice and the mouse pointer, make sure that these two options are selected. You can tell that they are selected if they have a gray background. Finally, click Record to start.

4. A square window shows up counting down from three (3), and then the program will actually record your screen.
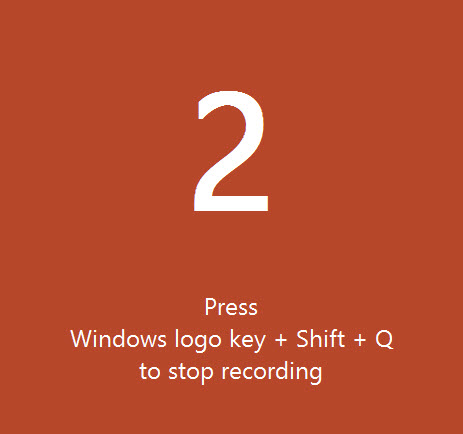
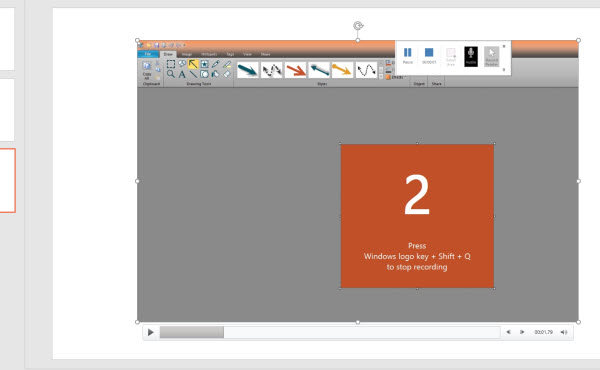
5. When you are done, click the Stop button to save the recording. The video will be automatically inserted in the current slide. It acts like any other object in PowerPoint, so you can resize or rotate it, add special effects to it, or move it around by using the special Video Tools tabs. These two tabs only appear if the video is currently selected.

6. Be aware that the size of your PowerPoint file will increase significantly when you insert a screen recording. Therefore, keep them short to avoid large files.

