You can move screenshots from a phone to a computer in several different ways. You can use a physical connection through a USB cable or make use of a wireless connection such as local networks and the internet. Whether you prefer wired or wireless, you end up manually transferring screenshots from your phone to the PC. Fortunately, you can now automatically save screenshots from an iPhone to a computer using an app. This article will walk you through the process.
Automatically Save Screenshots from iPhone to Computer
To transfer screenshots automatically from your iPhone to your laptop or PC, follow these steps:
1.On your computer, download and install Dropbox. Register and log in to your Dropbox account on your computer.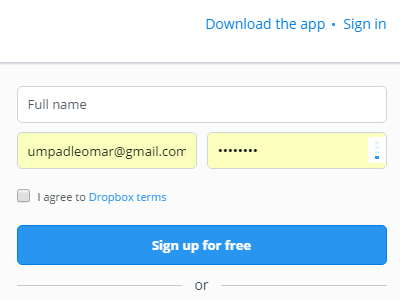
2.On your iPhone, download and install the IF app by IFTTT (If This, Then That) from the App Store.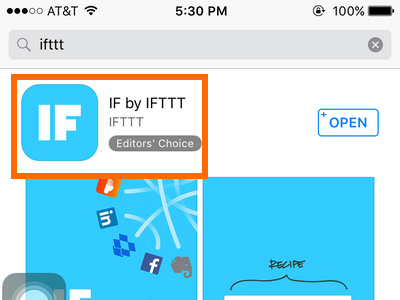
3.Once installed, open the IF app.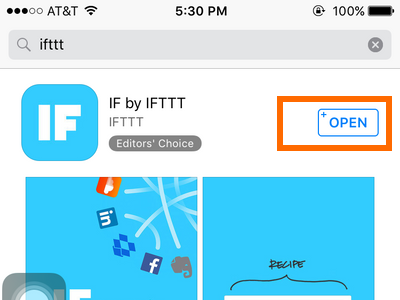
4.In the app Home screen, tap on the Recipe icon on the upper-right part of the screen.![]()
5.In the My Recipes page, tap on the plus sign + icon.![]()
6.Tap on Create a Recipe. To create a recipe, you need two things: a Trigger (if) and an Action (then). In this case, we will treat the capturing of screenshot as the trigger and the saving of a screenshot automatically to the PC as the action. ![]()
7.In the Create a Recipe page, select a trigger by tapping on the Plus icon beside the word “if.”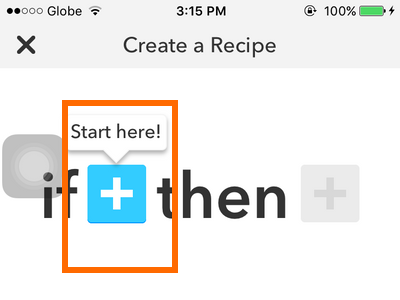
8.Type in the keyword “Photo” from the list to filter all triggers.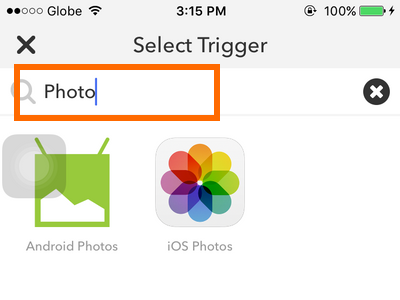
9.From the trigger matches, tap on iOS Photos.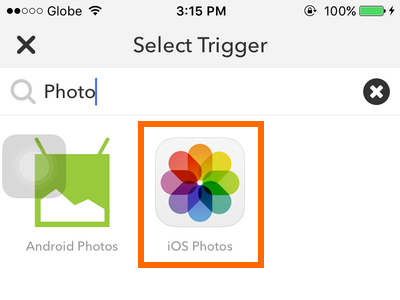
10.From the list of triggers for iOS Photos, tap on New Screenshot. We have now successfully chosen a trigger. If this is the first time you have created a recipe, the app may ask you to provide authorization in order to access your iPhone photos.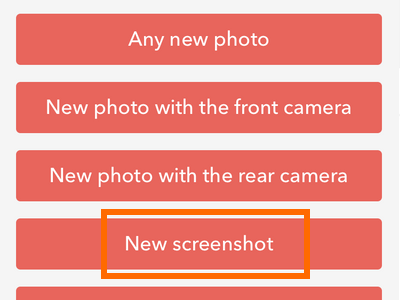
11.Now that the trigger is set, let’s choose an action by tapping on the Action button (white plus icon on a red background) beside the word “then.”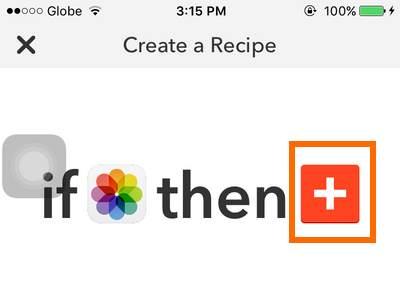
12.From the list of available actions, tap on Dropbox. If this is the first time you have linked your IF app to Dropbox, you will need to give permission by logging into your Dropbox account.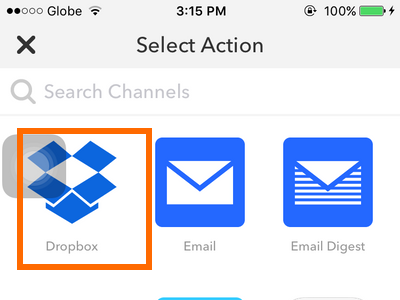
13.From the list of available Dropbox actions, tap on Add file from URL.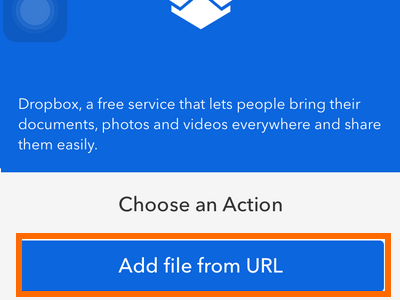
14.The app will automatically assign the site URL, file name, and the Dropbox folder path where the file will be saved. You can change the preset assignments or leave them as is. 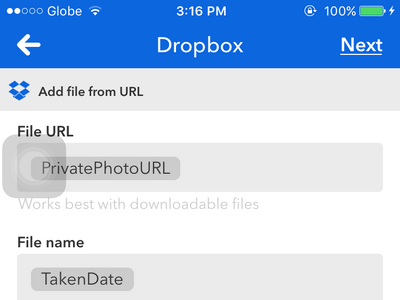
15.Tap on Next to proceed.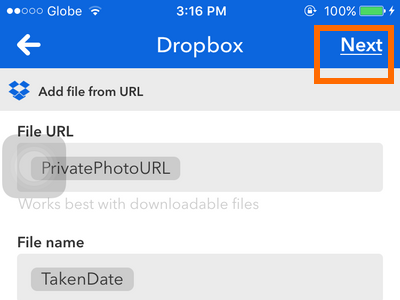
16.The next page will display what the recipe does. Review the recipe, and tap on the Finish button if it is correct.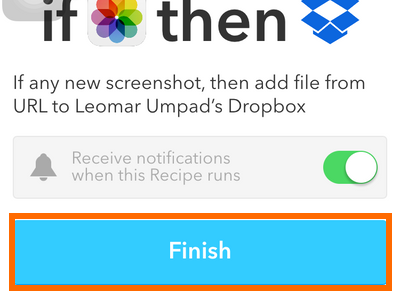
17.The newly created recipe will now be displayed on your recipe list. Make sure that the recipe is enabled (green switch) so that it will work.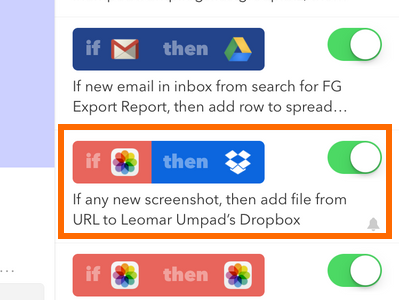
18.Now, take a screenshot, and watch the recipe in action. The app will give a notification that a new photo has been added to the Camera Roll once an automatic transfer has been made.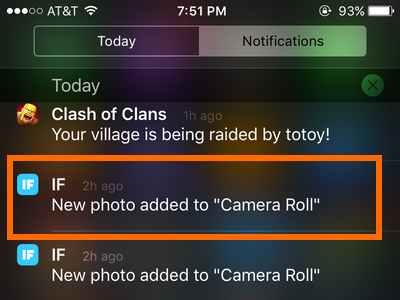
19.The saved screenshot is automatically saved in the Dropbox folder on your computer. You are done.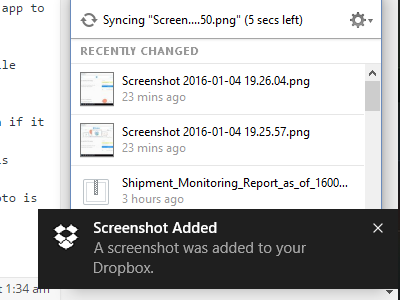
Setting this up may be time consuming, but the outcome will be worth it. If you have questions with any of the steps above, let us know in the comments.

