Pixel art graphics are often very small in size. When you try to scale an image up, it often comes out blurry and unusable. This tutorial will show you how to properly resize pixel art files to any size you want, without losing the quality of the file.
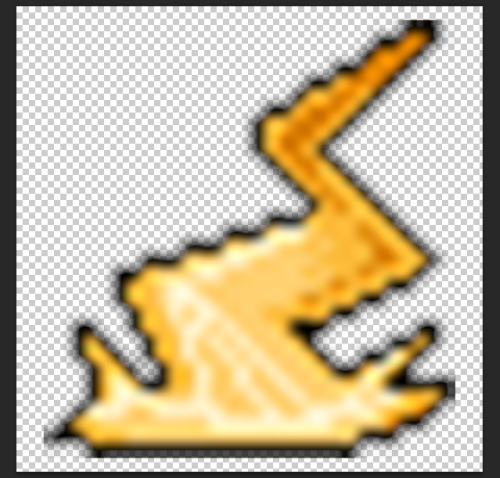
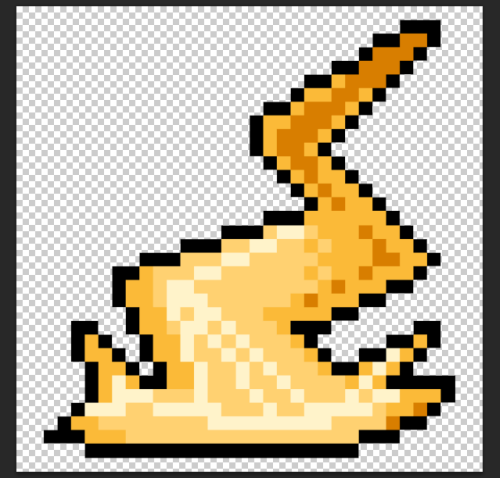
Below is an example of how a 32 x 32 pixel art image is scaled to 512 x 512.
The following is a normal resize, without using the steps in the tutorial:

The following shows the results after using the steps in the tutorial:

1. Launch Photoshop, and open the document you want to resize.
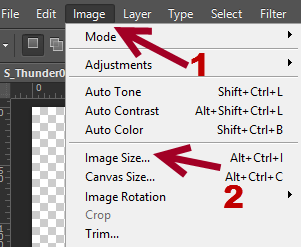
2. Now, go to Image -> Image Size to change the size of your image. This option is also accessible by pressing Alt + Ctrl + I on the keyboard.

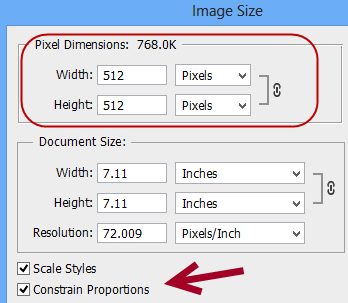
3. Once the Image Size window opens, you can change the width and height of the file. Make sure that Constrain Proportions is checked so that Photoshop can automatically fill the appropriate width or height of the image when you fill in the other information. This is optional. However, this action is recommended so that the image will be scaled correctly.

4.Click on the drop-down menu at the bottom of the Image Size window, and change the option to Nearest Neighbor (preserve hard edges).

5. Hit OK to start resizing the image. The result should come out with the pixel scaled correctly. The image is not blurred anymore.

