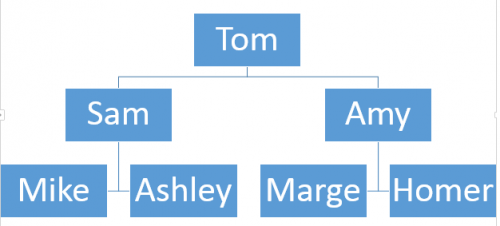
When demonstrating family relationships within a presentation or document, creating a pedigree chart is extremely effective.
This example will illustrate the family tree of Tom. We will look at Tom’s parents and his grandparents. These steps can be repeated to expand your family tree as far back as you wish.
This tech-recipe was done in PowerPoint 2013. However, these similar steps can be followed to create a family tree or pedigree chart in Word 2013 as well.
1.First, let us insert Tom and his parents. We can begin to do this by selecting the SmartArt option under the INSERT tab on the PowerPoint ribbon.

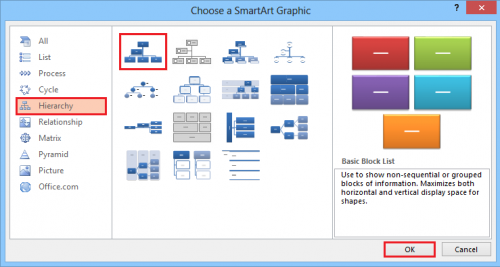
2.From SmartArt graphics options select the Hierarchy option on the left hand side. Then choose one of the default templates for from the right. We will go ahead and select the first one (Basic Block List). When you have selected the desired view, click OK to save it.
3.Now, cut out the hierarchy blocks that are not needed. In this case we only want to leave the top block and the two blocks branching off of it. 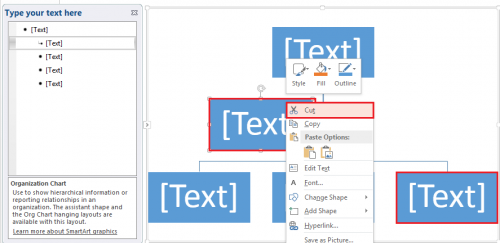
At this point, we have Tom being the child with Sam and Amy as Tom’s parents.
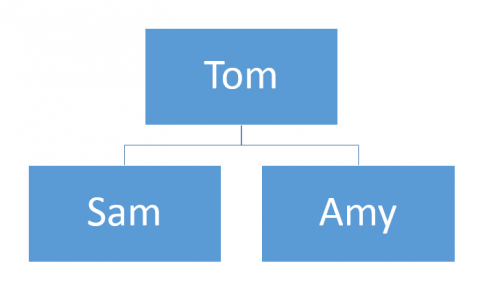
4.Now, we want to add Tom’s grandparents. To do this, you have to right-click on the block containing “Sam” and select Add Shape from the drop down list, then select Add Assistant.
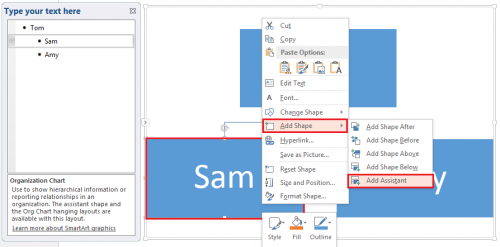
5.Rename the new block to “Mike”, then add Sam’s mother. Simply repeat the step above by right-clicking on “Sam” and selecting Add Shape > Add Assistant. Rename the new text block accordingly.
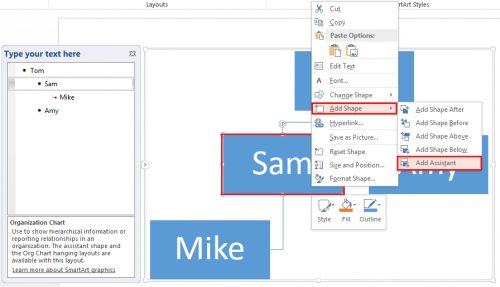
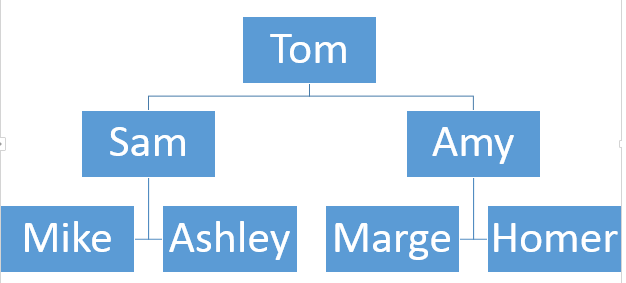
After adding Sam’s parents, I have also added Amy’s parents by following the same steps. You can now expand this tree as far as you choose by following steps 4 and 5.
