Changing the image for the start screen makes your PS Vita personalized and unique. This tutorial will teach you how to set your start screen to a custom image and how to restore back to the original, default image.
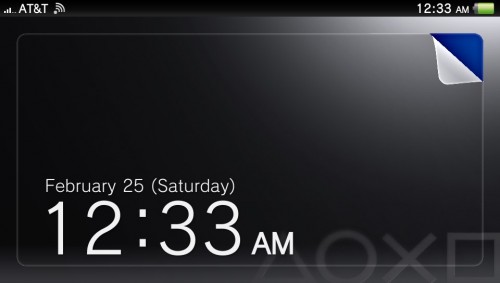
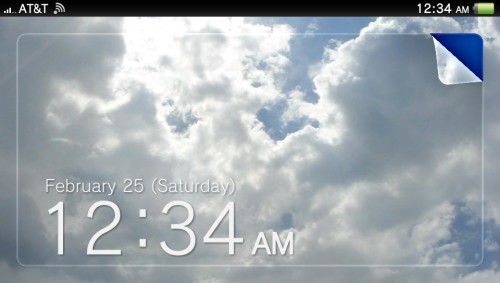
Let’s modify the Playstation Vita’s Start Screen image. This is the screen you see when you power on the Vita. By default, the Playstation Vita’s Start Screen is very generic; however, we can use any photo or image that we have saved on our Playstation Vita for this image instead.
Personalizing the Start Screen
1. We will need to have the desired photo or image copied to the Playstation Vita. This will require you to have a memory card on the Vita.
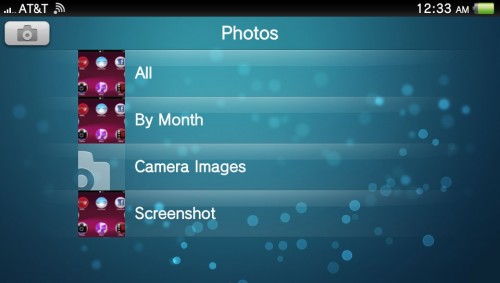
2. Go to the Vita Home screen and then go into the Photos app.
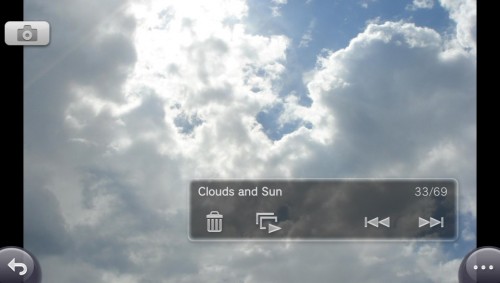
3. Now, browse to the photo we want to set as our Start Screen. In my example, I’ll use a cloud photo I took a while back.
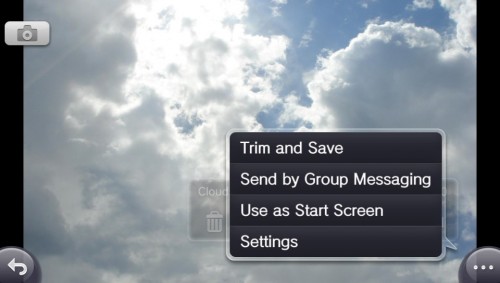
4. Once you have the photo up, in the lower right corner, tap on the “. . .” to bring up the options menu.
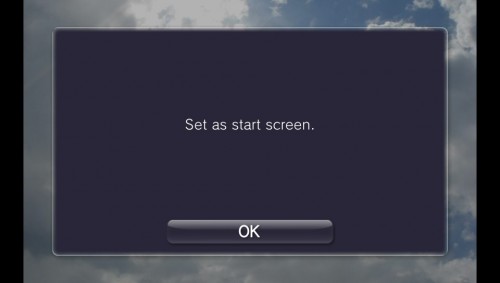
5. Tap on the Use as Start Screen text. Once you do that, you will get a confirmation screen that it is completed. Your Start Screen will be the image you selected.
Restore the Default Start Screen Image
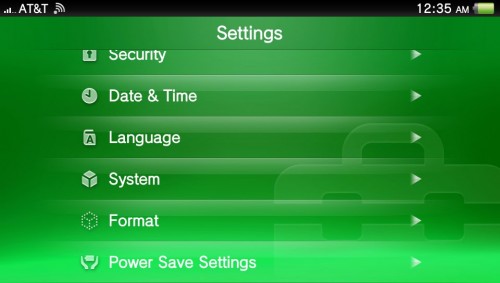
1. To return back to the Vita’s default Start Screen, go to Vita Home screen and then into Settings.
2. Tap on the Format text.
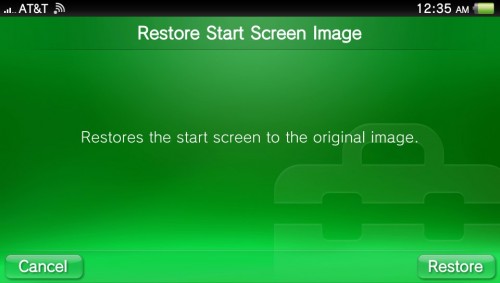
3. Choose the “Restore Start Screen option. Then confirm by tapping on the Restore button in the lower right.
4. Your Vita’s Start Screen will again be back to the default Vita one.

