Similar to a real TV channel, a YouTube channel can display a custom logo on top of videos. This logo is used to call attention to the channel. Previously, this feature was available as part of “InVideo Programming” and was limited to a select group of users. Fortunately, it is now available for all YouTube users. Here is how to add a logo to all your YouTube videos.
1. Log in to your YouTube account.
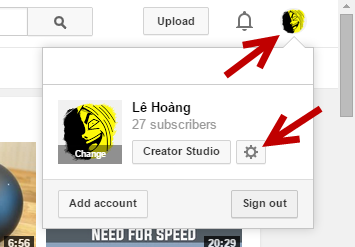
2. Click on your profile picture at the top right of the page, and then click the gear icon to go to the Settings page.
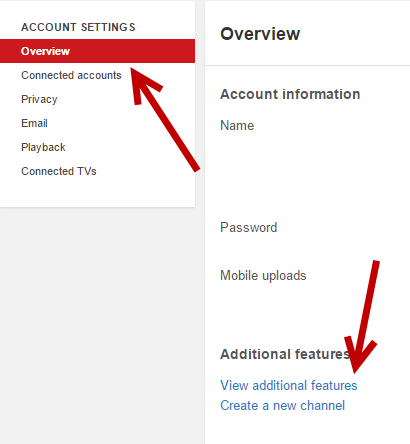
3. Under Account Settings, select the Overview option. On the right side, click the View additional features link.
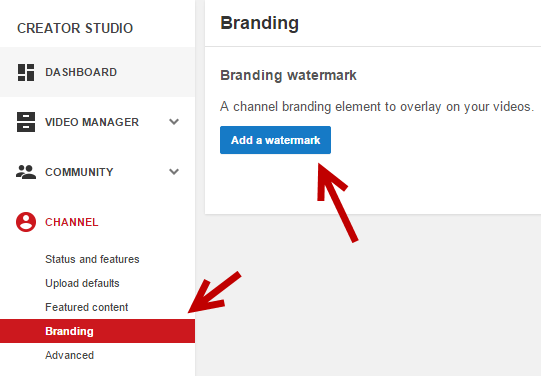
4. In the next screen, go to the Branding section, and click the Add a watermark button. If you cannot find this setting anywhere, make sure that you are viewing the Creator Studio page and the Channel section is expanded.
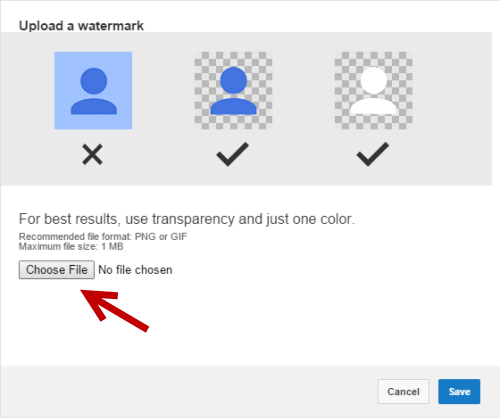
5. As this is your first time adding a logo to your videos, YouTube will display the following screen. Click Choose File to select a logo, and then click Save.
For best results, YouTube suggests that you use an image file containing only the logo with a transparent background. By doing so, only a small part of the video will be hidden. Supported file formats are PNG or GIF. The maximum file size is 1 MB.
6. When the file is uploaded, you will see a small preview of it at the top of the window. Click Save if you are satisfied with the logo.
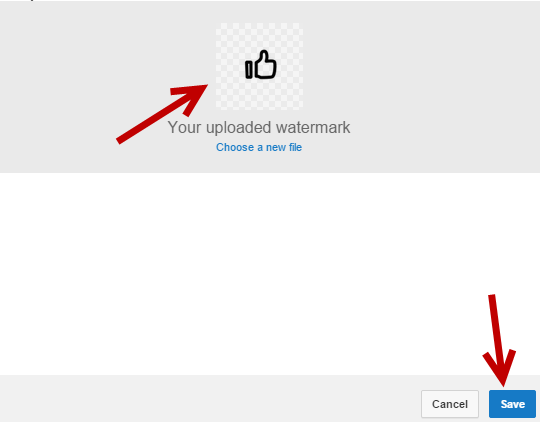
7. Finally, set the time to display the logo on the video. You have options to display it at the end of each video, during the entire video or from a custom point.
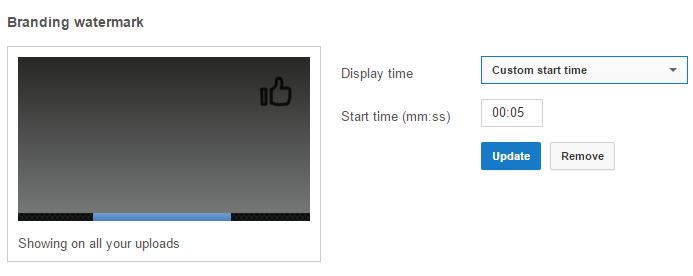
8. Click Update when you are done configuring the setting. Since this change takes effect immediately, you can see the logo appear on any of your videos right away.


