Google Forms is a helpful tool for collecting information from a large group of people. You can use the forms you create to make contact lists, send out surveys, manage registrations, and more. Like all Google Docs, multiple people can edit your form at the same time before you send it out. Forms will organize the responses with real-time charts, or you can view it in Sheets for more thorough analysis. This tutorial will walk you through how to add a default or custom theme to your form.
If you need help making a form, check out my tutorial here.
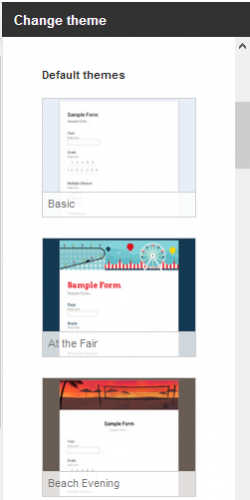
1.Open up a new or existing form. Click Change Theme in the top menu. This will open a panel on the right side of the screen.
2.To use a pre-made theme, scroll down the list, and click one of the options. Most themes will add a graphic across the top of your Form and change the font, colors, and alignment. 
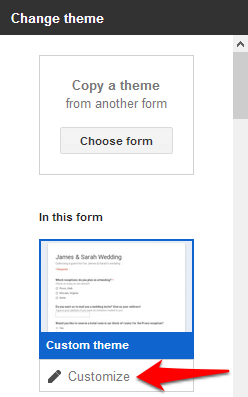
3.If you want to select a custom theme that you used on another form in your Google Drive, click the Copy a theme option on the top of the change theme panel.
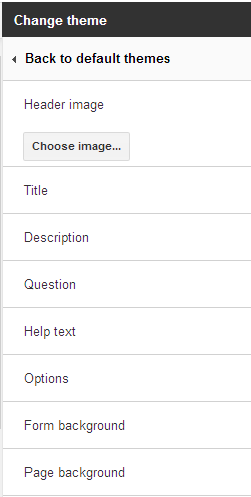
4.To design your form yourself, click the Customize link under the In this form listing. 
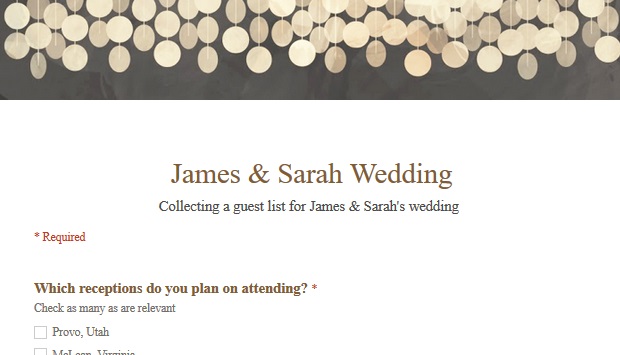
5.Click on each section to open customizing options. The first thing you should customize is the Header image. You can browse through headers supplied by Google or upload your own. Next, work your way through the different text sections setting the font, size, color, and alignment. The Form Background section allows you to apply a background and border color. The Page Background section allows you to choose a color or image to fill the area around the form. 
6.With Google Drive products, all of your changes are saved as you go along and are applied in real time. When you are done creating your theme, you can go back to edit your questions or send out your form.

