This tutorial demonstrates how to hide tabs in the Internet Options window. By hiding the tabs that you do not use, you make it easier to manage the settings and prevent others from accessing and tweaking them.
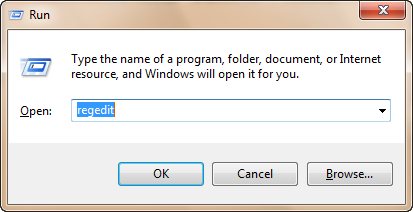
1. Press Win key + R to open the run dialog.
2. Type in regedit and hit Enter to open the Registry Editor window.
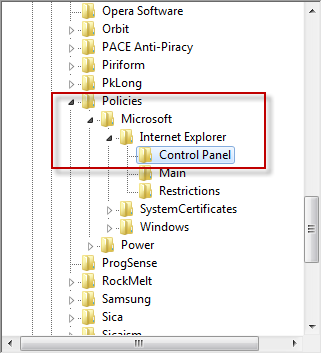
3. Go to HKEY_CURRENT_USER\Software\Policies\Microsoft\Internet Explorer\Control Panel.
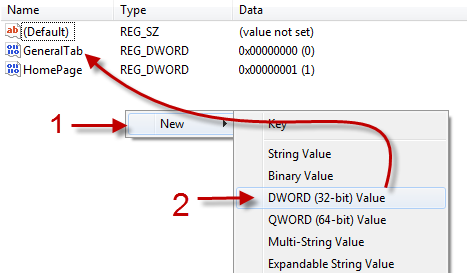
4. Right-click on an empty space on the right side the window, go to New -> DWORD (32-bit) Value. In this example, we will hide the General tab in the Options window, so let’s name the DWORD GeneralTab. All tab DWORD names are provided at the end of this tutorial.
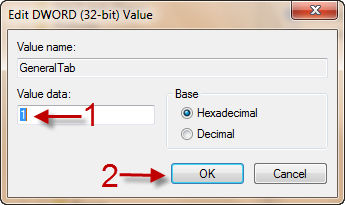
5. Double-click on the DWORD, change its value from 0 to 1 and hit OK.
6. Close the registry window. It should take effect immediately, otherwise you have to restart your computer to see the changes.
All tab DWORD names:
GeneralTab
SecurityTab
PrivacyTab
ContentTab
ConnectionsTab
ProgramsTab
AdvancedTab
To hide more than one tab, just repeat the steps above.
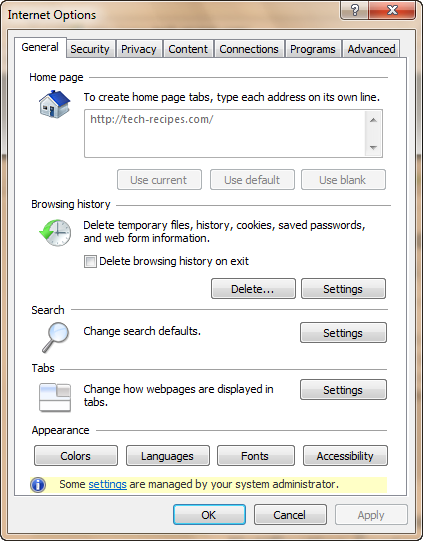
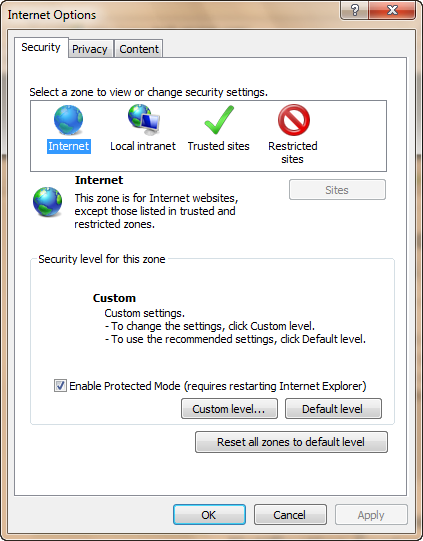
Here is an example:
Before:
After:
To make the tabs appear again, just change the appropriate DWORD’s value back to 0 or just delete it.

