The iris scanner is perhaps the most unique feature of the Samsung Galaxy Note 7 and is a security upgrade from the classic fingerprint scanner. When using the iris scanner, you do not need to press anything to unlock the screen of your Note 7. You simply look at your phone’s iris scanner, and the device should automatically give you access upon confirmation of the iris scan. This tutorial explains how to set up and use the iris scanner on Samsung Galaxy Note 7.
Note: The iris scanner is only available on the Note 7. It is currently not available on other any Samsung or Android phone.
Set Up and Use the Iris Scanner on Samsung Galaxy Note 7
To set up and use the iris scanner on your Samsung Galaxy Note 7, follow these steps:
1.Go to the Home screen on your Note 7 by pressing the Home button once.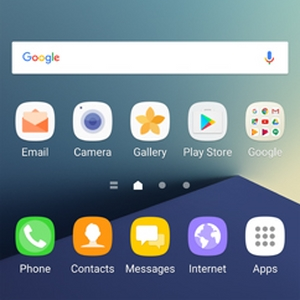
2.From the Home screen, tap on the Apps icon to get to your Note 7’s application icons.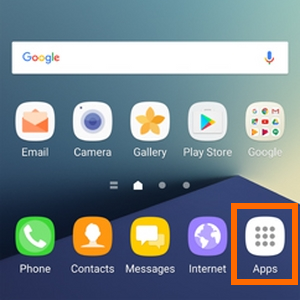
3.From the App list, locate and tap on the Settings icon to get to your phone’s Settings.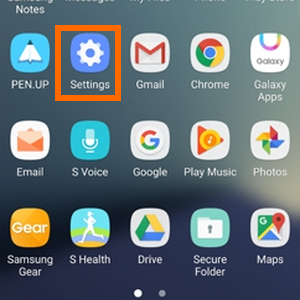
4.From Settings, scroll down and locate Lock Screen and Security. Tap on Lock Screen and Security option to open its page.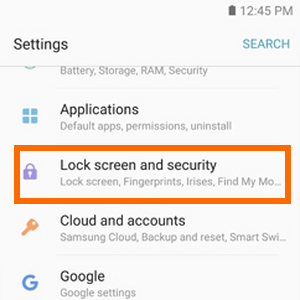
5.From the Touch and Security option, tap on Irises.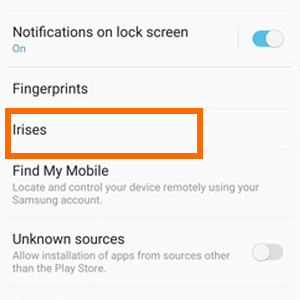
6.If you have not set a security lock for your device, you will be asked to set up an unlock pattern, password, or PIN to set up the secure lock. For the purposes of this tutorial, tap on PIN.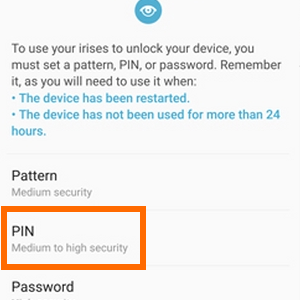
7.Enter your desired PIN code lock and tap CONTINUE to proceed.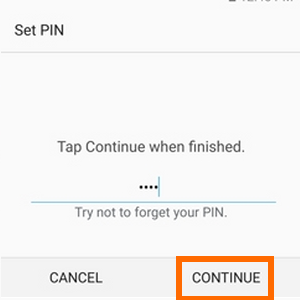
8.Confirm your PIN code lock and tap on OK.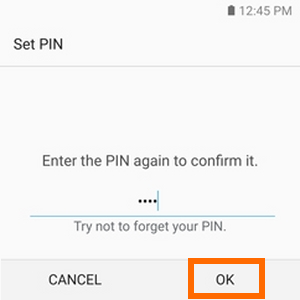
9.You will be taken to Disclaimer page. Go through the disclaimer and tap on OK to proceed.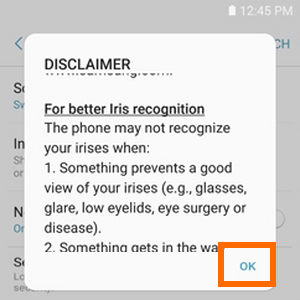
10.Information about the iris scanner feature will be displayed. It will tell you to use the iris scanner away from direct sunlight and will ask you not to wear glasses or contact lenses. You will also be asked to keep your face about 25 to 35 centimeters away from your phone’s screen. Tap on CONTINUE to proceed.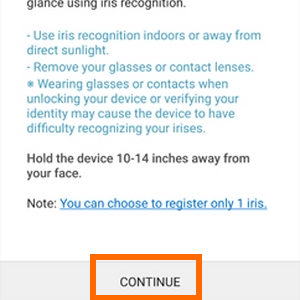
11.Position your eyes in alignment with your phone’s front camera. Hold your device 25 to 35 centimeters away from your screen. Follow the prompts on your screen. You will be asked to open your eyes wide while looking that the front camera. Wait for the scan to complete at 100%.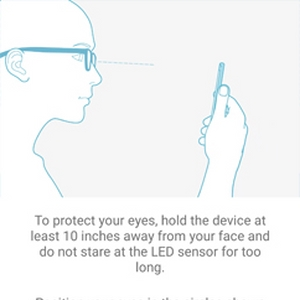
12.A tutorial on how to properly unlock your phone using the iris scanner will be displayed. You can go through the tutorial or tap the SKIP button to get past it. For the purposes of this tutorial, tap on the SKIP button.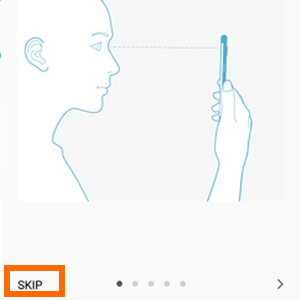
13.Choose what notifications you want to be displayed on the lock screen, and tap on DONE.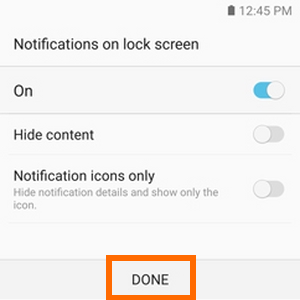
14.After completing the scan, tap on TURN ON so that you can use the iris scanner on your Samsung Galaxy Note 7.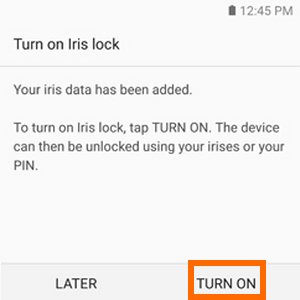
15.To unlock your phone’s screen using the iris scanner, align your face and your phone’s screen from a 25-30 cm distance and watch how fast your phone unlocks. You are done.
If you encounter problems with the iris scanner, you may possibly be in a location where you exposured to direct sunlight or you may be in a room with low light. The distance between your phone and your face should be considered for the scanner to properly work. The recommended distance is 25 to 30 cm though you can go a little bit nearer or farther depending on the size of your face and eyes.
Resetting the iris scanner data logged into your phone may also resolve issues with iris scanning.
If you are still having issues with the iris scanner feature on your Samsung Galaxy Note 7, let me know in the comments section.

