You have probably seen a photo so magnificent that it was hard to believe its authenticity. Your instincts may have been right. Photographers often combine their photos to better their outcome. Replacing an overexposed, blown-out sky with perfect, cloud-filled blue one is a common Photoshop manipulation. The following background changing technique can be used with Photoshop CS4, CS5, or CS6.
Manipulating your photos in such a way that the viewer does not suspect they have been edited and altered can be difficult. However, the method demonstrated here can be followed even by users who are completely new to Photoshop.
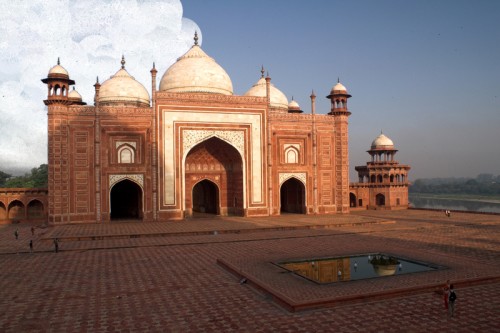
These are the images that I will be manipulating during this tutorial. The image on the left is the main image, and the one on the right will be used as a background.
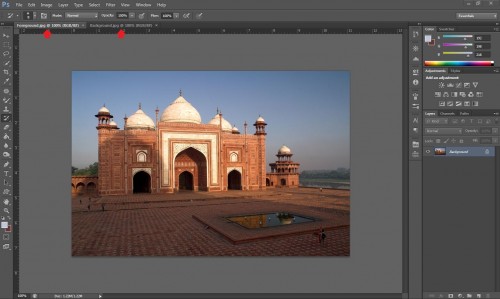
1.Launch Photoshop. For this tutorial I am using CS6, but any version past CS4 will work. When Photoshop is up, open the two images that you will use–the main photograph and the isolation of the background.
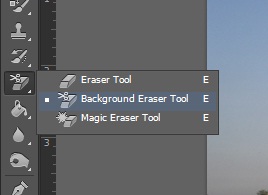
2.Choose the Background Eraser Tool from the palate on the left hand side.
3.Choose either Sampling: Continuous or Sampling: Once which is what I have done for this tutorial. Also adjust the tolerance to something low. I chose 8% for this example.
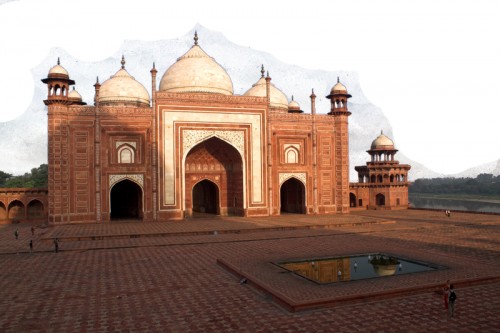
4.Start removing the background. In my example below, I have started the background removal process.
Continue the process until all of the unwanted background has been removed.
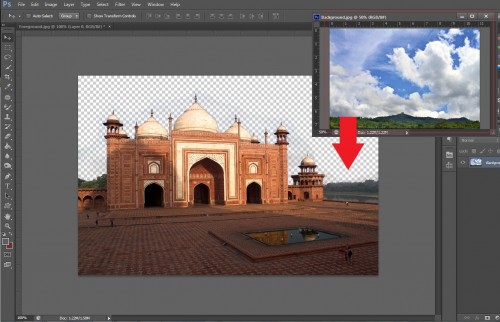
5.Now we will use our image with the perfect sky that we want to use. Open this image and drag it onto the main image that you are trying to manipulate.
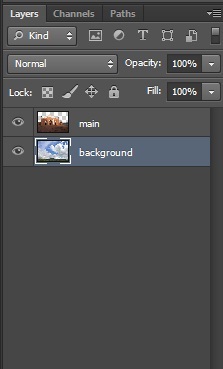
6.Make sure that the background layer is positioned below the main layer in the Layers palate.
7.With the background layer selected, drag the image around until it looks good to you. You are finished. Save the image and show it off to your friends.
In my examples below, you can compare the Taj Mahal photo that I used before and after the background replacement.


