A pattern in Photoshop is an image which can be tiled repeatedly. This is especially helpful and can save you a lot of time if your document uses repeating elements. While Photoshop includes plenty of patterns, there will be times when you need to create a custom pattern to fit your design. This tutorial will walk you through the steps required in creating a custom pattern.
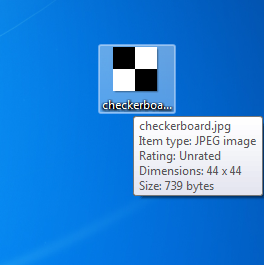
Creating and using custom patterns is an essential PS skill. The process of making a pattern from an image is quite easy. Before you create a custom pattern, you need to prepare a small, seamless texture. In this tutorial I use a 44 x 44 checkerboard image.
1. Launch Photoshop.
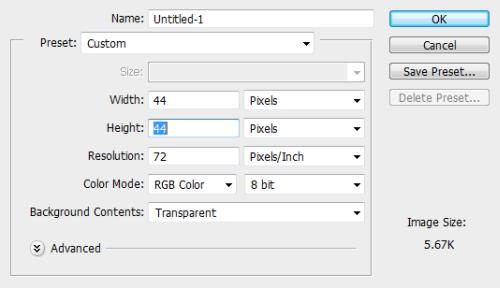
2. Create a new document by go to File -> New. Change the width and height of the document to fit the size of the image. Click OK to process.
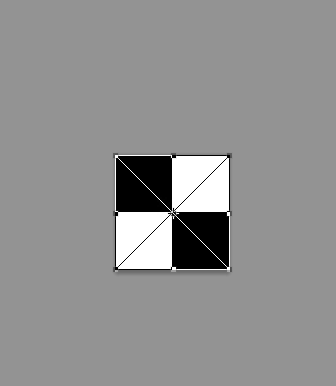
3. Drag the small prepared picture from the outside into the document. Make sure it is at the correct position.
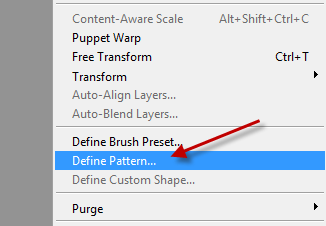
4. Go to Edit -> Define Pattern to create a new pattern.
5. When the Pattern Name window pops up, fill the pattern name into the field and click OK.
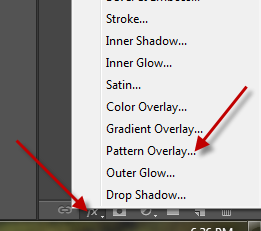
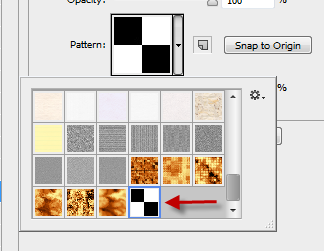
6. The newly created pattern is now available. You can access and use it by going to the Pattern Overlay option.


