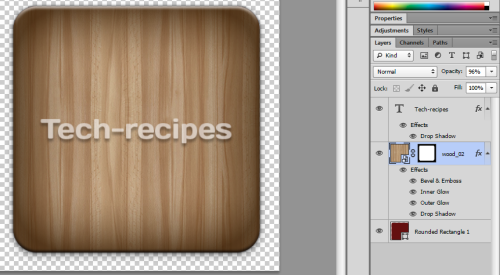
In this Photoshop tutorial, we will learn how to blend an existing image into an object or text element. This is an essential skill for anyone learning Photoshop.
This tutorial is written based on Adobe Photoshop CS6. The steps are very similar for prior PS versions. In my example here, I want to create a rounded, wooden, tech-recipes button. I know how to create the shape, but applying the wooden texture to the object seems tricky. Applying textures from images to created objects is a wonderful tool to learn.
1. Launch Photoshop.
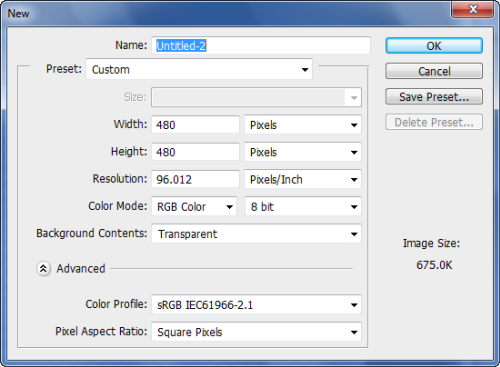
2. Create a new document by going to File -> New. In this tutorial my, I will create a canvas size of 480 x 480 with transparent background.
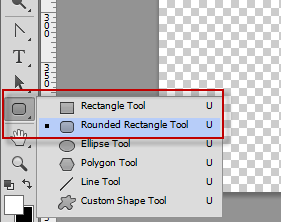
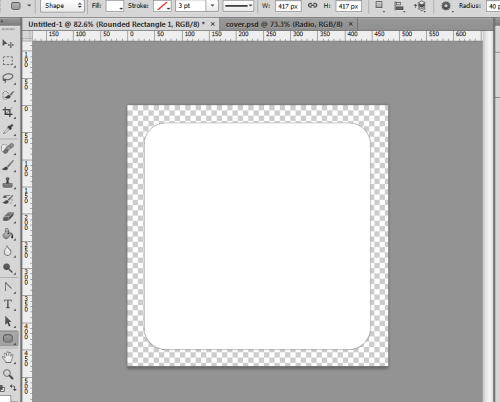
3. Use the Rounded Rectangle Tool and hold Shift to draw a rectangle on the canvas. The rectangle size can be any size you want. We are making a rounded button here, but you could do this with text or any other created object within PS.
4. When you are done, the document will look something like this.
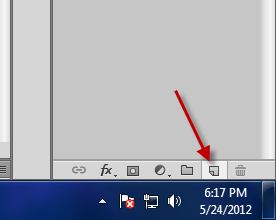
5. Now, create a new layer by clicking the Create a new layer at the bottom right of the program.
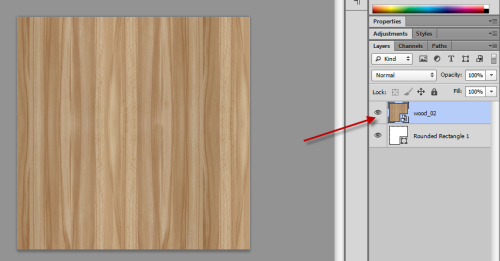
6. Drag the texture image file to the new layer. Transform to size it using Ctrl + T to cover all part of the rectangle.
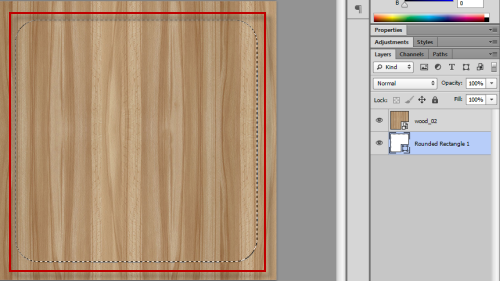
7. Switch back to the previous layer, hold Ctrl + Left click on the layer to mark the area. You will noticed that the layer will be highlighted by the small dots at the edge.
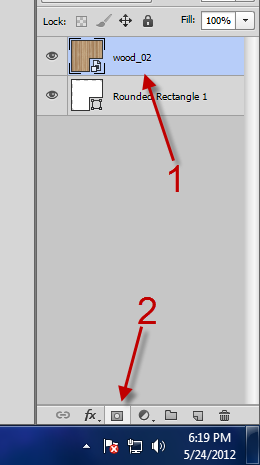
8. Come back to the above layer and click the Add layer mask button.
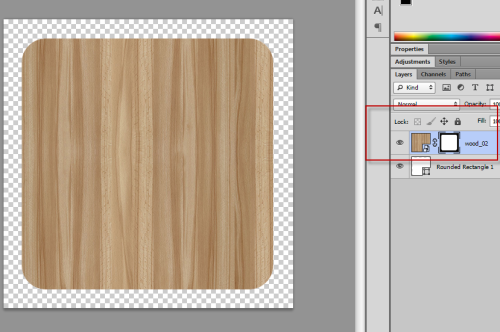
9. Now, the texture will blend into the rectangle like below.
10. After tweaking and adding some effects, we will have a nice rectangle button like below.


