In order to use Apache Maven for dependency resolution and automatic resolution of transitive dependencies for software projects on a Windows machine, it is necessary to set the proper Windows Environment Variables. This setup is necessary on all modern versions of Windows, and the steps to do so are also similar for all versions.
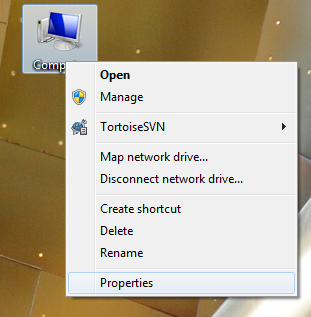
1.Right-click on the My Computer icon, and choose Properties. This icon may be located on the Windows desktop or the Windows Start menu.
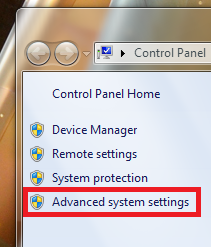
 2.In Windows 7, click Advanced system settings in the left side of the System window. In previous versions of Windows, it may be necessary to navigate to the Advanced tab.
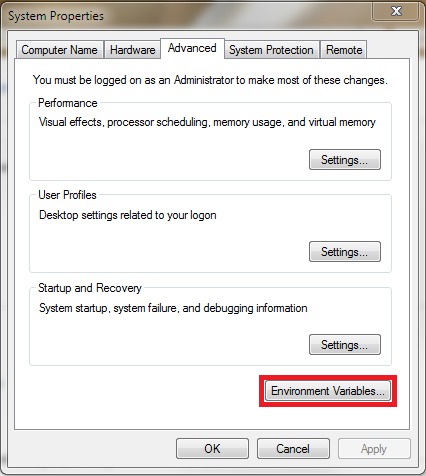
3.In the resulting System Properties window, click the Environment Variables button.
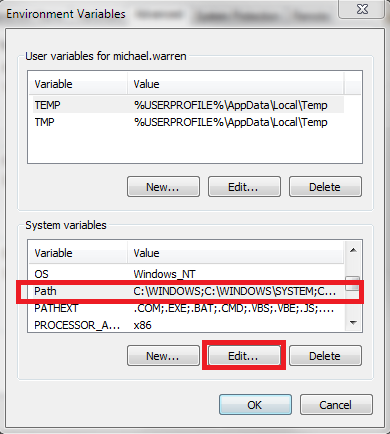
4.In the System Variables section of the resulting Environment Variables window that appears, choose the Path variable, and click Edit.
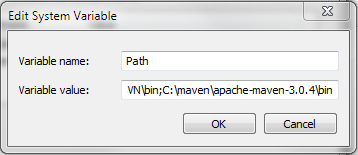
5.In the resulting Edit System Variable window that appears, move the cursor to the end of the Variable value field. Type a semicolon (;), and enter the path to the Maven bin directory (for example, C:\apache-maven-3.0.4\bin). Click OK. It may also be necessary to click OK through the series of menus that led to the Edit System Variable window in order to close them.
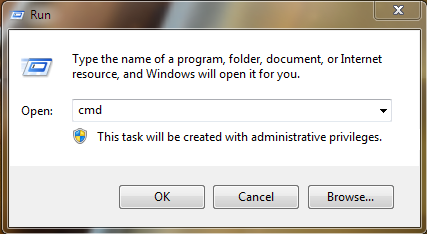
6.In order to test that the Path environment variable has been correctly set up, open a Windows command prompt by clicking Start, choosing Run, type CMD and click OK.
7.On the Windows command prompt, type mvn –version and press enter. If the Path environment variable upgrade was successful, then you should be able to see versioning information for Maven.

Now you will be able to compile, build, and test your Maven-enabled project from the Windows command line.

