If you ever want to change the display language of Windows 10 or want to add additional languages to use in documents, the steps in this tutorial will help you.
First Method: Using the Settings app
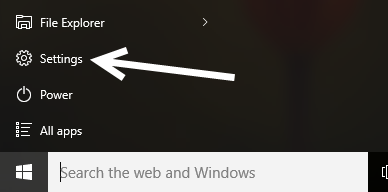
1. Click the Windows logo to open the Start menu, and select Settings from the there.
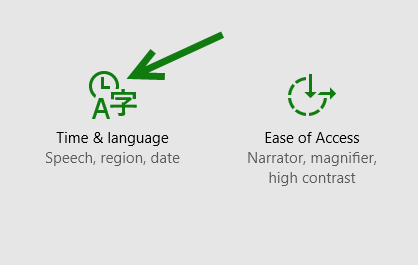
2. In the pop-up Settings window, select the Time & language option.
3. Select the Region & language option on the left side.
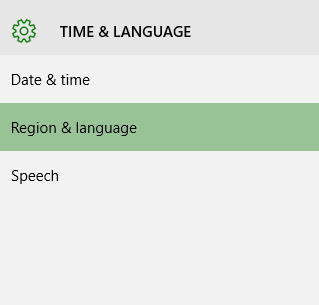
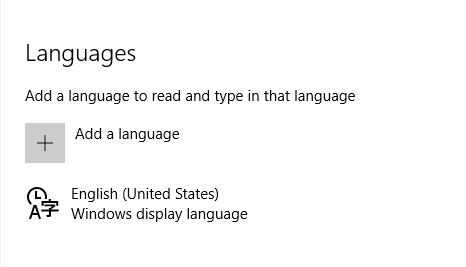
4. On the right side, you will see several options. Find Languages, and click Add a language.
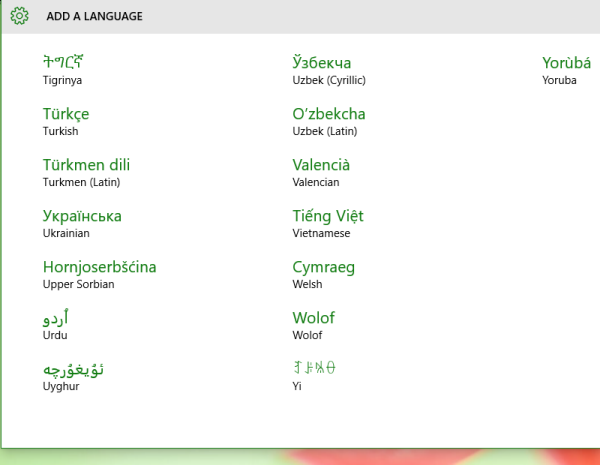
5. Scroll through the list of available languages, and select the one you need. Once selected, the language will be added to the system automatically.
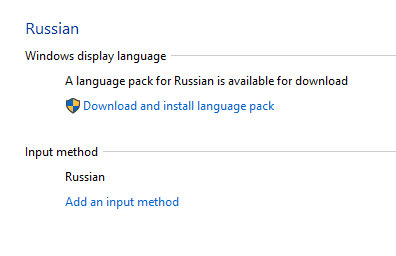
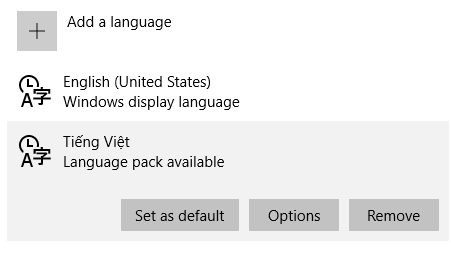
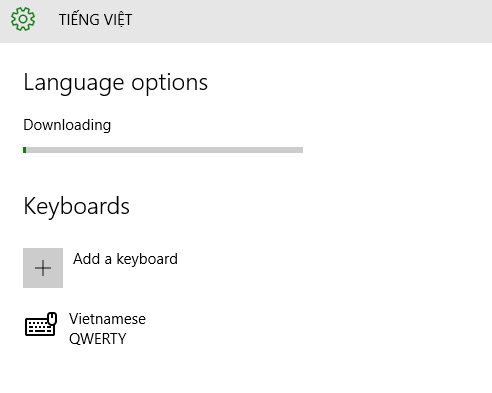
6. When you come back to the language list, select the newly added language, and set it as the system’s default language if you want. For languages that come with a “Language pack available” option, you will need to download the pack first. To do so, click the Options button.
7. At the top of the Language options page, click Download to proceed. In this section, you also have an option to add a special keyboard designed for that language (if available). The QWERTY keyboard is added by default for you.
Second Method: Using the Control Panel
If you prefer the traditional way to add a language as in Windows 7 and Windows 8, here are the steps for you.
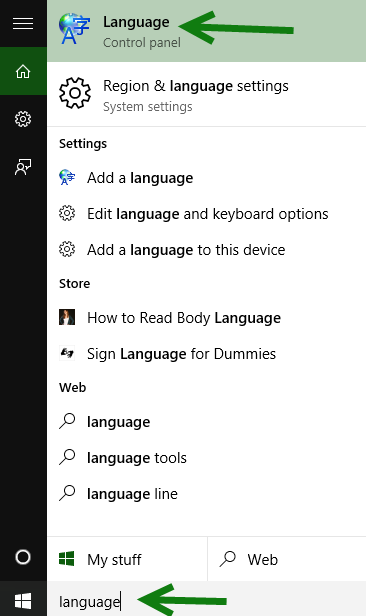
1. In Windows 10, the quickest way to visit the Language settings of the Control Panel is to type Language in the search box on the taskbar.
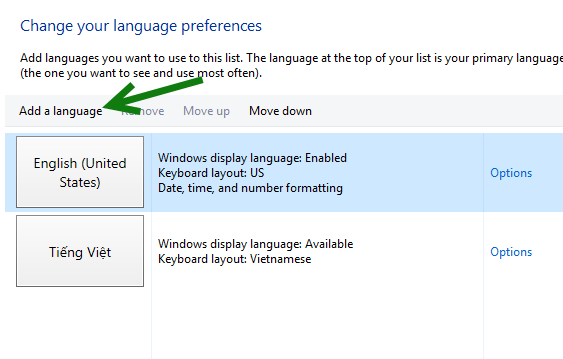
2. Similar to the steps above, click Add a language.
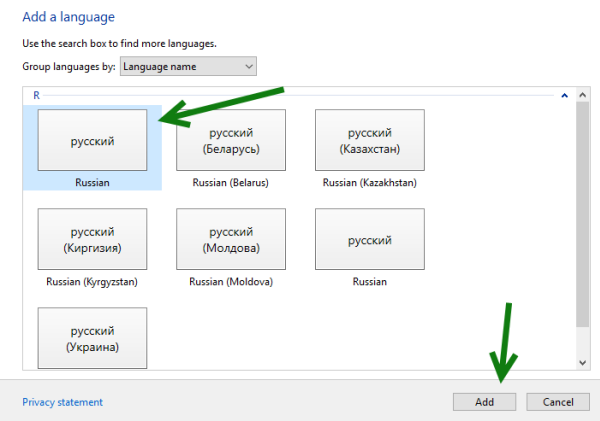
3. Use the search box at the top right to find the language you want, select it, and click Add.
4. If you want to display all system text in the new language, you will need to download the language pack in Options. If you only want to use the keyboard input, this step is not necessary.

5. Finally, click Download and install language pack. The system will display all text in the new language when you boot the system.
