By default in Microsoft Word, only the proofing tool for the program’s default language will be installed. This may be a problem if you usually have to work on documents in more than one language and want to use the proofing tool to check for errors. Fortunately, adding additional proofing tools to Word for other languages is possible. Read on to find out how.
1. Launch Word, and open a blank document.
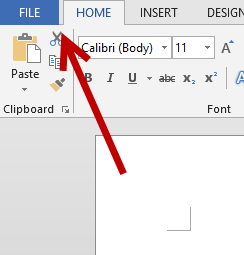
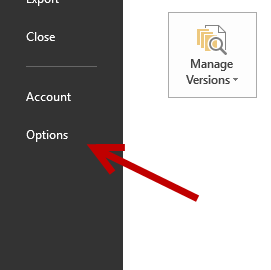
2. When the program is fully loaded, click the File button at the top left of the screen, and choose Options in the Backstage view.
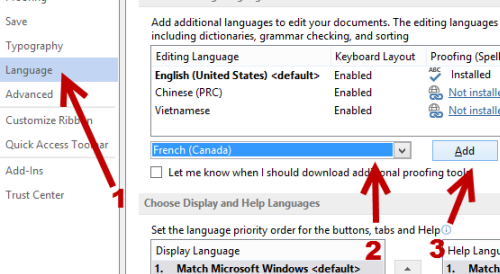
3. In the new Word options pop-up window, navigate to the Language section using the left-side bar. Under the Choose Editing Languages section, click the drop-down menu, choose the desired language, and click Add.
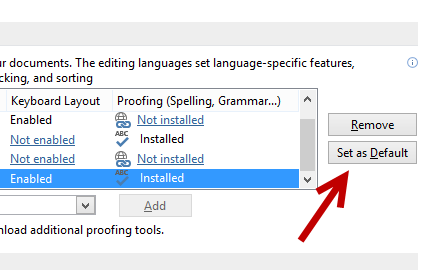
When you click Add, the language option will be added to the box above. In many cases, the proofing for that language may be installed as well. If you see the Proofing status for that language is set to Installed, you are good to go. However, if it is set to Not installed, clicking on the status will redirect you to the corresponding installation page.
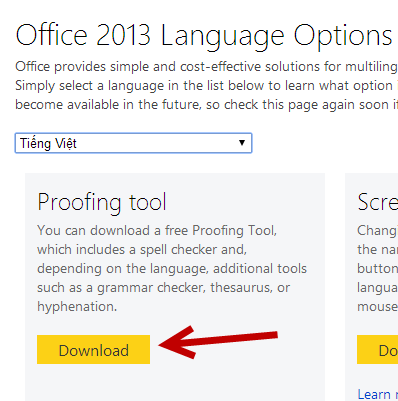
4. In the Office Language Options website, choose the language, and click the Download button in the Proofing tool area.
5. When the file is downloaded, you can install it as you normally would install a program.
6. If you come back to the Word Options -> Language window, you should see that the proofing tool for the selected language is ready to use. You can set the new language and its tools as the default ones if you wish.
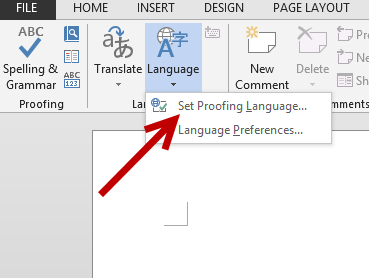
7. Alternatively, you can set the Proofing Language in Review tab -> Language -> Set Proofing Language.
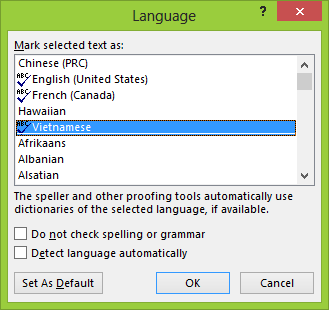
In the Language window, choose the desired language for proofing, and click OK.
8. You can use the method above to install as many proofing tools as you like. If you want to remove any tool from Word, you can do so in Control Panel -> Programs and Features.

